Supercharging Your Xcode Efficiency
Boost your XCode efficiency and learn how to become a coding ninja by following this tutorial. By Jack Wu.
Sign up/Sign in
With a free Kodeco account you can download source code, track your progress, bookmark, personalise your learner profile and more!
Create accountAlready a member of Kodeco? Sign in
Sign up/Sign in
With a free Kodeco account you can download source code, track your progress, bookmark, personalise your learner profile and more!
Create accountAlready a member of Kodeco? Sign in
Contents
Supercharging Your Xcode Efficiency
35 mins
Learn some cool Xcode Tricks!
You’ve all seen the all-star Hollywood programmer hacking through the mainframe, fingers racing on the keyboard while terminals fly across the screen. If you’ve ever wanted to be like that, you’re in the right place!
This tutorial will teach you how to be more like that programmer, in Xcode. Call it what you like — magic, mad skillz, pure luck or hacks, there is no doubt you’ll feel much cooler (and have improved Xcode efficiency) after following along this tutorial, and maybe even save the world from destruction with your newly found prowess.
Getting Started
Since coolness is the goal, here is what contributes towards coolness points in this tutorial:
- Performing a task quickly.
- Being precise and accurate.
- Having clean and beautiful code.
To gain extra ninja points, you can try to accomplish each task without touching the mouse or track-pad. Yes, that’s the equivalent of going pewpew in Xcode.
Your studies will commence with learning a few useful Xcode features. Then, you’ll continue your training by fixing some bugs in CardTilt, which you might be familiar with from this tutorial. Finally, you’ll clean up the code a bit and make the interface pixel accurate.
Keep in mind that this tutorial is not about the final app; this lesson is about learning how to take advantage of Xcode to develop apps with more speed and grace than ever before.
This tutorial assumes a basic understanding of Xcode and focuses on techniques that improve your efficiency as a programmer. Everyone’s coding habits are different, so this tutorial is not meant to force a certain style on you.
Throughout, you’ll see alternatives to certain commands. When following along, just focus on refining and building on your current development style, and try not to let the subtle differences throw you.
Note: If you’re not confident working with Xcode yet, you can check out these tutorials here and here.
Note: If you’re not confident working with Xcode yet, you can check out these tutorials here and here.
Download the CardTilt-starter and get ready to code!
Everyday Xcode Tasks
There are a few tasks in Xcode that you perform regularly in most projects. This section will take a close look at some of these tasks and talk about some tricks to tackle them with pizazz. As you progress, you’ll build upon these tricks and discover new ways to use them. These tricks will become the ninja stars and smoke bombs that are a must on your coding tool belt.
Open CardTilt in Xcode, but don’t dive into the code just yet. First, take a moment to match up what you see to the diagram of the Xcode Workspace Window below.
These labels are how this tutorial will refer to the individual parts of the workspace. If your setup doesn’t look exactly like this – don’t worry! In the Hotkeys section below, you’ll learn how to easily show and dismiss inconsistencies.

Here is a quick rundown of the individual views that make up the workspace interface:
- The Toolbar: Where you choose your scheme and destination, run your app, and switch between common interface layouts.
- The Navigation Area: Where you navigate through your project, symbols, errors, etc.
- The Editing Area: Where all the magic happens. Includes the Jump bar at the top of this view.
- The Utility Area: Includes the Inspectors and the Libraries.
- The Debugging Area: Includes the Console and the Variable Inspector.
All of these views are essential to Xcode, and you’ll probably interact with every one of them when you’re working on a project. Usually you won’t need to look at them all at once though, and this next section will teach you how to configure your workspace quickly by using hotkeys.
The Hotkeys
On this journey of Xcode coolness, you’ll first learn how to master it with hotkeys. The most useful hotkeys are surprisingly easy to remember, thanks to a few patterns.
Prepare to be in awe of the intuitive nature of the following hotkeys.
The first pattern to know is the relation of the common modifier keys to various parts of Xcode.
Here’s a quick breakdown of the most common:
- Command (⌘): Used for Navigation, and thus controls the Navigation area.
- Alt (⎇): Controls things on the right side such as the Assistant Editor and utility editor.
- Control: Interacts with the Jump Bar at the top of the editing area.
The second pattern to recognize is the relation of number keys to tabs. Combinations of number keys and the modifiers keys above will let you switch through tabs quickly.
Generally, the numbers correspond to the indexes (starting from one) of the tabs, and zero always hides or shows the area. Can it get any more intuitive?
The most common combinations are:
Xcode Behaviors
The last, and most simple pattern is the Enter key. When used with Command, they allow you to switch between editors:
Last, but not least, open and close the debugging area with Command + Shift + Y. To remember this just ask, “Y is my code not working?”
You can find most of these hotkeys under the Navigate menu in Xcode, in case you forget.
To finish off this section, rejoice in knowing that you can make Xcode dance for you by using only your keyboard!
Stats:
Coolness points gained:100
Total Coolness points:100
Ninja points gained:100
Total Ninja points:100
Controlling the interface of Xcode using hotkeys is cool, but do you know what’s even more ninja? Having Xcode transform to the interface you want automatically. Now that’s the epitome of cool.
Fortunately, Xcode provides Behaviors that let you do this very easily. They are simply a defined set of actions that are triggered by a specific event, such as starting a build. Actions range all the way from changing the interface to running a custom script.
To see an example you’re familiar with, make a quick modification to CTAppDelegate.m so that running will generate console output. Replace didFinishLaunchingWithOptions with the following:
-
Command 1~8to jump through the Navigators,Command 0to close the navigation area. -
Command Alt 1~6to jump through the Inspectors,Command Alt 0to close the utility area. -
Control Command Alt 1~4to jump through the Libraries. -
Control 1~6to bring down tabs in the Jump Bar. - Command + Enter: Shows the standard, single-window editor.
- Command Alt Enter: You can probably guess what this does. Indeed, It opens the assistant editor.
- Command Alt Shift Enter: Opens the revision control editor.
The last, and most simple pattern is the Enter key. When used with Command, they allow you to switch between editors:
Last, but not least, open and close the debugging area with Command + Shift + Y. To remember this just ask, “Y is my code not working?”
You can find most of these hotkeys under the Navigate menu in Xcode, in case you forget.
To finish off this section, rejoice in knowing that you can make Xcode dance for you by using only your keyboard!
Stats:
Coolness points gained:100
Total Coolness points:100
Ninja points gained:100
Total Ninja points:100
Xcode Behaviors
Controlling the interface of Xcode using hotkeys is cool, but do you know what’s even more ninja? Having Xcode transform to the interface you want automatically. Now that’s the epitome of cool.
Fortunately, Xcode provides Behaviors that let you do this very easily. They are simply a defined set of actions that are triggered by a specific event, such as starting a build. Actions range all the way from changing the interface to running a custom script.
To see an example you’re familiar with, make a quick modification to CTAppDelegate.m so that running will generate console output. Replace didFinishLaunchingWithOptions with the following:
- Command + Enter: Shows the standard, single-window editor.
- Command Alt Enter: You can probably guess what this does. Indeed, It opens the assistant editor.
- Command Alt Shift Enter: Opens the revision control editor.
Stats:
Coolness points gained:100
Total Coolness points:100
Ninja points gained:100
Total Ninja points:100
- (BOOL)application:(UIApplication *)application didFinishLaunchingWithOptions:(NSDictionary *)launchOptions
{
    [[UIApplication sharedApplication] setStatusBarHidden:YES];
    // Override point for customization after application launch.
    NSLog(@"Show me some output!");
    return YES;
}
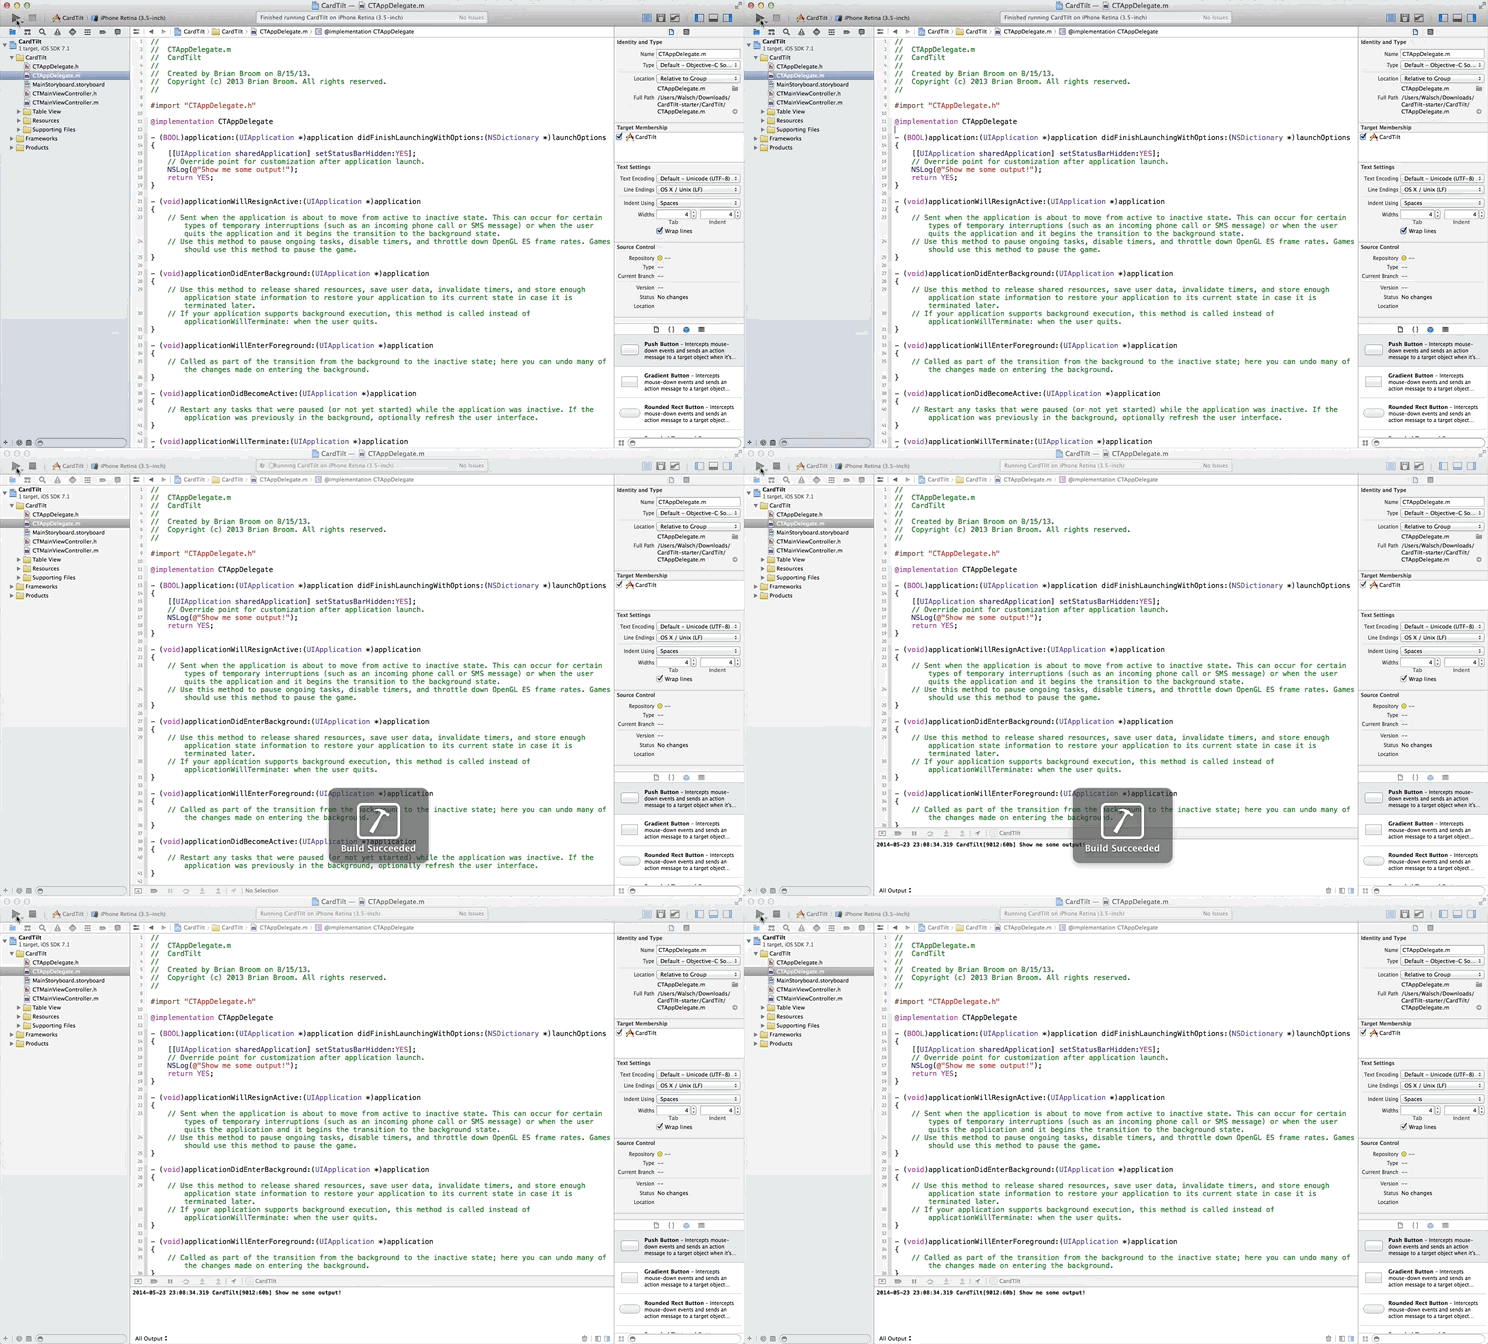
Now build while carefully watching the Debugging Area. You’ll notice a familiar sight – the debugging area appears as soon as the app starts running:
To see what defines this event, open the behavior preferences window by going to Xcode\Behaviors\Edit Behaviors. On the left, you’ll see a list of all the events; on the right, a list of the actions the events can trigger. Click on the Generates output event under Running and you’ll see it is set to show the debugger:


