Origami Studio Tutorial For Mobile Prototyping: Getting Started
In this Origami Studio tutorial, you will learn how to create amazing mobile prototypes with Origami Studio without writing code. By Tom Elliott.
Sign up/Sign in
With a free Kodeco account you can download source code, track your progress, bookmark, personalise your learner profile and more!
Create accountAlready a member of Kodeco? Sign in
Sign up/Sign in
With a free Kodeco account you can download source code, track your progress, bookmark, personalise your learner profile and more!
Create accountAlready a member of Kodeco? Sign in
Sign up/Sign in
With a free Kodeco account you can download source code, track your progress, bookmark, personalise your learner profile and more!
Create accountAlready a member of Kodeco? Sign in
Contents
Origami Studio Tutorial For Mobile Prototyping: Getting Started
30 mins
- Introduction
- Getting Started
- Introduction to the Interface
- Creating a Simple Interaction
- Wiring up Your Prototype
- RW News
- Animations
- Transitions
- Getting Fancy
- Animating the Mask
- A Finishing Touch
- Building a News Feed
- Going Loopy
- Grid Layout
- Adding Personalized Content
- More Complicated Transitions
- Interactions
- Customizing the Detail Screen Transition
- Customizing the Feed Screen Transition
- Where to Go From Here?
RW News
For the rest of this tutorial, you’re going to focus on building a prototype news app called RW News, modeling the Apple News app in iOS 11. Find and open RW News App (Start).origami. The starter project contains three top level layers, as shown in the Layer Inspector. Only the Loading Screen is currently visible: a dark green screen with the Ray Wenderlich logo at the top and a static progress ring in the middle. The prototype also includes layers for a Feed Screen and a Detail Screen, which you’ll use later on in the tutorial.
Animations
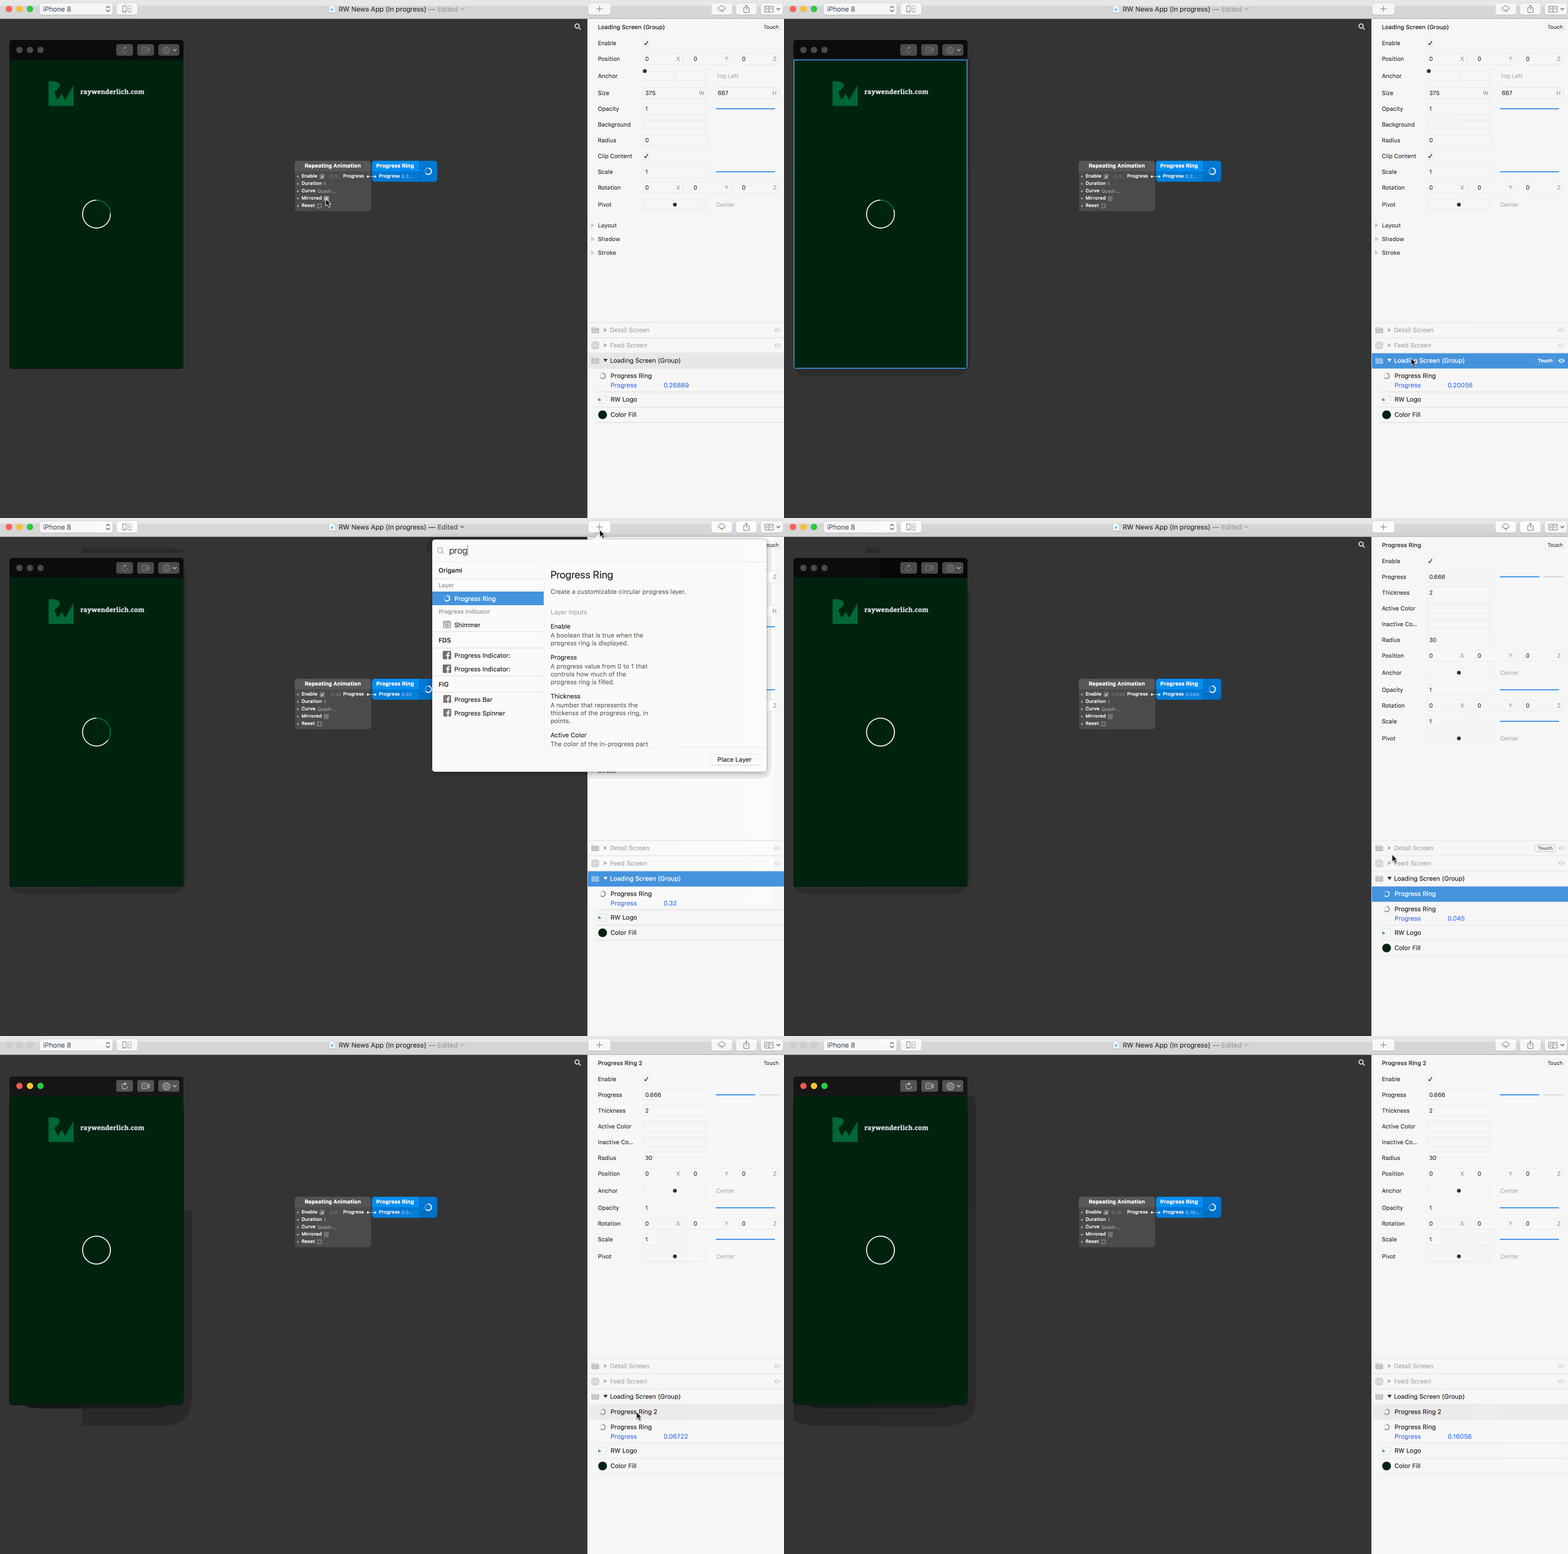
As first step of the tutorial, you’re going to animate the loading indicator to show the app is starting up. To make the progress ring spin, double-click the patch editor and insert a Repeating Animation. Connect the port on the progress output to the Progress property of the Progress Ring by dragging from the port to the layer, as you did with the Opacity property before.
The output from the repeating animation cycles from 0 to 1 to 0, and the progress in the ring now animates to match. This is nice, but not exactly what you’re looking for.
In order to achieve a more realistic spinner, you’re going to have to get creative. Unselect the Mirrored input in the Repeating Animation patch. Then, select the Loading Screen layer in the Layer Inspector and click the New Layer icon. Choose a Progress Ring layer; it appears in the middle of your prototype on top of the existing one. Change its title to Progress Ring 2 by double-clicking it in the Layer Inspector.
Then, change its opacity to 0 and its inactive color to the same green of the active color in the first progress ring. In order to produce the animation we want, you’re going to alternate which progress ring to show for each animation loop. To do this, you want to use the patch editor to switch the opacity of the second progress ring every time the animation reaches 1.
Double-click the patch editor and insert an Equals patch. Set the First Value input to 1 and connect the Progress output from the Repeating Animation patch to the Second Value input in the Equals patch. Next, add a Switch patch and connect the output from the Equals patch to its Flip input. Notice the switch turns on and off for each cycle in the animation. Connect the output of the switch to the opacity property of the second progress ring. Finally, connect the output from the Repeating Animation to the Progress property of the second progress ring.
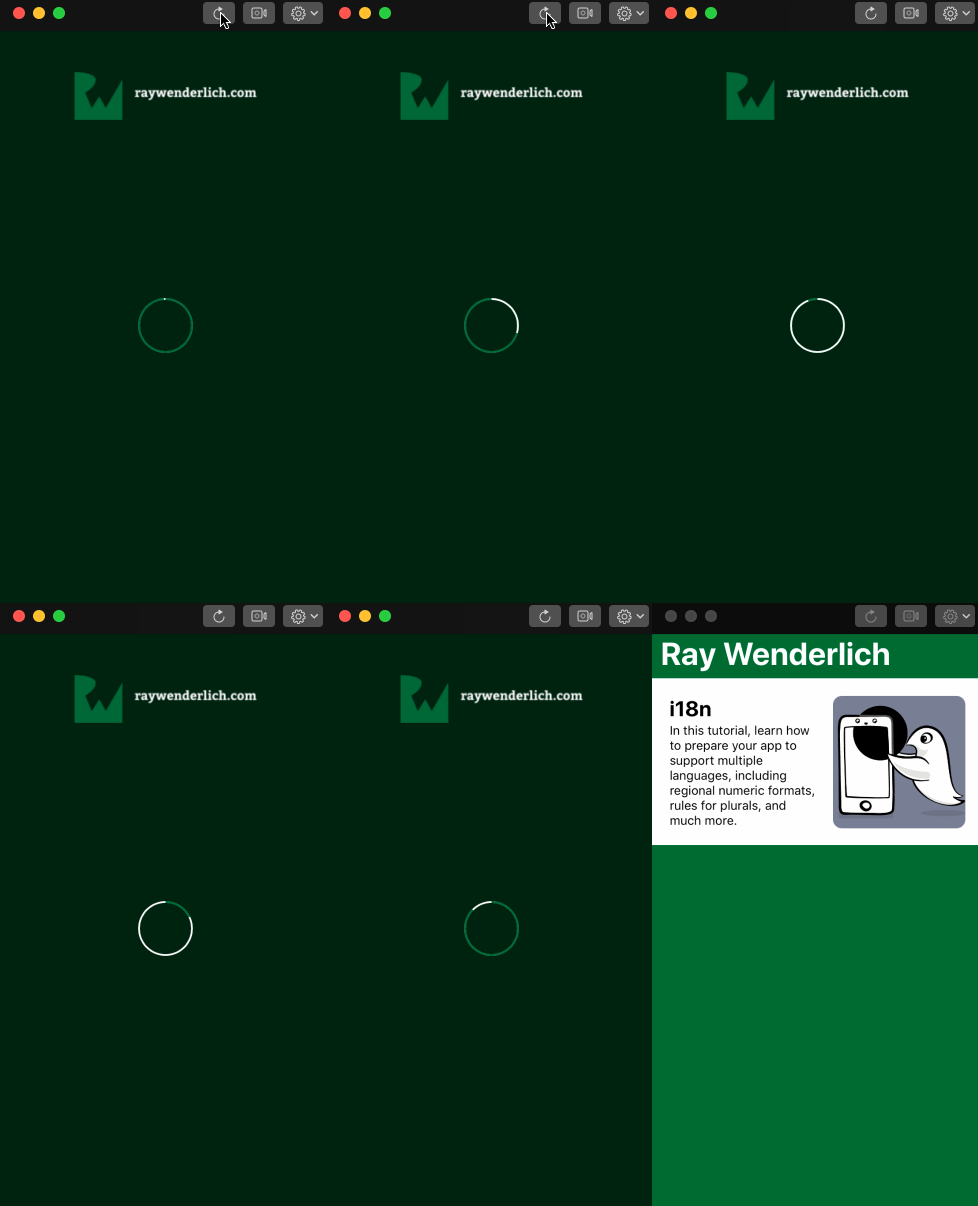
And there it is! A beautiful spinner.
Transitions
Next, the prototype needs a transition to the Feed Screen after a short period of loading. Double-click the patch editor and add a When Prototype Starts patch, followed by a Wait patch. Change the Duration input in the wait patch to 3, and connect the output of the When Prototype Starts patch to the Start input in the Wait patch.
Restart your prototype by clicking the leftmost button on the Viewer – the clockwise “refresh” arrow — or Cmd + R. Wait three seconds and you should see the output of the Wait patch switch on. Finally, connect the output from the Wait patch to the Present property of the Feed Screen layer.
Restart the prototype again and wait another three seconds. Nothing happens. What gives? Earlier, only the loading screen was visible. It’s time to fix that! Hover over the Feed Screen in the Layer Inspector and click the eye icon to the right of the Touch icon. The Feed View should appear, showing a single story. Restart the prototype to check the spinner is shown for three seconds, then the feed view is presented as expected.
Getting Fancy
The transition is all good and nice, but Origami is all about the bling and that default transition is, well, a little boring. Time to add some personality!
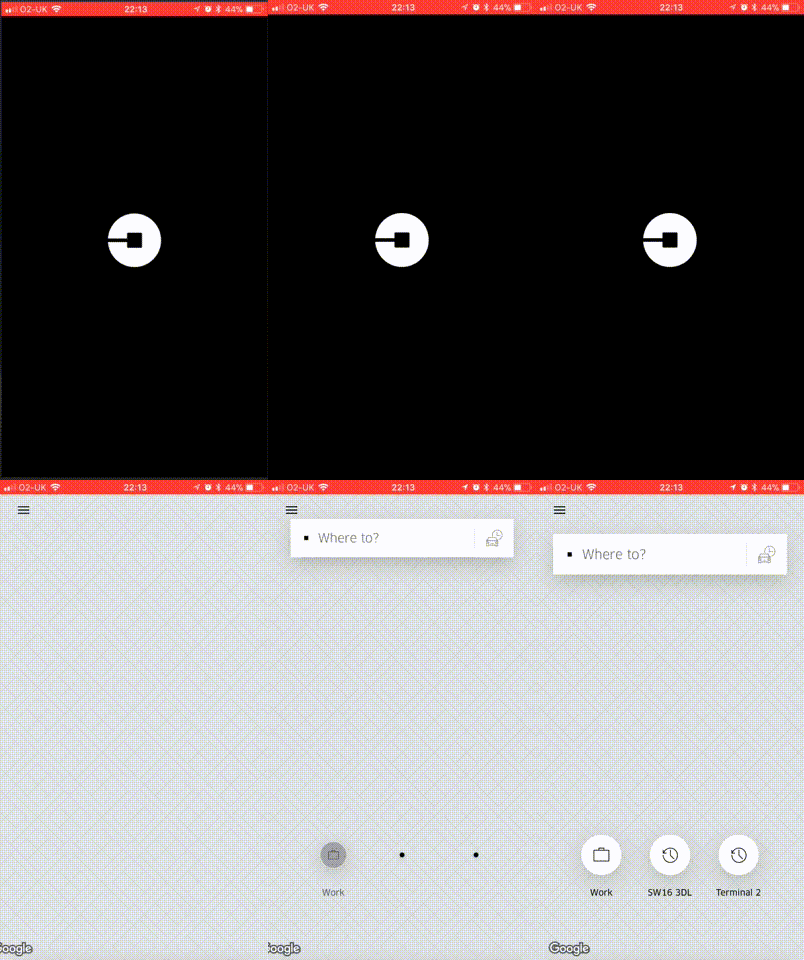
If you’ve ever used the Uber app, you’ll likely have noticed how it transitions from loading to the main screen with a zoom effect, where the loading screen zooms out until it is replaced by the map screen. You’re going to build a similar effect now.
To prototype your fancy transition, you need an opaque layer with a hole, which will act as a mask over the Feed Screen. The hole will start small in the center of the screen and the layer will animate to scale up until the hole is bigger than the screen. Rather than trying to create a shape with a hole in Origami, the sample project provides one for you already, created in Sketch and imported into Origami. A nifty trick for more complicated designs!
Animating the Mask
Add a Classic Animation patch near your Wait patch. Connect the output of the Wait patch to the Number input on the Classic Animation patch. Next, add a Transition patch. Transition patches take an input which varies between 0 and 1 (such as the progress of an animation) and smoothly scale that between its Start and End inputs.
Connect the output from the Classic Animation to the Progress input of the Transition, set the Start input to 0.5 and the End input to 2.5. Now, as the Classic Animation progresses from 0 to 1, the output from the transition patch will progress from 0.5 to 2.5.
In the Layer Inspector, expand the Feed Screen Group by clicking its disclosure arrow, and locate the Combined Shape layer. Connect the output from the Transition patch to the Scale property of the Combined Shape layer and set the Combined Shape layers Opacity to 1.
Restart the prototype and watch your beautiful new transition!
Using the inputs on the Classic Animation patch you can easily alter the duration and curve of the animation. Change the values, restart the prototype and see how that impacts the animation.
A Finishing Touch
Keep your eye on the progress ring patches. Notice how the Progress property is still continually updating long after the transition has completed? This is wasteful as the progress rings are not onscreen any more. As a final touch, double-click the Patch Editor and add a Not patch. Connect its output to the Enable property of the Repeating Animation patch driving the progress rings. Connect the output of the Classic Animation patch to the input of the Not patch. This will stop the progress rings from spinning once they are no longer visible.


