ConstraintLayout Tutorial for Android: Complex Layouts
In this ConstraintLayout tutorial, you’ll learn how to dynamically position UI elements in relation to other elements on the screen and to animate your views. By Fuad Kamal.
Sign up/Sign in
With a free Kodeco account you can download source code, track your progress, bookmark, personalise your learner profile and more!
Create accountAlready a member of Kodeco? Sign in
Sign up/Sign in
With a free Kodeco account you can download source code, track your progress, bookmark, personalise your learner profile and more!
Create accountAlready a member of Kodeco? Sign in
Sign up/Sign in
With a free Kodeco account you can download source code, track your progress, bookmark, personalise your learner profile and more!
Create accountAlready a member of Kodeco? Sign in
Contents
ConstraintLayout Tutorial for Android: Complex Layouts
30 mins
- Raze Galactic — An Intergalactic Travel Service
- Getting Started
- Converting a Layout to ConstraintLayout
- Removing Inferred Constraints
- Resizing the Images
- Adding Constraints: Figuring out Alignment
- Constraining the First Icon
- Aligning the Top Three Icons Horizontally: Using Chains
- Chains
- Exploring Chains
- Aligning Views
- Aligning the Text for Each of the Icons
- Using Guidelines
- Setting the Horizontal and Vertical Guidelines
- Positioning the Guidelines
- Adding Constraints to Guidelines
- Circular Position Constraints
- Animating the UI Elements on the Screen
- Constraint Sets
- Setting up the Starting Layout for Your Animation
- Animating the View
- Transition Manager
- Animating the Bounds of a View
- Using Custom Transitions to Make Animation Easier
- Animating the Circular Constraint
- Where to Go From Here?
Setting up the Starting Layout for Your Animation
In your project, duplicate your layout file and name the duplicate keyframe1.xml. You’re going to need to alter the positions of elements in this new layout and set this new layout as the starting layout for the app.
To start, open keyframe1.xml and change the layout_constraintGuide_begin property of guideline1 from 200dp to 0dp. This moves the guide, the elements constrained to the guide, and all elements constrained to them higher up, so that some of them are are now offscreen.
Then change the layout_constraintGuide_percent property of guideline2 from .05 to 1. This moves the guide and the elements constrained to it to the far right so that they are offscreen as well.
Now, we’ve changed the layout by just moving a couple of guides, but we still need to make this new layout the starting layout for the app. To do this, open MainActivity.kt and modify the setContentView() call in the onCreate() function to pass in R.layout.keyframe1 instead of R.layout.activity_main:
setContentView(R.layout.keyframe1)
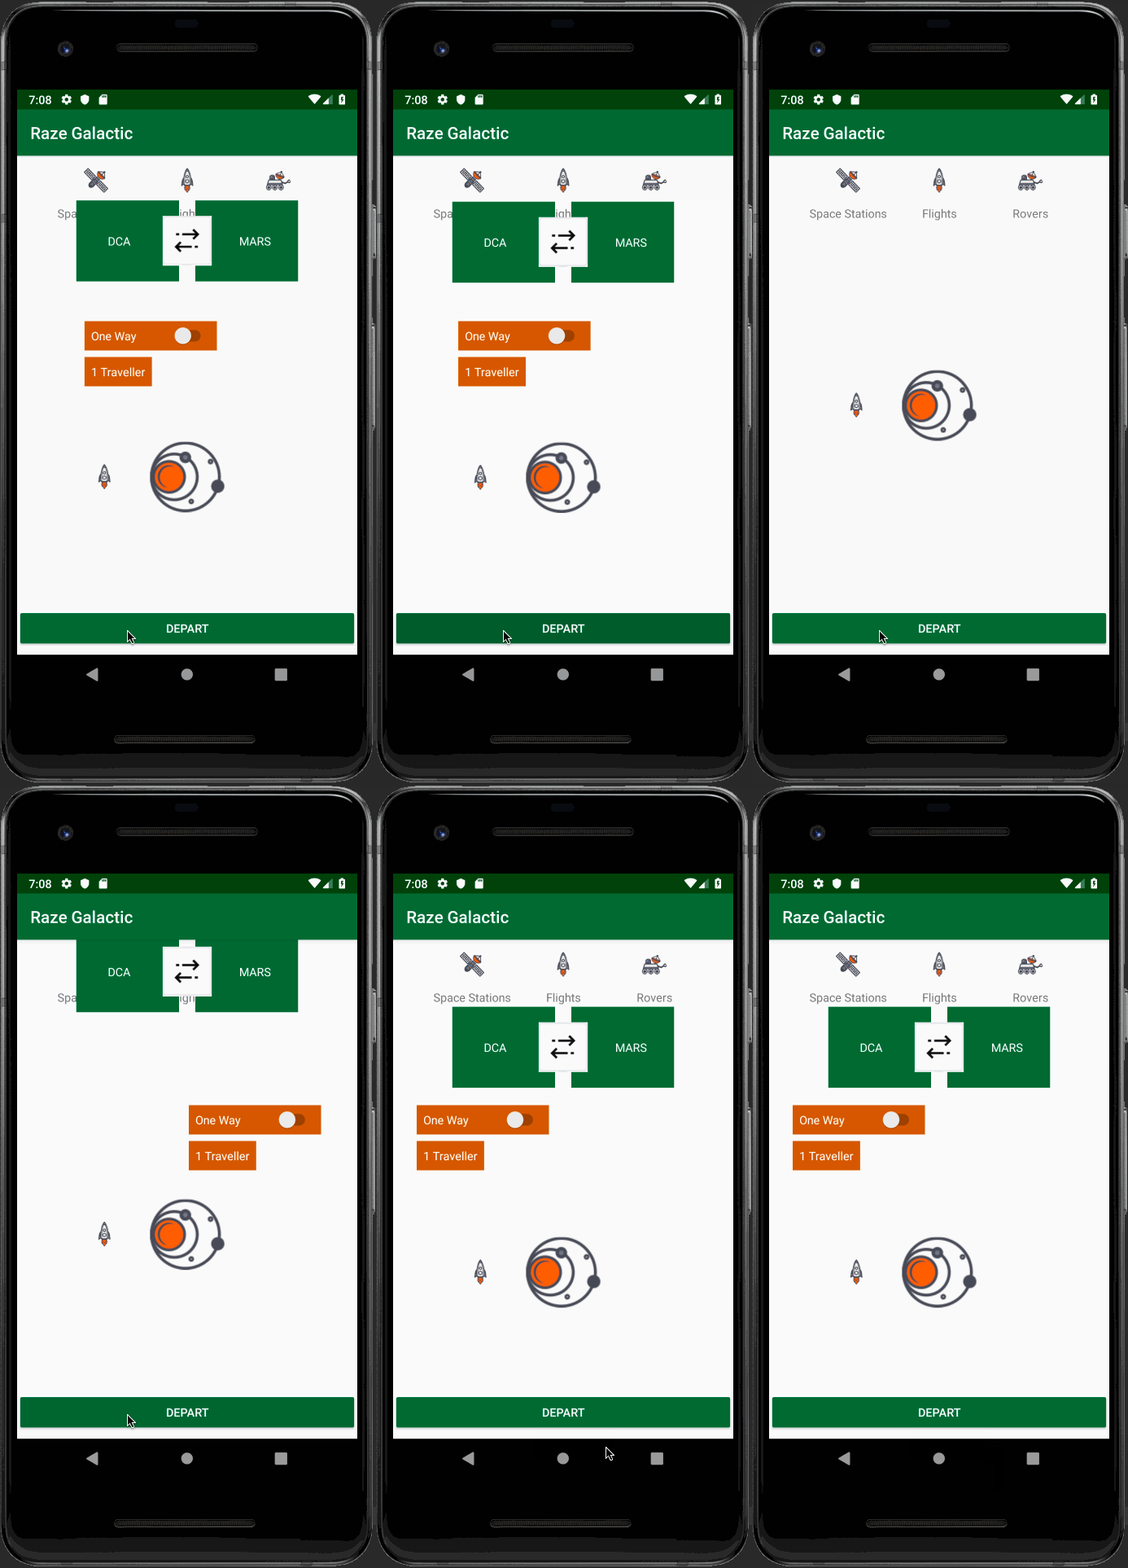
Build and run your app. The orange switch and label and the arrival and destination space ports no longer appear on the screen. Additionally, the rocket and universe icons have moved up:

Animating the View
Change the following import statement in your MainActivity.kt Kotlin class:
import import kotlinx.android.synthetic.main.activity_main.*
to the following:
import kotlinx.android.synthetic.main.keyframe1.*
This allows you to reference UI elements in the new layout XML without any findViewById() craziness from the pre-historic days of Android development. :]
Next, add the following private properties to the class. You may need to add the android.support.constraint.ConstraintSet import:
private val constraintSet1 = ConstraintSet()
private val constraintSet2 = ConstraintSet()

private var isOffscreen = true
The first two properties are the constraint sets that you’ll use to animate your view. You will use the boolean to keep track of the layout state.
Transition Manager
You can use the Transition Manager class to handle transitioning from one keyframe to another. To create a layout animation, you simply provide Transition Manager with the ConstraintSet you want to animate and it will handle the rest. Optionally, you can provide it with custom animations to perform.
Now, add the following to the onCreate() function, importing TransitionManager:
constraintSet1.clone(constraintLayout) //1
constraintSet2.clone(this, R.layout.activity_main) //2

departButton.setOnClickListener { //3
  //apply the transition
  TransitionManager.beginDelayedTransition(constraintLayout) //4
  val constraint = if (!isOffscreen) constraintSet1 else constraintSet2
  isOffscreen = !isOffscreen
  constraint.applyTo(constraintLayout) //5
}
- This pulls the layout information from the initial layout into one of the constraint sets,
constraintSet1. Since you added anIDto theConstraintLayoutearlier, you can refer to it directly from code now. - This pulls the layout information from the final layout into
constraintSet2. Since you are creating aConstraintSetand you never actually inflate the second layout file, you avoid the overhead and performance hit of dealing with a second layout. - This adds the animation in the listener for the button, for now, so that you can trigger the animation whenever it’s toggled.
- This calls Transition Manager’s
beingDelayedTransitionfunction. - This applies the new
ConstraintSetto the currently displayedConstraintLayout.
Build and run the app. Click the button at the bottom of the screen repeatedly to see how the animation works.
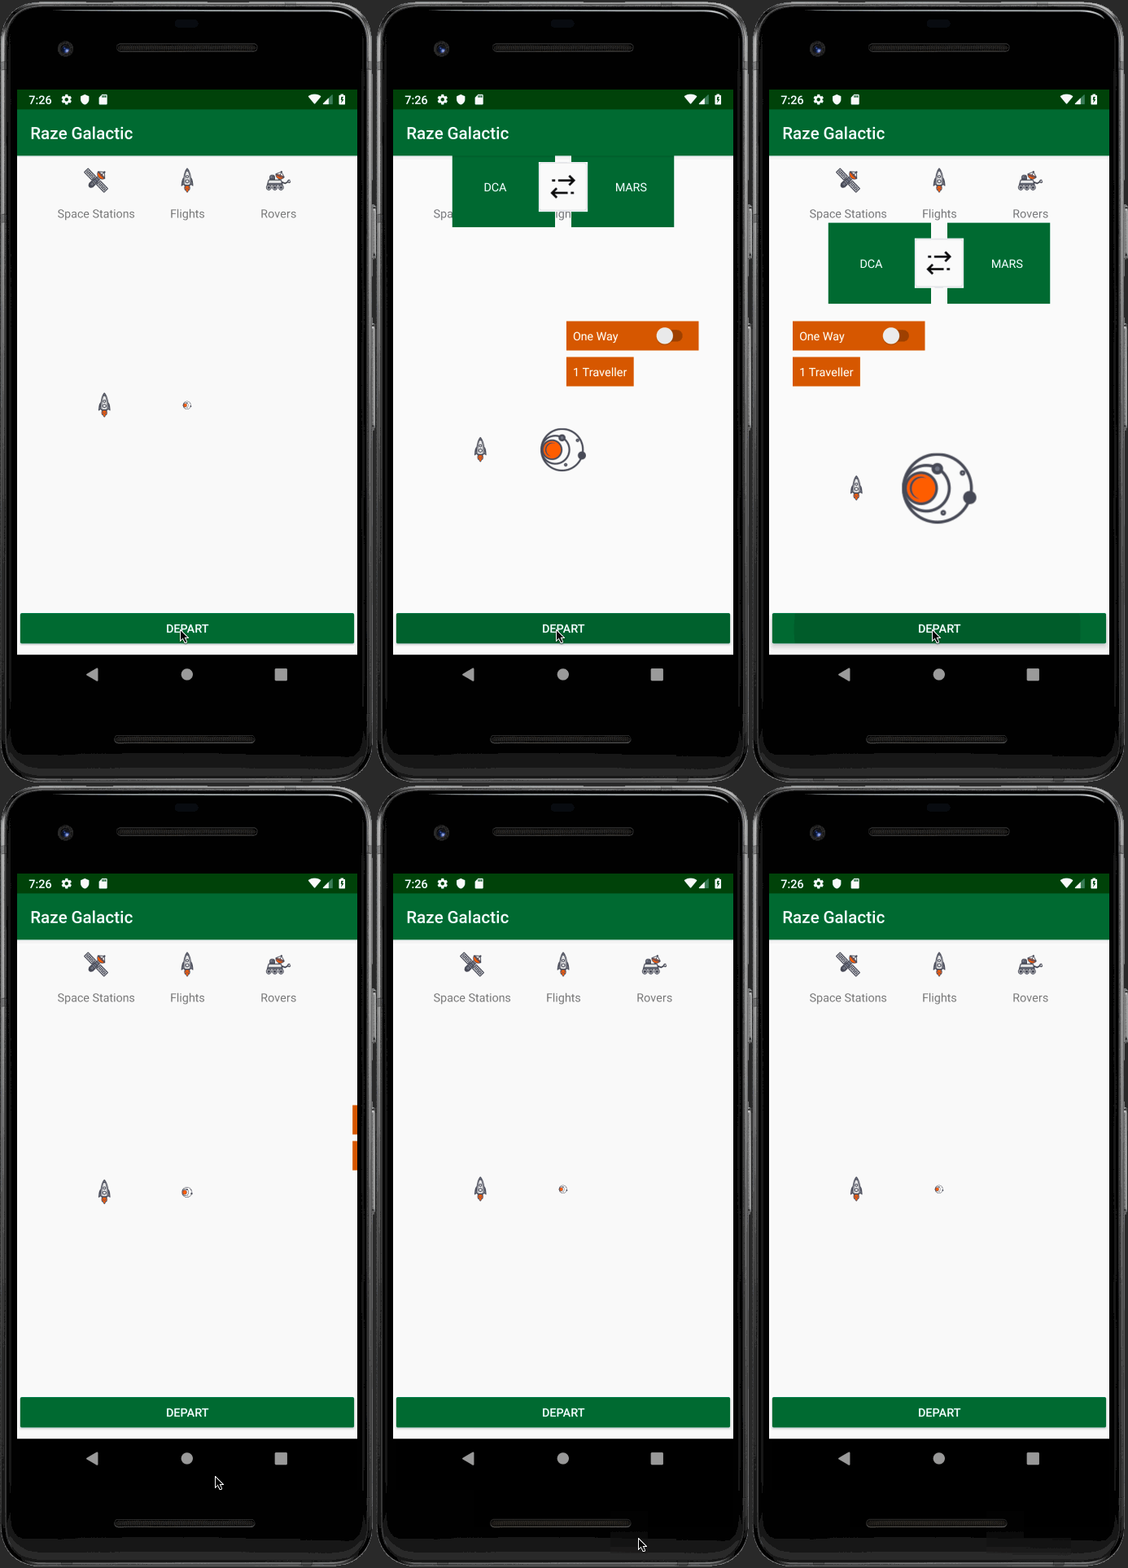
Voila! The app loads with a bunch of elements offscreen. When you tap the button, the guide positions animate, which causes everything constrained to them to animate as well.

Animating the Bounds of a View
Not only can you change the position of elements onscreen by affecting their constraints, but you can also change their size.
Open keyframe1.xml and select the galaxy icon, whose ID is galaxyIcon. Change the layout_height property from 90dp to 10dp.
Note: In activity_main.xml, the height is still set to 90dp.
Note: In activity_main.xml, the height is still set to 90dp.
Build and run the app and tap the button at the bottom repeatedly. Now you can witness the expansion of the galaxy in action! :]

Using Custom Transitions to Make Animation Easier
You now have a couple of animations tied to the switch, but wouldn’t it be nice for the view to animate automatically when it first loads?
You’ll do that next, but first you’ll create a custom animation instead of using the default animation, and you’ll also customize the animation’s timing.
Add the following function to MainActivity.kt, adding the import for android.transition.AutoTransition if it isn’t added automatically:
override fun onEnterAnimationComplete() { //1
  super.onEnterAnimationComplete()

  constraintSet2.clone(this, R.layout.activity_main) //2

  //apply the transition
  val transition = AutoTransition() //3
  transition.duration = 1000 //4
  TransitionManager.beginDelayedTransition(constraintLayout, transition) //5

  constraintSet2.applyTo(constraintLayout) //6
}
- Activities can’t draw anything while the view is animating.
onEnterAnimationComplete()is the point in the app life cycle where the view animation has completed and it’s safe to call on drawing code. - This pulls the layout information from your final layout into
constraintSet2. - This creates a custom transition. In this case, you are using a built-in transition,
AutoTransition(), which first fades out disappearing targets, then moves and resizes existing targets, and finally fades in appearing targets. - This sets a duration of 1,000 milliseconds for the animation, so that it’s slow enough to be seen.
- This calls Transition Manager’s
beingDelayedTransitionfunction, but this time you also supply your custom transition. - This applies the new
ConstraintSetto the currently-displayedConstraintLayout.
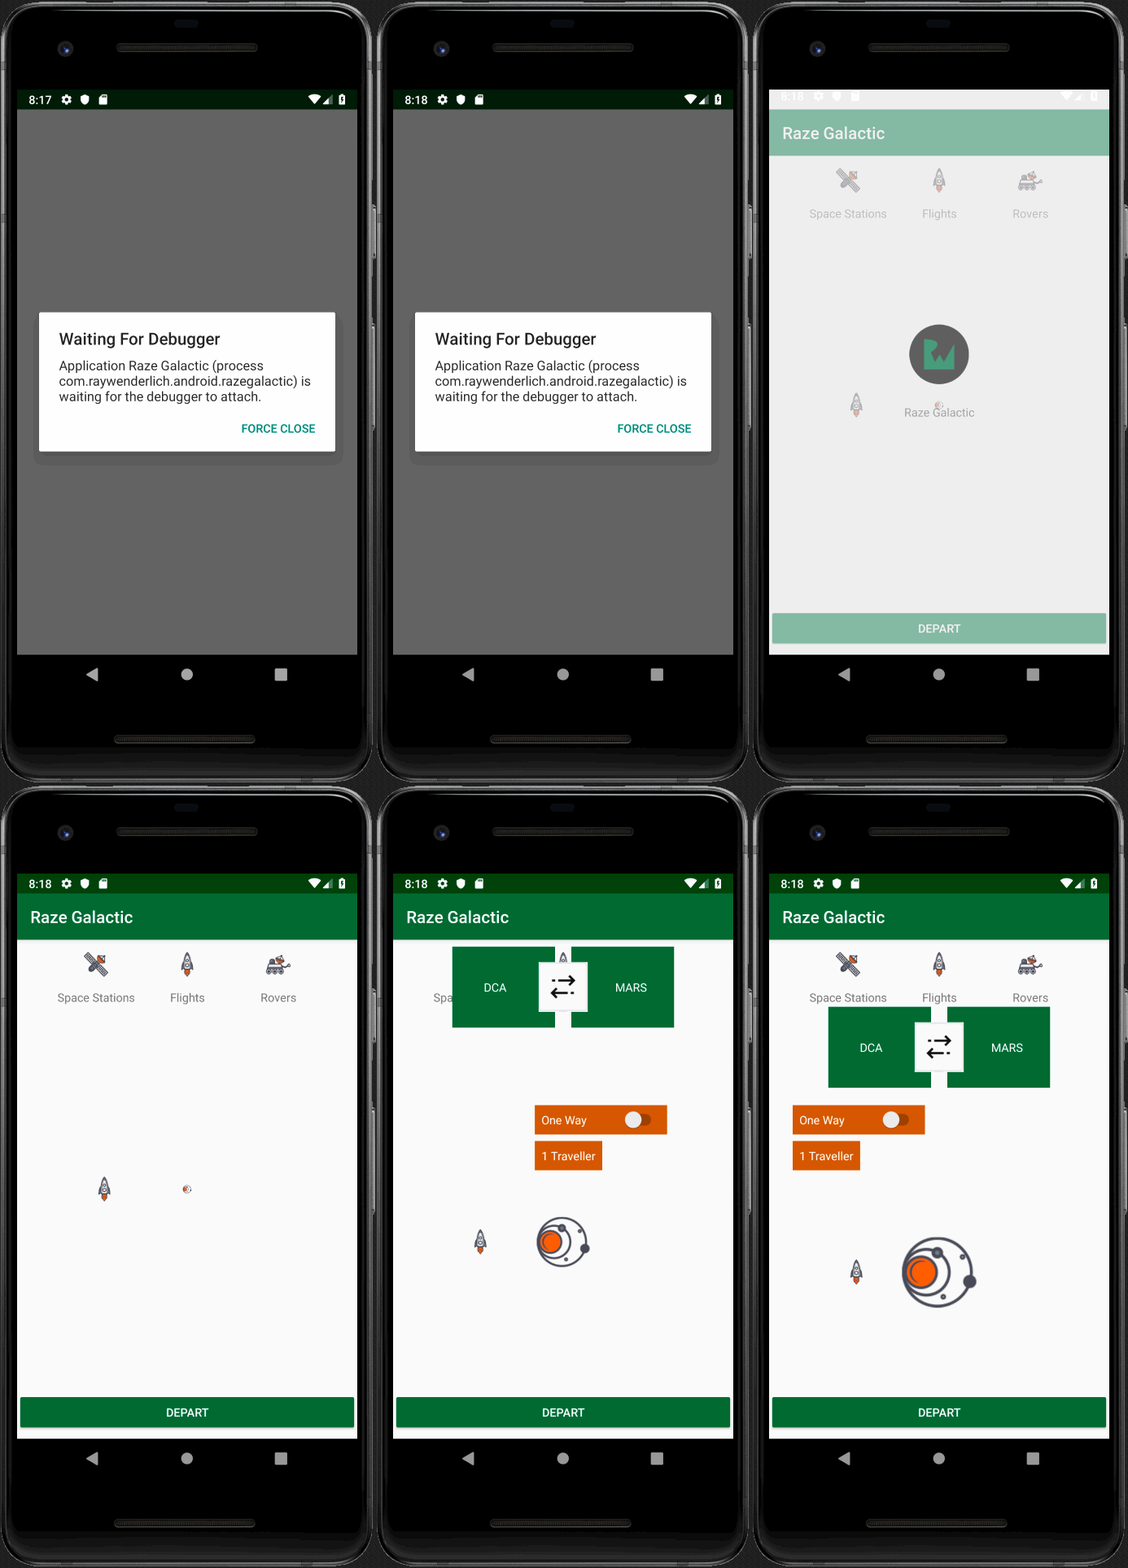
Build and run the app. Now, all of the animations occur as soon as the view loads.

Animating the Circular Constraint
Remember that funny circular constraint you added earlier? Time to add the grand finale animation by flying the rocket around the galaxy!
To animate the rocket around the galaxy, you have to alter two properties: the angle of the circular constraint, which moves the position of the rocket around the circle, and the rotation of the rocket to complete the illusion. You also check the One Way / Round Trip switch value to determine whether the rocket should fly half a circle or one full circle.
Replace the click listener for the DEPART button in onCreate() as follows:
departButton.setOnClickListener {
  //1
  val layoutParams = rocketIcon.layoutParams as ConstraintLayout.LayoutParams
  val startAngle = layoutParams.circleAngle
  val endAngle = startAngle + (if (switch1.isChecked) 360 else 180)

  //2
  val anim = ValueAnimator.ofFloat(startAngle, endAngle)
  anim.addUpdateListener { valueAnimator ->

    //3
    val animatedValue = valueAnimator.animatedValue as Float
    val layoutParams = rocketIcon.layoutParams as ConstraintLayout.LayoutParams
    layoutParams.circleAngle = animatedValue
    rocketIcon.layoutParams = layoutParams

    //4
    rocketIcon.rotation = (animatedValue % 360 - 270)
  }
  //5
  anim.duration = if (switch1.isChecked) 2000 else 1000

  //6
  anim.interpolator = LinearInterpolator()
  anim.start()
}
- Set
startAngleto the current angle of the rocket before animation start. Depending on One Way / Round Trip switch,endAngleis either 180 or 360 degree in addition tostartAnglevalue. -
ValueAnimatorclass provides a simple timing engine for running animations between two values. Here you providestartAngleandendAngleto create the instance ofValueAnimator. - Inside update listener of
ValueAnimatorinstance, obtain the animated value and assign it to the rocket’scircleAngleinlayoutParams. - Rotate the rocket with animated value. This will make the rocket fly in more natural direction.
- This is quite straightforward. One way animation takes 1 second, while round trip animation takes 2 seconds.
- Choose
LinearInterpolatorto make sure passengers have pleasant flight. You can tryAnticipateOvershootInterpolatorto see what will happen :] Last but not least, start the animation!
Build and run the app. Click the DEPART button and toggle the switch to make the rocket fly around the galaxy:

Congratulations! You’ve built a complex UI layout for a space travel Android app, and you’ve added some cool animations to it with just a few lines of code.