Object Pooling in Unity
In this tutorial, you’ll learn how to create your own object pooler in Unity in a fun 2D shooter. By Mark Placzek.
Sign up/Sign in
With a free Kodeco account you can download source code, track your progress, bookmark, personalise your learner profile and more!
Create accountAlready a member of Kodeco? Sign in
Sign up/Sign in
With a free Kodeco account you can download source code, track your progress, bookmark, personalise your learner profile and more!
Create accountAlready a member of Kodeco? Sign in
Contents
Add the Tags
Get this working with bullets first, then you can add additional objects.
Reopen the ShipController script in MonoDevelop. In both Shoot() and ActivateScatterShotTurret(), look for the line:
GameObject bullet = ObjectPooler.SharedInstance.GetPooledObject();
Append the code so that it includes the Player Bullet tag parameter.
GameObject bullet = ObjectPooler.SharedInstance.GetPooledObject(“Player Bullet”);
Return to Unity and click on the GameController object to open it in the Inspector.
Add one item to the new ItemsToPool list and populate it with 20 player bullets.

Click Play to make sure all that extra work changed nothing at all. :]
Good! Now you're ready to add some new objects to your object pooler.
Change the size of ItemsToPool to three and add the two types of enemy ships. Configure the ItemsToPool instances as follows:
Element 1:
Object to Pool: EnemyDroneType1
Amount To Pool: 6
Should Expand: Unchecked
Element 2
Object to Pool: EnemyDroneType2
Amount to Pool: 6
Should Expand: Unchecked

As you did for the bullets, you need to change the instantiate and destroy methods for both types of ships.
The enemy drones are instantiated in the GameController script and destroyed in the EnemyDroneController script.
You've done this already, so the next few steps will go a little faster. :]
Open the GameController script. In SpawnEnemyWaves(), find the enemyType1 instantiation code:
Instantiate(enemyType1, spawnPosition, spawnRotation);
And replace it with the following code:
GameObject enemy1 = ObjectPooler.SharedInstance.GetPooledObject("Enemy Ship 1");
if (enemy1 != null) {
  enemy1.transform.position = spawnPosition;
  enemy1.transform.rotation = spawnRotation;
  enemy1.SetActive(true);
}
Find this enemyType2 instantiation code:
Instantiate(enemyType2, spawnPosition, spawnRotation);
Replace it with:
GameObject enemy2 = ObjectPooler.SharedInstance.GetPooledObject("Enemy Ship 2");
if (enemy2 != null) {
  enemy2.transform.position = spawnPosition;
  enemy2.transform.rotation = spawnRotation;
  enemy2.SetActive(true);
}
Finally, open the EnemyDroneController script. Currently, OnTriggerExit2D() just destroys the enemy ship when it leaves the screen. What a waste!
Find the line of code:
Destroy(gameObject);
Replace it with the code below to ensure the enemy goes back to the object pool:
gameObject.SetActive(false);
Similarly, in OnTriggerEnter2D(), the enemy is destroyed when it hits a player bullet. Again, find Destroy():
Destroy(gameObject);
And replace it with the following:
gameObject.SetActive(false);
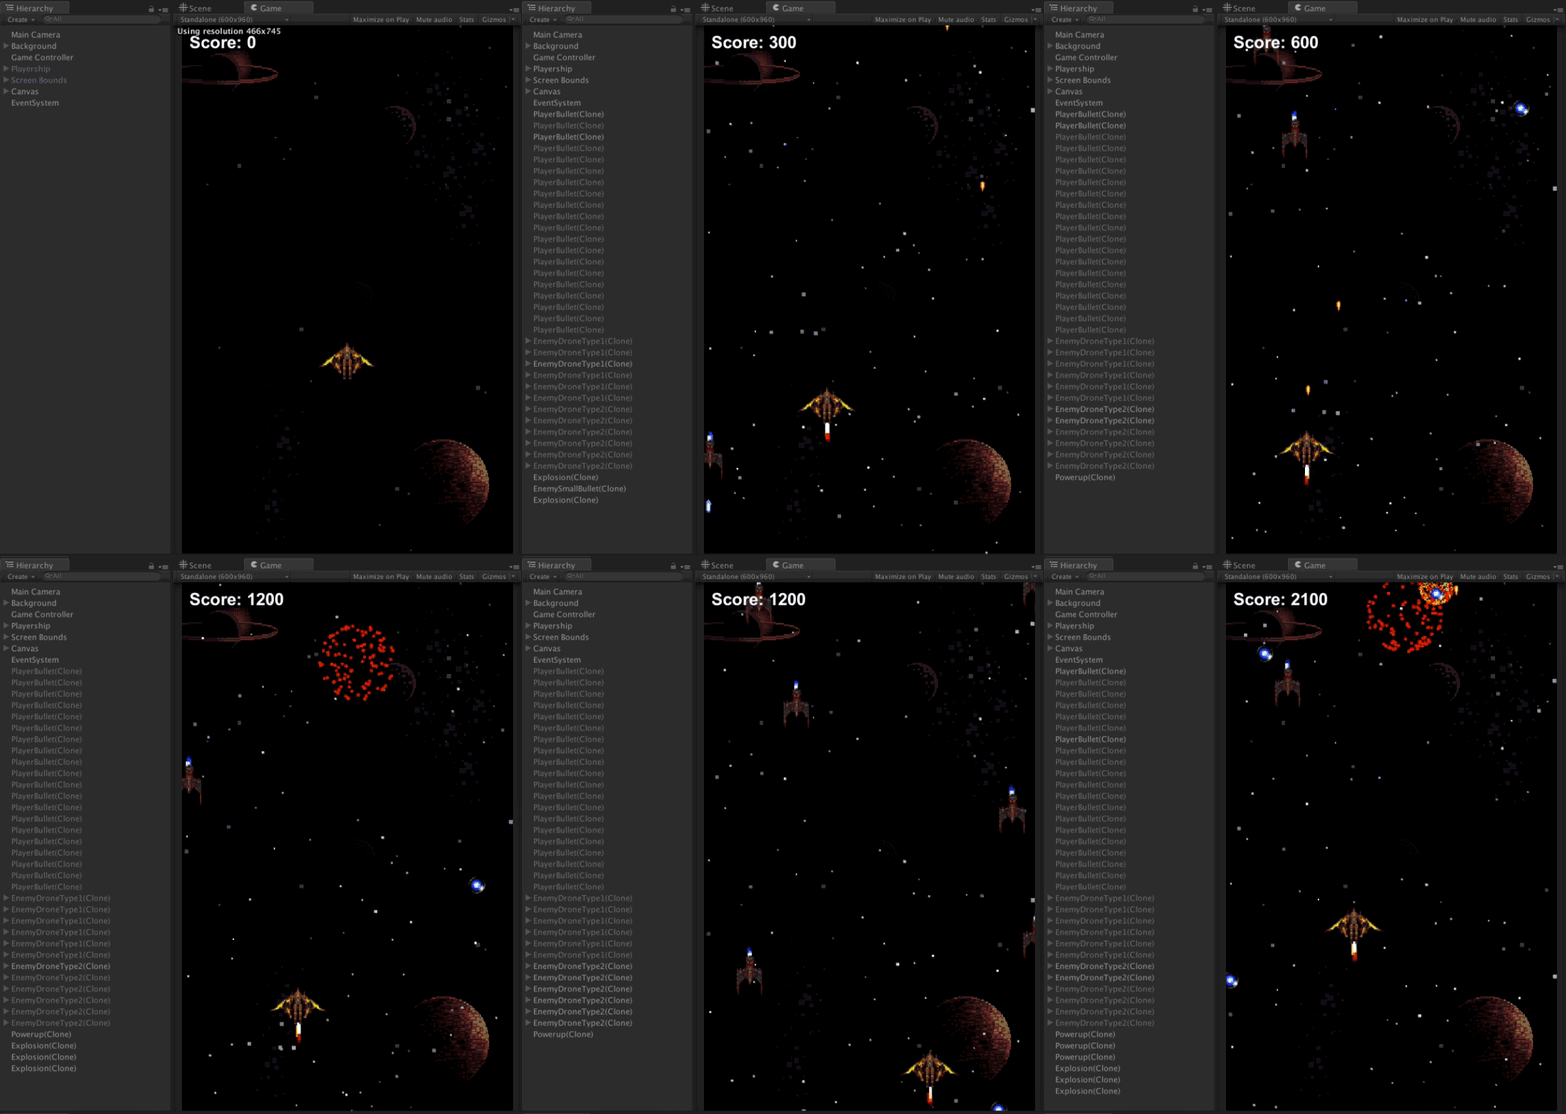
Hit the play button and watch as all of your instantiated bullets and enemies change from inactive to active and back again as and when they appear on screen.
Elon Musk would be envious your reusable space ships!

Elon Musk would be envious your reusable space ships!

Where to go From Here?
Thank you for taking the time to work through this tutorial. Here's a link to the Completed Project.
In this tutorial, you retrofitted an existing game with object pooling to save your users' CPUs from a near-certain overload and the associated consquences of frame skipping and battery burning.
You also got very comfortable jumping between scripts to connect all the pieces together.
If you want to learn more about object pooling, check out Unity's live training on the subject.
I hope you found this tutorial useful! I'd love to know how it helped you develop something cool or take an app to the next level.
Feel free to share a link to your work in the comments. Questions, thoughts or improvements are welcome too! I look forward to chatting with you about object pooling, Unity and destroying all the aliens.