Android Debug Bridge (ADB): Beyond the Basics
In this tutorial, you’ll learn how to communicate with your device using Android Debug Bridge (ADB). By Lance Gleason.
Sign up/Sign in
With a free Kodeco account you can download source code, track your progress, bookmark, personalise your learner profile and more!
Create accountAlready a member of Kodeco? Sign in
Sign up/Sign in
With a free Kodeco account you can download source code, track your progress, bookmark, personalise your learner profile and more!
Create accountAlready a member of Kodeco? Sign in
Contents
Android Debug Bridge (ADB): Beyond the Basics
15 mins
When you deploy an app to a simulator or a device, whether you know it or not, you’re using Android Debug Bridge (ADB). This tool allows you to perform many development tasks, including:
- Deploying apps to a device.
- Debugging apps.
- Viewing device and app logs.
- Profiling apps.
With Android Studio built-in hooks to ADB, you can develop apps for a long time without needing to go beyond using these tools.
ADB is a very powerful tool. If you do Android development long enough, at some point you’ll need to go beyond what your Integrated Development Environment (IDE) provides.
Situations where you will need to do this include:
- Running Android Studio on a Chromebook.
- Using Android Things on a Raspberry Pi.
- Deploying to a physical device with Wi-Fi.
- Deploying to a virtual device on another machine.
In this tutorial, you’ll learn how to take your ADB skills beyond Android Studio.
- A Linux, MacOS or Windows machine.
- A physical Android device such as a phone or tablet.
- Access to a Wi-Fi network that allows device-to-device communication.
- Optional: A second, remote machine with ssh installed.
- A Linux, MacOS or Windows machine.
- A physical Android device such as a phone or tablet.
- Access to a Wi-Fi network that allows device-to-device communication.
- Optional: A second, remote machine with ssh installed.
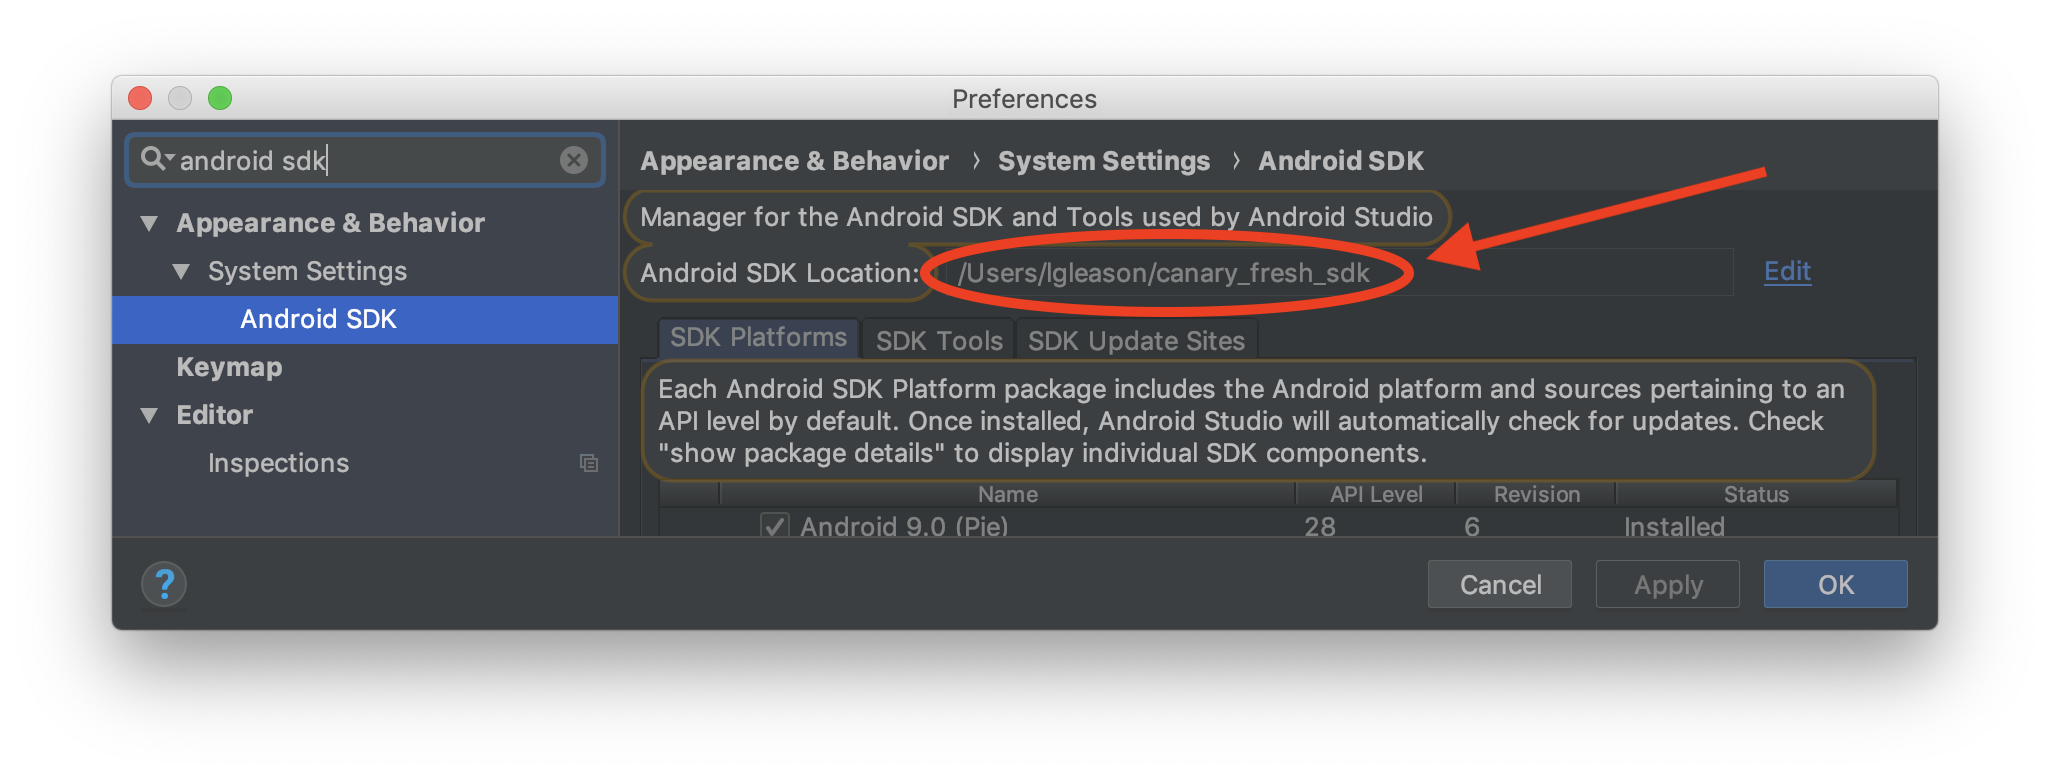
The Android Software Development Kit (SDK) includes ADB. To use it, you’ll need to know where the SDK is on your machine.
Open Android Studio and go to Android Studio ▸ Preferences on a Mac or File ▸ Settings on Linux or Windows. Next, type android sdk in the search box. You’ll get a screen that will show the location of the SDK:
You can also find it by going to File ▸ Project Structure in an open project. This will bring up a different screen showing the location of the SDK for that project:
In these examples, the SDK is located in the /Users/lgleason/canary_fresh_sdk directory. Open the terminal on your machine and change your current directory to the location of your SDK. Finally, list the contents of the directory.
It will look similar to this:
Find the ADB command in the platform-tools directory of your SDK. Change to that directory and then list the contents. You’ll see adb as one of the commands:
To run ADB on a Mac or Linux-based machine, type ./adb. On Windows, type adb.
Because you didn’t pass any parameters into ADB, you’ll see a help page describing commands you can use.
To start, use ADB to view devices connected to your machine. Connect a phone to your development machine via USB or start one of your Android Virtual Devices.
Type ./adb devices and execute it.
Android Studio usually hides these details, and a lot of this can seem like magic. Behind the scenes, ADB has three components that work together:
This note refers to the ADB server, which doesn’t start until Android Studio starts or until you run ADB for the first time.
- Client: ADB command invokes this on the terminal or via Android Studio.
- Daemon (adbd): Runs ADB commands on a device.
- Server: Runs on the client machine and manages the communication between the client and the daemon running on the device.
Android Studio usually hides these details, and a lot of this can seem like magic. Behind the scenes, ADB has three components that work together:
- Client: ADB command invokes this on the terminal or via Android Studio.
- Daemon (adbd): Runs ADB commands on a device.
- Server: Runs on the client machine and manages the communication between the client and the daemon running on the device.
This note refers to the ADB server, which doesn’t start until Android Studio starts or until you run ADB for the first time.
Now that you know how to run ADB, there are a few essential things to know when using it from the command line.
Working With Multiple Devices
If you have one device connected to your development machine, ADB automatically executes commands on that device.
To see that in action, shut down virtual machines or disconnect any physical devices until you have only one device listed.
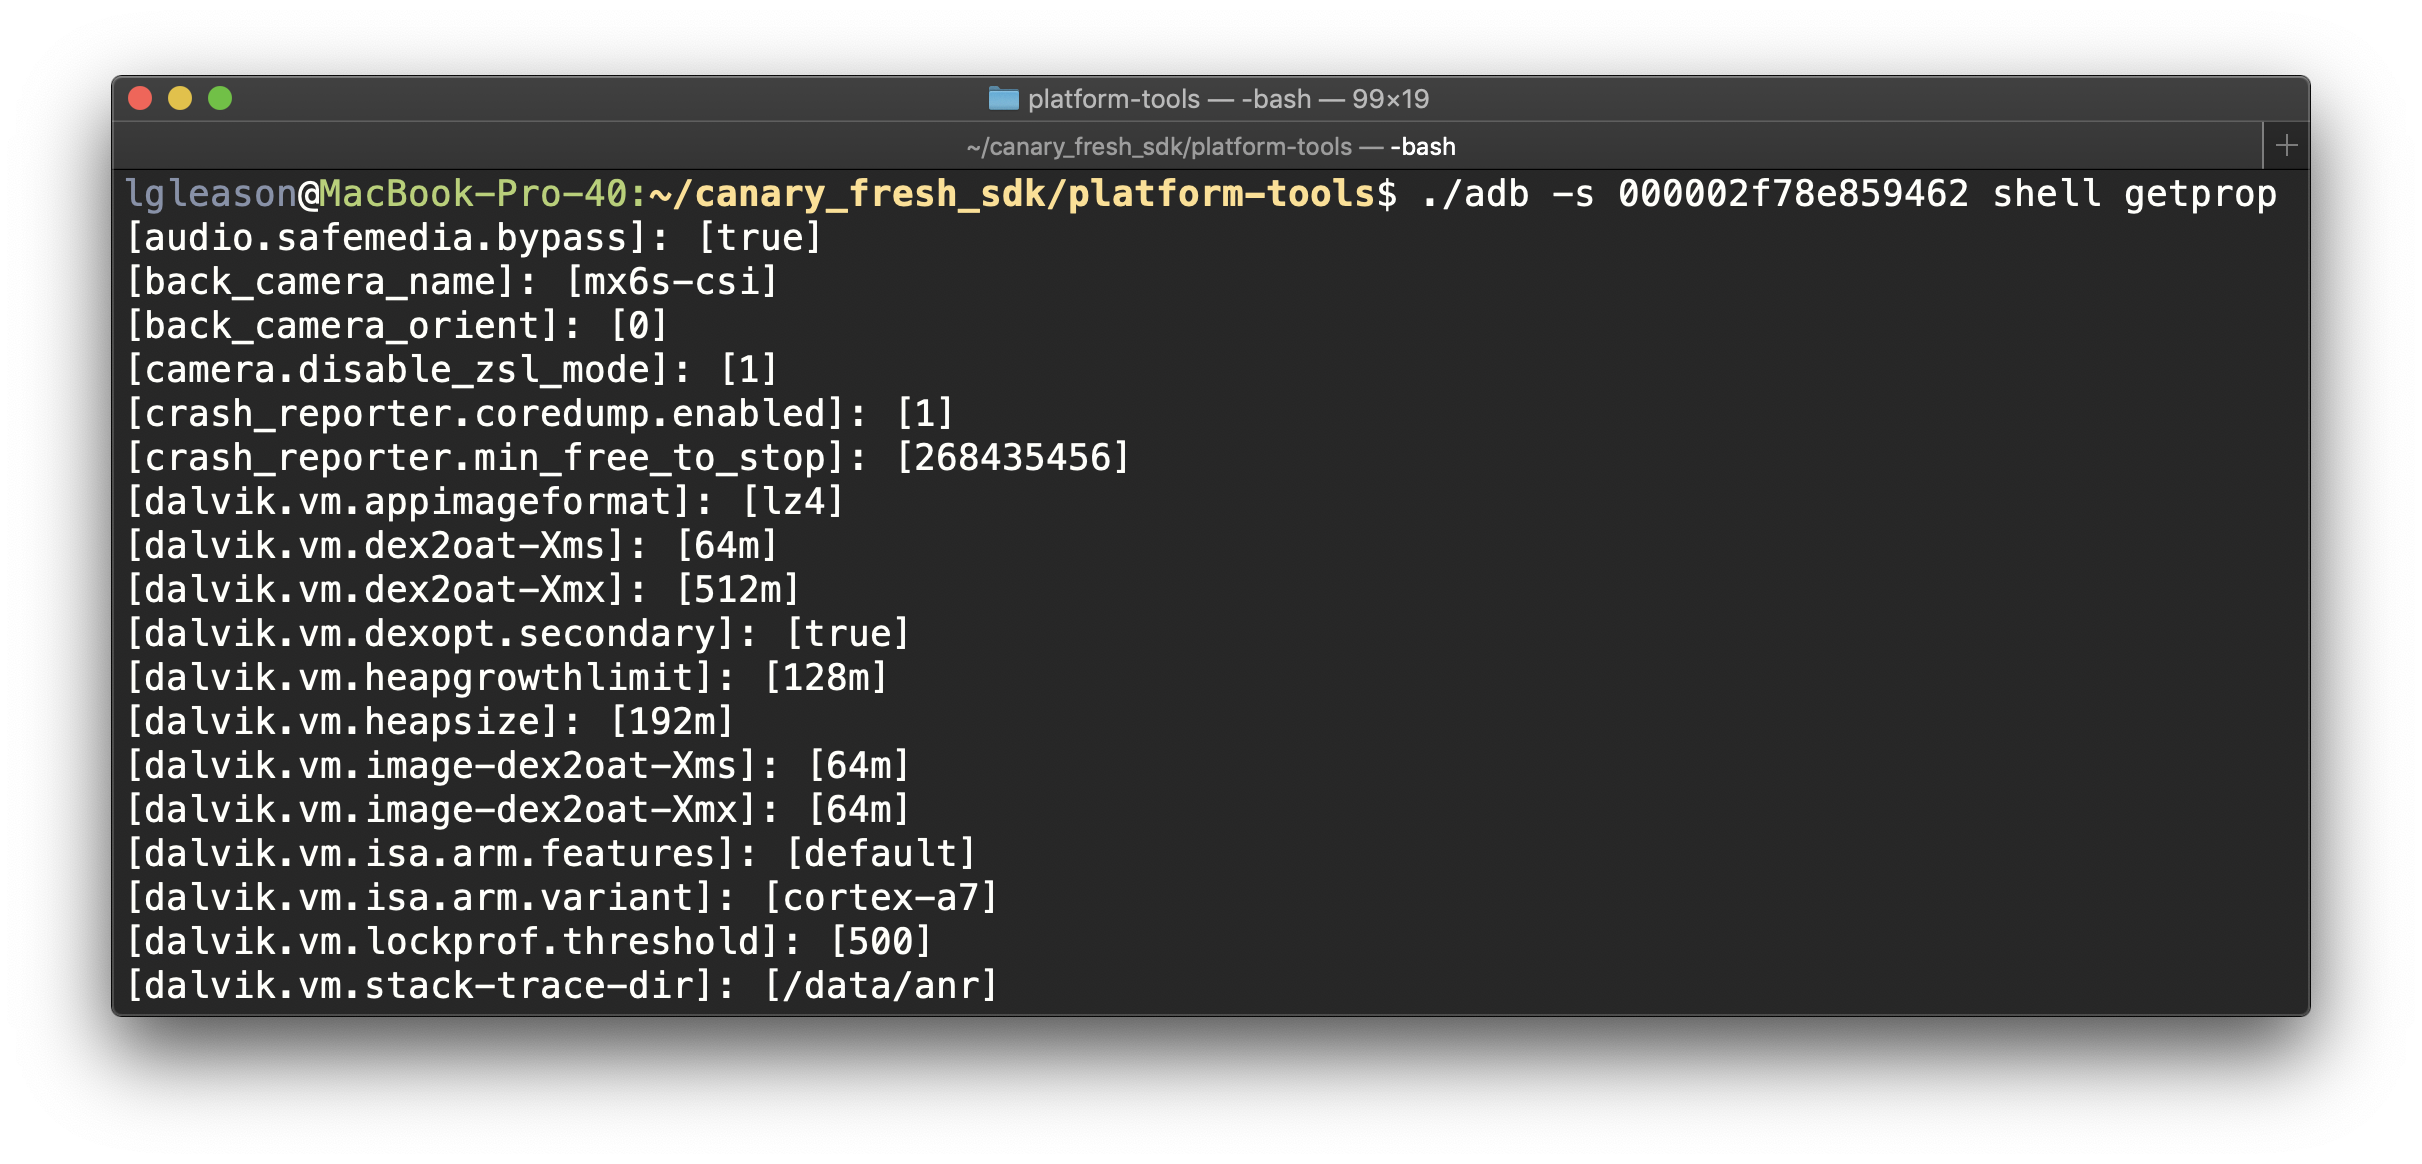
Type in ./adb shell getprop and execute to get information about the connected device.
Nice job! You executed a command on your connected device.
Now, try doing the same when you have multiple devices connected.
Connect another physical device or start up an additional virtual device on your machine.
Once it starts, list the devices by executing ./adb devices:
Type ./adb shell getprop and execute it:
Whoops, this time you have an error!
ADB doesn’t know on which device to perform this command. To fix this, pass a parameter to tell which device to run.
Get the name from the first column of one ADB device output:
Based on the output above, there is a device named 000002f78e859462. Pass it to the command by typing adb -s {your device name} shell getprop and execute it:
Awesome! The command now runs in a specific device.
The Shell Command
Android Studio has functions for doing things such as installing apps, viewing logs and profiling. If you want advanced device information or to list apps that are on a device, you need to use the command line shell.
In this tutorial, you’ll access the shell from ADB. In other scenarios where you may need to access it by other means, such as through a serial connection in Android Things.
In this tutorial, you’ll access the shell from ADB. In other scenarios where you may need to access it by other means, such as through a serial connection in Android Things.
The getprop shell command you used earlier is one of many shell commands you can use with Android. Another useful command is the package manager shell command that lets you perform various functions with installed packages on your devices.
In the command prompt, type ./adb shell pm list packages and execute it:
This is telling pm (package manager) to list all the installed packages in your device.
ADB makes it easy to connect to virtual devices running on your machine and physical devices connected via USB. However, there are scenarios where you may need to use ADB to connect to devices via Wi-Fi or over a network.


