Getting Started with SwiftUI Animations
In this tutorial, you’ll learn how to add fancy animations with SwiftUI. You’ll go from basic animations to complex and custom spring animations. By Michael Katz.
An Alternate Look at Animatable Data
In the previous step, you animated the effect by changing the percentage from 0 to 1. This is a good generic strategy for animating anything. For example, you could do the same for a progress bar and use GeometryEffect to extend the bar’s width across the screen.
Or, you could just animate the angle directly and save a step.
In OrbitEffect, rename percentage to angle, which you’ll now animate from 0 to 2π. Make sure you also replace percentage with angle n the definition of animatableData.
Next, change the calculation in effectValue(size:) to:
func effectValue(size: CGSize) -> ProjectionTransform {
  let pt = CGPoint(
    x: cos(angle + initialAngle) * radius,
    y: sin(angle + initialAngle) * radius)
  let translation = CGAffineTransform(translationX: pt.x, y: pt.y)
  return ProjectionTransform(translation)
}
This uses the angle property directly instead of computing the angle based on percentages.
Then, change makeOrbitEffect(diameter:) to:
func makeOrbitEffect(diameter: CGFloat) -> some GeometryEffect {
  return OrbitEffect(
    angle: self.animationFlag ? 2 * .pi : 0,
    radius: diameter / 2.0)
}
Here instead of 0 to 1, the change will be from 0 to 2π when the animationFlag is toggled.
Build and run now, but you won’t notice a difference in the animation.
Using the value versus a percentage for the animation works best when the start and end points are arbitrary, such as animating a view between two locations set by the user or by other views.
Other Ways to Animate
The animation types you’ve seen so far happen either implicitly or explicitly when a view changes due to a state change. You can also animate a view by explicitly controlling a view’s attributes. For example, you can loop in a change to a view’s offset to move it from one location to another.
Tapping a moon name in the moon list will bring up a detail screen for the planet with a scrollable list of moon thumbnails. Right now, this list is pretty boring.
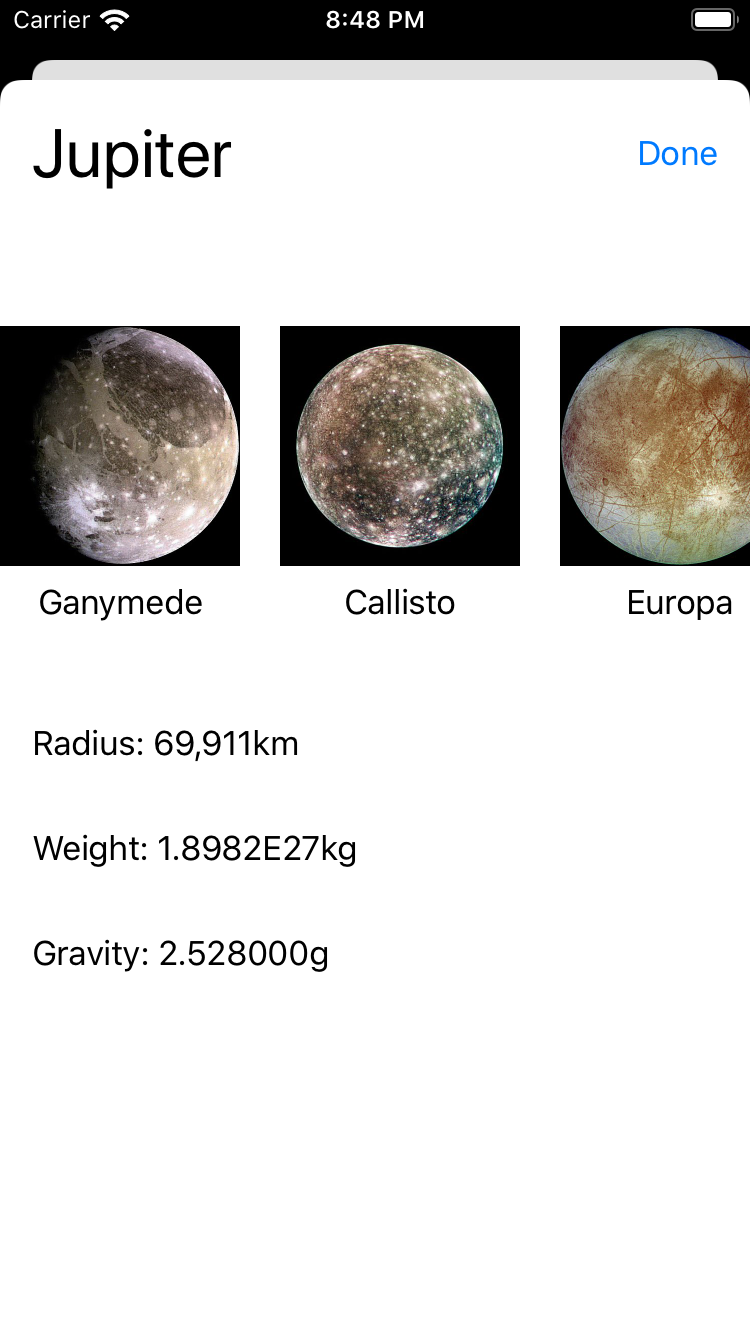
You can spice up the list by giving it a CoverFlow-like interface using a rotation3DEffect.
In MoonFlow.swift add the following to the end of the VStack, in the middle of body:
.rotation3DEffect(
  .degrees(Double(moonGeometry
    .frame(in: .global).midX - geometry.size.width / 2) / 3),
  axis: (x: 0, y: 1, z: 0)
)
This applies a rotation effect along the y-axis, depending on how far off the center of the whole view an individual VStack is. As a user scrolls, the geometry of that stack will constantly change, causing updates to the rotation effect. This results in a smooth alteration of the rotation — making an animation.

Through the combination of GeometryReader and an effect such as projectionEffect, transformEffect, scaleEffect or rotationEffect, you can alter a view’s position and shape as it changes position on-screen.
Where to Go From Here?
You’ve just scratched the surface of all the things you can do with SwiftUI animations. Fortunately, adding a .animation(.default) or .animation(.spring()) will usually get you pretty far.
If you want to go further and learn more about SwiftUI and SwiftUI animations, check out the SwiftUI: Getting Started tutorial, the SwiftUI by Tutorials book and the SwiftUI video course.
If you have any questions, feel free to leave them in the comments below.