Moving the Persistent Buffer
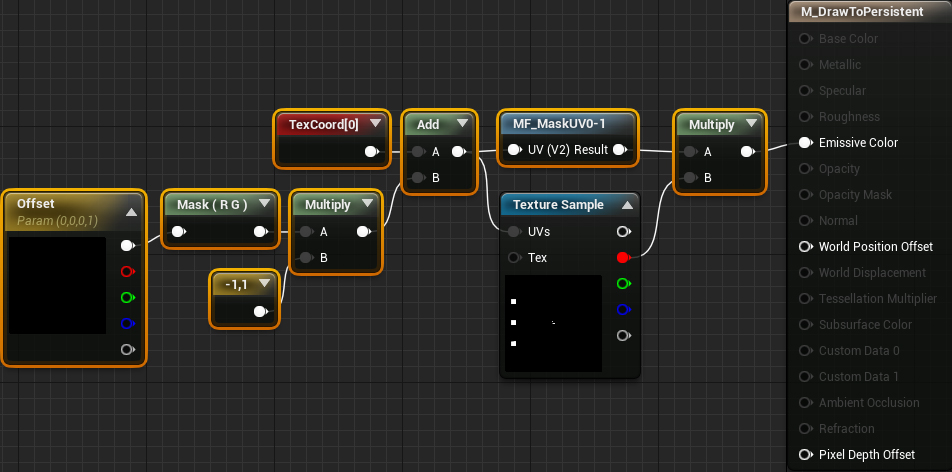
To shift the persistent buffer, you will need to pass in the move offset you calculated. Open M_DrawToPersistent and add the highlighted nodes:

This will shift the persistent buffer using the provided offset. And just like in the ground material, you also need to flip the X coordinate and perform masking. Click Apply and then close the material.
Next, you need to pass in the move offset. Open BP_Capture and then open the DrawToPersistent function. Afterwards, add the highlighted nodes:

This will convert MoveOffset into UV space and then pass it to the draw material.
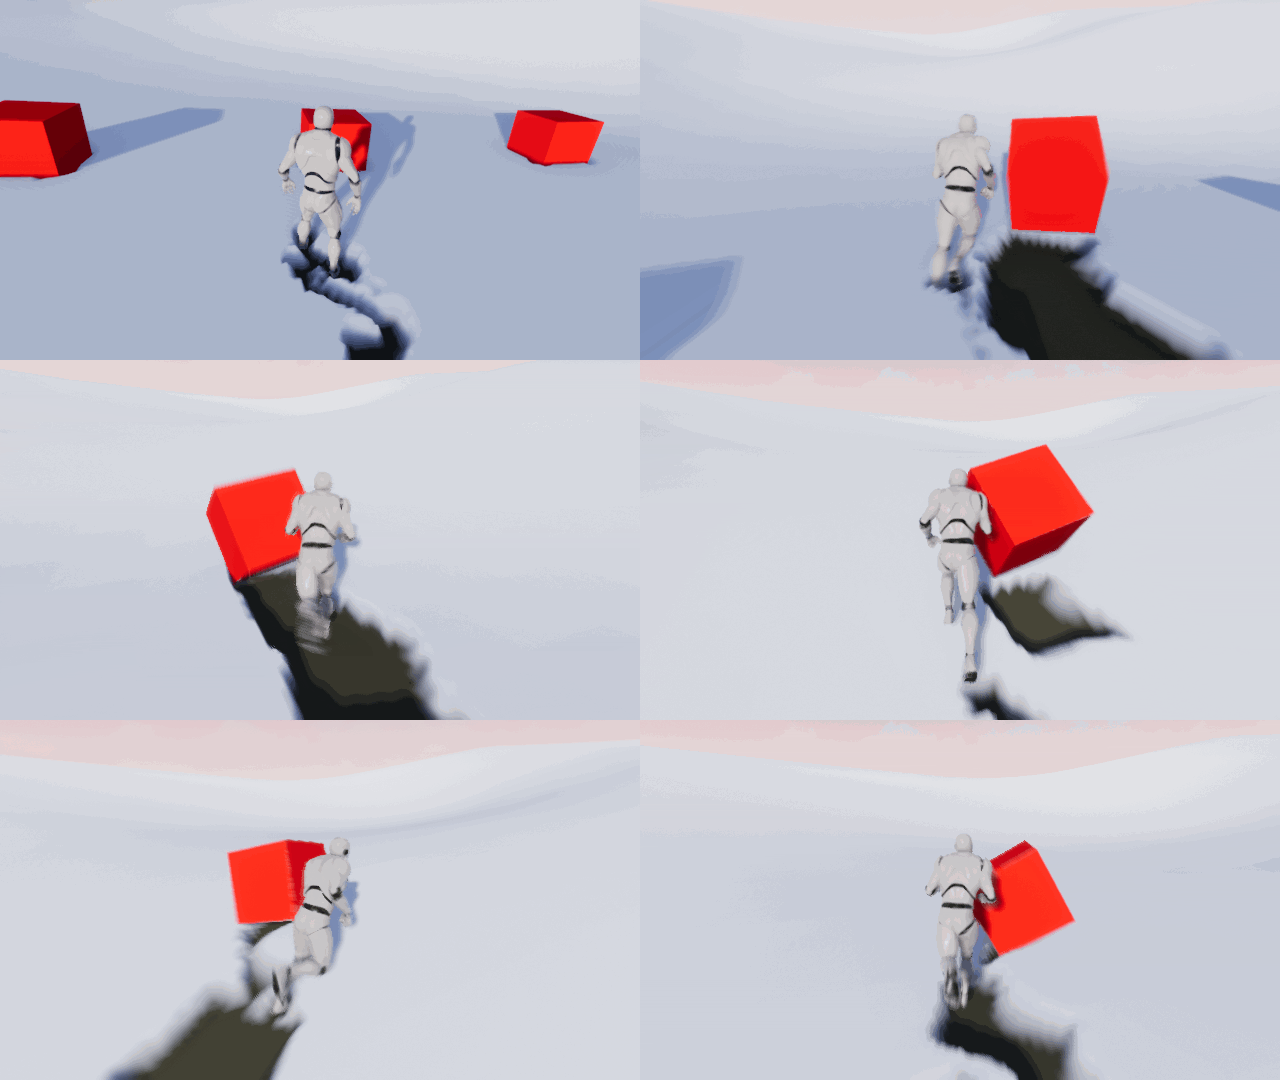
Click Compile and then close the Blueprint. Press Play and then run to your heart’s content! No matter how far you run, there will always be snow trails around you.

Where to Go From Here?
You can download the completed project using the link at the top or bottom of this tutorial.
You don’t have to use the trails in this tutorial just for snow. You can even use it for things like trampled grass (I’ll show you how to do an advanced version in the next tutorial).
If you’d like to do more with landscapes and render targets, I’d recommend checking out Building High-End Gameplay Effects with Blueprint by Chris Murphy. In this tutorial, you’ll learn how to create a giant laser that burns the ground and grass!
If there are any effects you’d like to me cover, let me know in the comments below!


