Handling the Navigation to RestaurantDetailsViewController
Finally, you may have noticed that the app doesn’t yet navigate to a screen that shows the details of a restaurant. To do so, open RestaurantListViewController.swift and locate the following extension:
extension RestaurantListViewController: UITableViewDelegate {
Next, add the following delegate method inside of the extension:
func tableView(_ tableView: UITableView, didSelectRowAt indexPath: IndexPath) {
  guard indexPath.row <= restaurants.count else {
    return
  }

  let detailsViewController = UIStoryboard(name: "Main", bundle: nil)
    .instantiateViewController(withIdentifier: "RestaurantDetailsViewController")
      as! RestaurantDetailsViewController
  detailsViewController.restaurantId = restaurants[indexPath.row].id
  navigationController?.pushViewController(detailsViewController, animated: true)
  tableView.deselectRow(at: indexPath, animated: true)
}
Here you simply set up the details view controller, pass in restaurantId for the selected restaurant, and push it on the navigation stack.
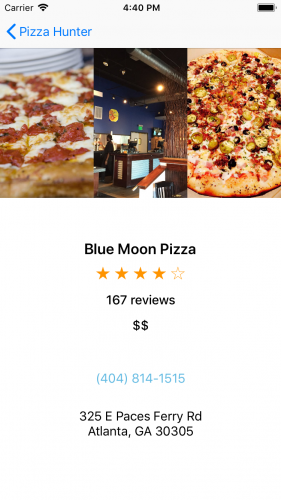
Build and run the app. You can now tap on a restaurant that's listed. Tada!

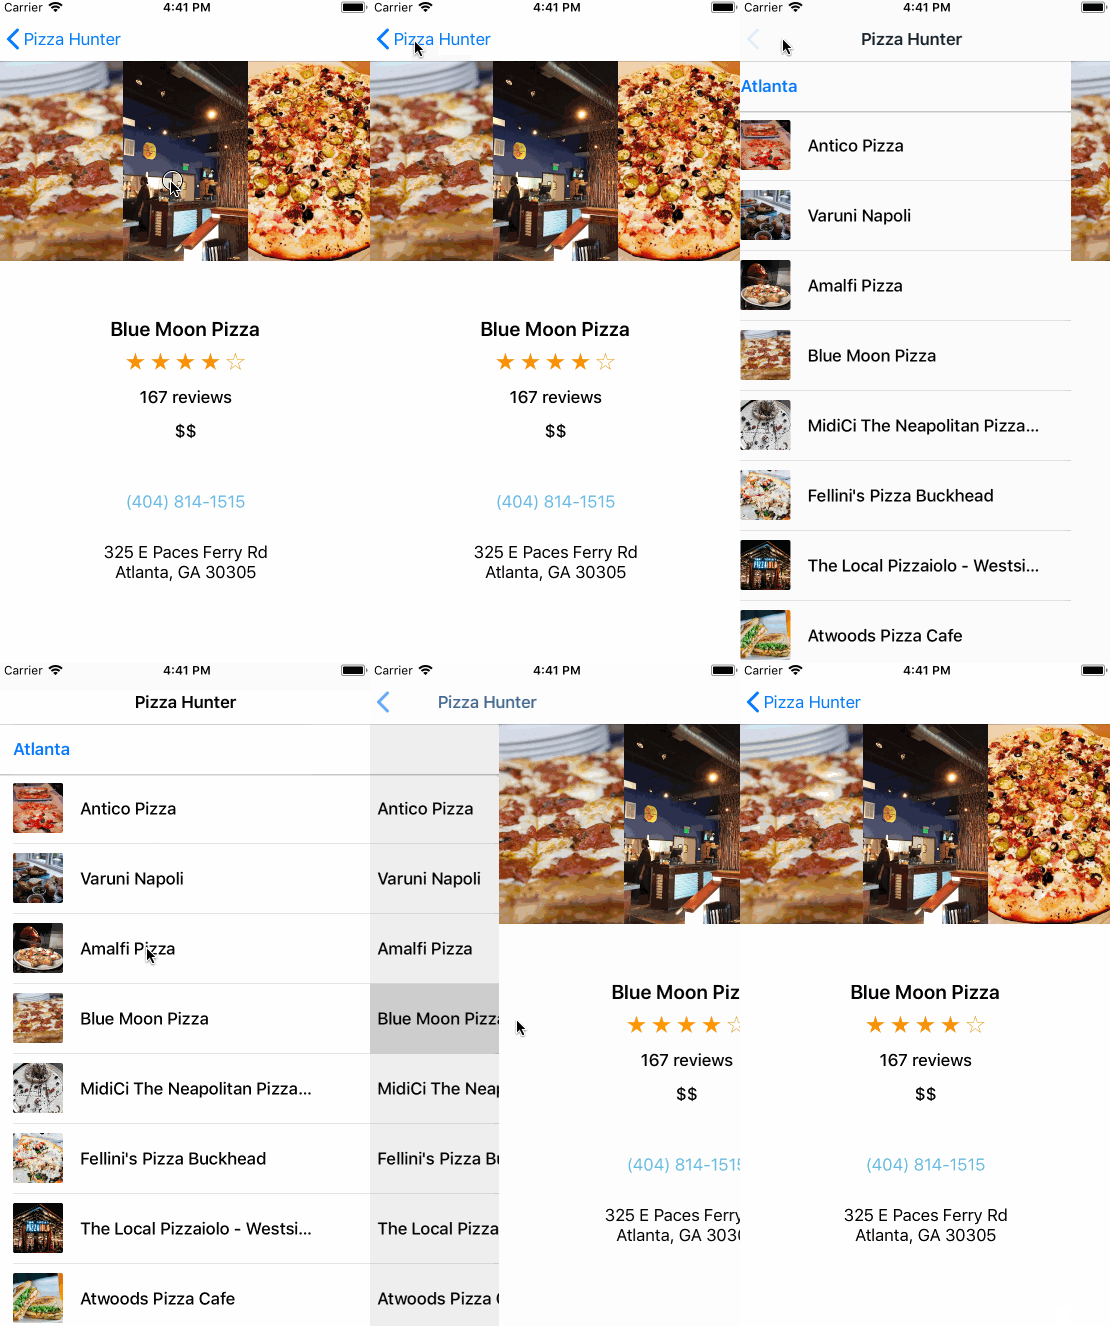
If you swipe back and tap on the same restaurant, you'll see the restaurant details load instantly. This is another example of Siesta's local caching behavior delivering a great user experience:

That’s it! You've built a restaurant search app using Yelp's API and the Siesta framework.
Where to Go From Here?
You can download the completed version of the project using the Download Materials button at the top or bottom of this tutorial.
Siesta's GitHub page is an excellent resource if you'd like to read their documentation.
To dig deeper into Siesta, check out the following resources:
I hope you found this tutorial useful. Please share any comments or questions in the forum discussion below!

