ReSwift Tutorial: Memory Game App
In this ReSwift tutorial, you’ll learn to create a Redux-like app architecture in Swift that leverages unidirectional data flow. By Michael Ciurus.
Updating the State
You may have noticed a flaw with the current navigation implementation. When you tap on the New Game menu item, the navigationState of RoutingState gets changed from menu to game. But when you use the navigation controller’s back arrow to go back to the menu, nothing is updating the navigationState!
In ReSwift, it’s important to keep the state synchronized with the current UI state. It’s easy to forget about it when something is managed completely by UIKit, like the navigation back arrow or user typing something into a UITextField.
Fix this by updating the navigationState when MenuTableViewController appears.
In MenuTableViewController.swift, add this line at the bottom of viewWillAppear:
store.dispatch(RoutingAction(destination: .menu))
This updates the store manually if the navigation back arrow was used.
Run the app and test the navigation again. Aaaaand… now the navigation is completely broken. Nothing ever appears to get fully pushed on, and you may see a crash.
Open AppRouter.swift; you’ll recall that pushViewController is called each time a new navigationState is received. This means that you respond to the menu RoutingDestination update by…pushing the menu on again!
You have to dynamically check if the MenuViewController isn’t already visible before pushing. Replace the contents of pushViewController with:
let viewController = instantiateViewController(identifier: identifier)
let newViewControllerType = type(of: viewController)
if let currentVc = navigationController.topViewController {
  let currentViewControllerType = type(of: currentVc)
  if currentViewControllerType == newViewControllerType {
    return
  }
}

navigationController.pushViewController(viewController, animated: animated)
You call type(of:) against the current top view controller and compare it to the new one being pushed on. If they match, you return without pushing on the controller in duplicate.
Build and run, and navigation should work normally again, with the menu state being properly set when you pop the stack.

Updating state with UI actions and checking the current state dynamically is often complex. It’s one of the challenges you’ll have to overcome when dealing with ReSwift. Fortunately it shouldn’t happen very often.
Categories
Now you’ll go a step further and implement a more complex screen: CategoriesTableViewController. You need to allow the user to choose the category of music, so they can enjoy the game of Memory with their favorite bands. Start by adding the state in CategoriesState.swift:
import ReSwift

enum Category: String {
  case pop = "Pop"
  case electronic = "Electronic"
  case rock = "Rock"
  case metal = "Metal"
  case rap = "Rap"
}

struct CategoriesState: StateType {
  let categories: [Category]
  var currentCategorySelected: Category

  init(currentCategory: Category) {
    categories = [ .pop, .electronic, .rock, .metal, .rap]
    currentCategorySelected = currentCategory
  }
}
The enum defines several music categories. CategoriesState contains an array of available categories as well as the currentCategorySelected for tracking state.
In ChangeCategoryAction.swift, add the following:
import ReSwift

struct ChangeCategoryAction: Action {
  let categoryIndex: Int
}
This creates an Action that can change CategoriesState, using categoryIndex to reference music categories.
Now you need to implement a Reducer that accepts the ChangeCategoryAction and stores the updated state. Open CategoriesReducer.swift and add the following:
import ReSwift

private struct CategoriesReducerConstants {
  static let userDefaultsCategoryKey = "currentCategoryKey"
}

private typealias C = CategoriesReducerConstants

func categoriesReducer(action: Action, state: CategoriesState?) -> CategoriesState {
  var currentCategory: Category = .pop
  // 1
  if let loadedCategory = getCurrentCategoryStateFromUserDefaults() {
    currentCategory = loadedCategory
  }
  var state = state ?? CategoriesState(currentCategory: currentCategory)

  switch action {
  case let changeCategoryAction as ChangeCategoryAction:
    // 2
    let newCategory = state.categories[changeCategoryAction.categoryIndex]
    state.currentCategorySelected = newCategory
    saveCurrentCategoryStateToUserDefaults(category: newCategory)

  default: break
  }

  return state
}

// 3
private func getCurrentCategoryStateFromUserDefaults() -> Category? {
  let userDefaults = UserDefaults.standard
  let rawValue = userDefaults.string(forKey: C.userDefaultsCategoryKey)
  if let rawValue = rawValue {
    return Category(rawValue: rawValue)
  } else {
    return nil
  }
}

// 4
private func saveCurrentCategoryStateToUserDefaults(category: Category) {
  let userDefaults = UserDefaults.standard
  userDefaults.set(category.rawValue, forKey: C.userDefaultsCategoryKey)
  userDefaults.synchronize()
}
Just as with the other reducers, this implements a method to complete state updates from actions. In this case, you’re also persisting the selected category to UserDefaults. Here’s a closer look at what it does:
- Loads the current category from
UserDefaultsif available, and uses it to instantiateCategoriesStateif it doesn’t already exist. - Reacts to
ChangeCategoryActionby updating thestateand saving the new category toUserDefaults. -
getCurrentCategoryStateFromUserDefaultsis a helper function that loads the category fromUserDefaults. -
saveCurrentCategoryStateToUserDefaultsis a helper function that saves the category toUserDefaults.
The helper functions are also pure global functions. You could put them in a class, or a structure, but they should always remain pure.
Naturally, you have to update the AppState with the new state. Open AppState.swift and add the following to the end of the struct:
let categoriesState: CategoriesState
categoriesState is now part of the AppState. You’re getting the hang of this!
Open AppReducer.swift and modify the returned value to match this:
return AppState(
  routingState: routingReducer(action: action, state: state?.routingState),
  menuState: menuReducer(action: action, state: state?.menuState),
  categoriesState: categoriesReducer(action:action, state: state?.categoriesState))
Here you’ve added categoriesState to appReducer passing the action and categoriesState.
Now you need to create the categories screen, similarly to MenuTableViewController. You’ll make it subscribe to the Store and use TableDataSource.
Open CategoriesTableViewController.swift and replace the contents with the following:
import ReSwift

final class CategoriesTableViewController: UITableViewController {

  var tableDataSource: TableDataSource<UITableViewCell, Category>?

  override func viewWillAppear(_ animated: Bool) {
    super.viewWillAppear(animated)
    // 1
    store.subscribe(self) {
      $0.select {
        $0.categoriesState
      }
    }
  }

  override func viewWillDisappear(_ animated: Bool) {
    super.viewWillDisappear(animated)
    store.unsubscribe(self)
  }

  override func tableView(_ tableView: UITableView, didSelectRowAt indexPath: IndexPath) {
    // 2
    store.dispatch(ChangeCategoryAction(categoryIndex: indexPath.row))
  }
}

// MARK: - StoreSubscriber
extension CategoriesTableViewController: StoreSubscriber {
  func newState(state: CategoriesState) {
    tableDataSource = TableDataSource(cellIdentifier:"CategoryCell", models: state.categories) {cell, model in
      cell.textLabel?.text = model.rawValue
      // 3
      cell.accessoryType = (state.currentCategorySelected == model) ? .checkmark : .none
      return cell
    }

    self.tableView.dataSource = tableDataSource
    self.tableView.reloadData()
  }
}
This should look pretty similar to MenuTableViewController. Here are some highlights:
- Subscribe to
categoriesStatechanges onviewWillAppearand unsubscribe onviewWillDisappear. - Dispatch the
ChangeCategoryActionwhen user selects a cell. - On
newState, mark the cell for the currently selected category with a checkmark.
Everything’s set. Now you can choose the category. Build and run the app, and select Choose Category to see for yourself.

Asynchronous Tasks
Asynchronous programming is hard, huh? Well, not in ReSwift.
You’ll fetch the images for Memory cards from the iTunes API. First, you’ll have to create a game state, reducer and associated action.
Open GameState.swift, and you’ll see a MemoryCard struct that represents a game card. It includes the imageUrl to be displayed on the card. isFlipped identifies if the front of the card is visible and isAlreadyGuessed indicates if the card was already matched.
You’ll add game state to this file. Start by importing ReSwift at the top:
import ReSwift
Now add the following to the bottom of the file:
struct GameState: StateType {
  var memoryCards: [MemoryCard]
  // 1
  var showLoading: Bool
  // 2
  var gameFinished: Bool
}
These define the state of the game. In addition to containing the array of available memoryCards, the properties here indicate if:
- the loading indicator is visible or not
- the game is finished
Add a game Reducer in GameReducer.swift:
import ReSwift

func gameReducer(action: Action, state: GameState?) -> GameState {
    let state = state ?? GameState(memoryCards: [], showLoading: false, gameFinished: false)

    return state
}
This currently just creates a new GameState. You’ll circle back to this later.
In AppState.swift, add gameState to the bottom of AppState:
let gameState: GameState
In AppReducer.swift, update the initializer for the last time:
return AppState(
  routingState: routingReducer(action: action, state: state?.routingState),
  menuState: menuReducer(action: action, state: state?.menuState),
  categoriesState: categoriesReducer(action:action, state: state?.categoriesState),
  gameState: gameReducer(action: action, state: state?.gameState))
Now define an action for updating cards by adding the following in SetCardsAction.swift:
import ReSwift

struct SetCardsAction: Action {
  let cardImageUrls: [String]
}
This Action sets the image URLs for cards in the GameState
Now you’re ready to create your first asynchronous action. In FetchTunesAction.swift, add the following:
import ReSwift

func fetchTunes(state: AppState, store: Store<AppState>) -> FetchTunesAction {

  iTunesAPI.searchFor(category: state.categoriesState.currentCategorySelected.rawValue) { imageUrls in
    store.dispatch(SetCardsAction(cardImageUrls: imageUrls))
  }

  return FetchTunesAction()
}

struct FetchTunesAction: Action {
}
fetchTunes fetches the images using iTunesAPI (included with the starter). In the closure you’re dispatching a SetCardsAction with the result. Asynchronous tasks in ReSwift are that simple: just dispatch an action later in time, when complete. That’s it.
fetchTunes returns FetchTunesAction which will be used to signify the fetch has kicked off.
Open GameReducer.swift and add support for the two new actions. Replace the contents of gameReducer with the following:
var state = state ?? GameState(memoryCards: [], showLoading: false, gameFinished: false)

switch(action) {
// 1
case _ as FetchTunesAction:
  state = GameState(memoryCards: [], showLoading: true, gameFinished: false)
// 2
case let setCardsAction as SetCardsAction:
  state.memoryCards = generateNewCards(with: setCardsAction.cardImageUrls)
  state.showLoading = false
default: break
}

return state
You changed state to be a constant, and then implemented an action switch that does the following:
- On
FetchTunesAction, this setsshowLoadingtotrue. - On
SetCardsAction, this randomizes the cards and setsshowLoadingtofalse.generateNewCardscan be found in MemoryGameLogic.swift, which is included with the starter.
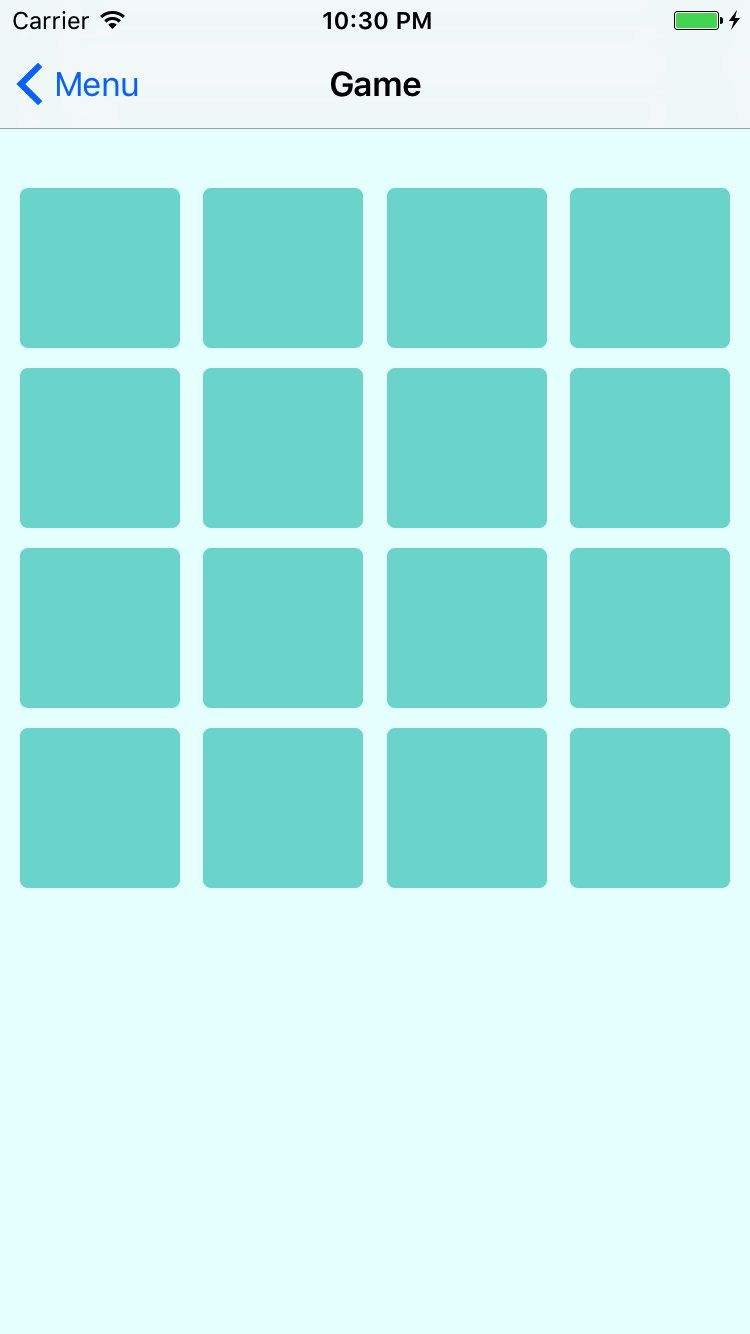
It’s time to draw the cards in the GameViewController. Start with setting up the cell.
Open CardCollectionViewCell.swift and add the following method to the bottom of CardCollectionViewCell:
func configureCell(with cardState: MemoryCard) {
  let url = URL(string: cardState.imageUrl)
  // 1
  cardImageView.kf.setImage(with: url)
  // 2
  cardImageView.alpha = cardState.isAlreadyGuessed || cardState.isFlipped ? 1 : 0
}
configureCell does the following:
- Uses the awesome Kingfisher library to cache images.
- Shows the card image when a card is already guessed or the card is flipped.
Next you will implement the collection view that displays the cards. Just as there is for table views, there is a declarative wrapper for UICollectionView named CollectionDataSource included in the starter that you’ll leverage.
Open GameViewController.swift and first replace the UIKit import with:
import ReSwift
In GameViewController, add the following just above showGameFinishedAlert:
var collectionDataSource: CollectionDataSource<CardCollectionViewCell, MemoryCard>?

override func viewWillAppear(_ animated: Bool) {
  super.viewWillAppear(animated)
  store.subscribe(self) {
    $0.select {
      $0.gameState
    }
  }
}

override func viewWillDisappear(_ animated: Bool) {
  super.viewWillDisappear(animated)
  store.unsubscribe(self)
}

override func viewDidLoad() {
  // 1
  store.dispatch(fetchTunes)
  collectionView.delegate = self
  loadingIndicator.hidesWhenStopped = true

  // 2
  collectionDataSource = CollectionDataSource(cellIdentifier: "CardCell", models: [], configureCell: { (cell, model) -> CardCollectionViewCell in
    cell.configureCell(with: model)
    return cell
  })
  collectionView.dataSource = collectionDataSource
}
Note this will result in a few compiler warnings until you adopt StoreSubscriber in a moment. The view subscribes to gameState on viewWillAppear and unsubscribes on viewWillDisappear. In viewDidLoad it does the following:
- Dispatches
fetchTunesto start fetching the images from iTunes API. - Configures cells using
CollectionDataSourcewhich gets the appropriatemodeltoconfigureCell.
Now you need to add an extension to adhere to StoreSubscriber. Add the following to the bottom of the file:
// MARK: - StoreSubscriber
extension GameViewController: StoreSubscriber {
  func newState(state: GameState) {

    collectionDataSource?.models = state.memoryCards
    collectionView.reloadData()

    // 1
    state.showLoading ? loadingIndicator.startAnimating() : loadingIndicator.stopAnimating()

    // 2
    if state.gameFinished {
      showGameFinishedAlert()
      store.dispatch(fetchTunes)
    }
  }
}
This implements newState to handle state changes. It updates the datasource as well as:
- Updating the loading indicator status depending on the state.
- Restarting the game and showing an alert when the game has been finished.
Build and run the game, select New Game, and you’ll now be able to see the memory cards.