Introduction to GDScript in Godot 4 Part 2
In this second part of the GDScript introduction, you’ll learn about state machines, adding and removing nodes and how to make a camera follow a node. By Eric Van de Kerckhove.
Sign up/Sign in
With a free Kodeco account you can download source code, track your progress, bookmark, personalise your learner profile and more!
Create accountAlready a member of Kodeco? Sign in
Sign up/Sign in
With a free Kodeco account you can download source code, track your progress, bookmark, personalise your learner profile and more!
Create accountAlready a member of Kodeco? Sign in
Contents
Introduction to GDScript in Godot 4 Part 2
45 mins
Keeping Score
To make it easy for the player to track how high the avatar has gotten and how many points were earned, you’ll need to update the labels at the bottom of the window to reflect these values. The user interface has its own scene to which you can add logic, so open the ui scene and add a new script to its root element, UI. Name this new script ui.gd and save it to the scripts folder. As usual, this opens the script in the script editor.
The scene contains two labels you’ll need references to in your script: HeightLabel and ScoreLabel. I’ll share a quick tip with you, select both Label nodes in the Scene dock, right-click and select Access as Unique Name in the context menu.

This will add a percent sign next to their names. By marking nodes as having unique names, you don’t need to provide a full path for them when creating references. More importantly, you can freely move the nodes anywhere in the node tree without having to change any paths in your scripts! When creating your own games and projects, you should use this liberally as it can save a huge amount of time.
Now drag the nodes to your ui script while holding CTRL/CMD to add the references. This will add these two lines:
@onready var height_label : Label = $"%HeightLabel"
@onready var score_label : Label = $"%ScoreLabel"
Notice how the path contains a percent sign at the start, that’s how you reference nodes with an unique name.
To update the labels, add these two functions:
func update_height(height : float) -> void: # 1
    height_label.text = str(round(height)) + "m" # 2

func update_score(score : int) -> void: # 3
    score_label.text = str(score) # 4
Here’s a summary of the lines:
- The
update_heightfunction accepts aheightparameter, which is the highest point the avatar reached. - Round
heightto the nearest integer using theroundmethod and convert the result to astringusingstr. Update the text of theheight_labelwith this new value. - This function takes a
scoreparameter. I’ll explain how the scoring works below. - Convert the
scoreto a string and update thescore_labeltext.
There’s one final important line to add to the script: its class name. Up until now, the communication between different scripts happened via signals, which emit an update up the node tree. In this case though, the game script will call the ui script, which is lower down the node tree. In scenarios like this, it’s best to assign the script that’s going to be called a class name to make autocompletion work.
A popular line to remember when to use a signal versus a function call among the Godot community is: “Signal up, call down”.
To add a class name, add this line right below extends CanvasLayer:
class_name UserInterface
This makes it so the ui script can be accessed as a type by the name UserInterface.
With the ui script done, it’s time to move on to the game script again, as it needs a reference to the UI node and its UserInterface class. This time, you won’t be able to rely on the drag-and-drop method as Godot won’t automatically add the correct type you created. Instead, add this line below @onready var jumpers_parent in the game script:
@onready var ui := $"UI" as UserInterface
There are a few things this node reference does different than the ones you’ve seen up to now:
- The
:=operator, also called the “walrus operator”, is used to let Godot guess the type of the UI node, which isCanvasLayer. -
as UserInterfacecasts the node as theUserInterfacetype. This makesuithe correct type and enables autocompletion.
@onready var ui: UserInterface = $UI is because of a bug in Godot involving custom classes which prevents autocompletion from working with the usual syntax. This might not be a problem for this tutorial as you can copy the code without relying on autocompletion, but beware of this in your own projects if you find that the autocompletion isn’t working as expected.
Next, to update the height label, add this to the end of _on_player_avatar_new_height:
var height_in_metres = -height/100.0 # 1
ui.update_height(height_in_metres) # 2
This converts the height in pixels to an arbitrary lower number and calls the ui script to update its height label:
-
Negate the height so it’s a positive number and divide it by 100. This is purely to have a lower number instead of using the pixel value. The calculated value is stored in
height_in_metres. - Call the ui script’s
update_heightfunction and pass the new height number.
With that, the height label should now update automatically to reflect the height of the avatar. Run the project and jump up to test if this works.

Great! That leaves just the score label to hook up.
Whenever the avatar hits a jumper, the score should go up by 100 points. To make this work, the avatar should let the game script know when it hit a jumper, which in turn can call the ui script to update the score label.
In order to inform the game script of the avatar’s jumper hits you’ll need to create a new signal. Add this to the player_avatar script below signal new_height:
signal hit_jumper
To make the avatar emit that signal whenever it hit a jumper, add this line to the _on_area_2d_area_entered function:
hit_jumper.emit()
Nice, now you just need to connect the hit_jumper signal to the game script. As usual, you do this by opening the game scene, selecting PlayerAvatar and double-clicking the hit_jumper signal in the Node menu on the right. Leave the receiver method at its default value and click Connect, this will create the _on_player_avatar_hit_jumper function in the game script.
To keep track of the score, add this variable just above the _ready function in the game script:
var score : int
The last code to add in this tutorial is updating the score and making the ui script update the relevant label. To do that, add this to the _on_player_avatar_hit_jumper function:
score += 100
ui.update_score(score)
The += operator takes the current value of score and adds 100 to it. The score then gets passed to the ui script via the update_score function to update the score label.
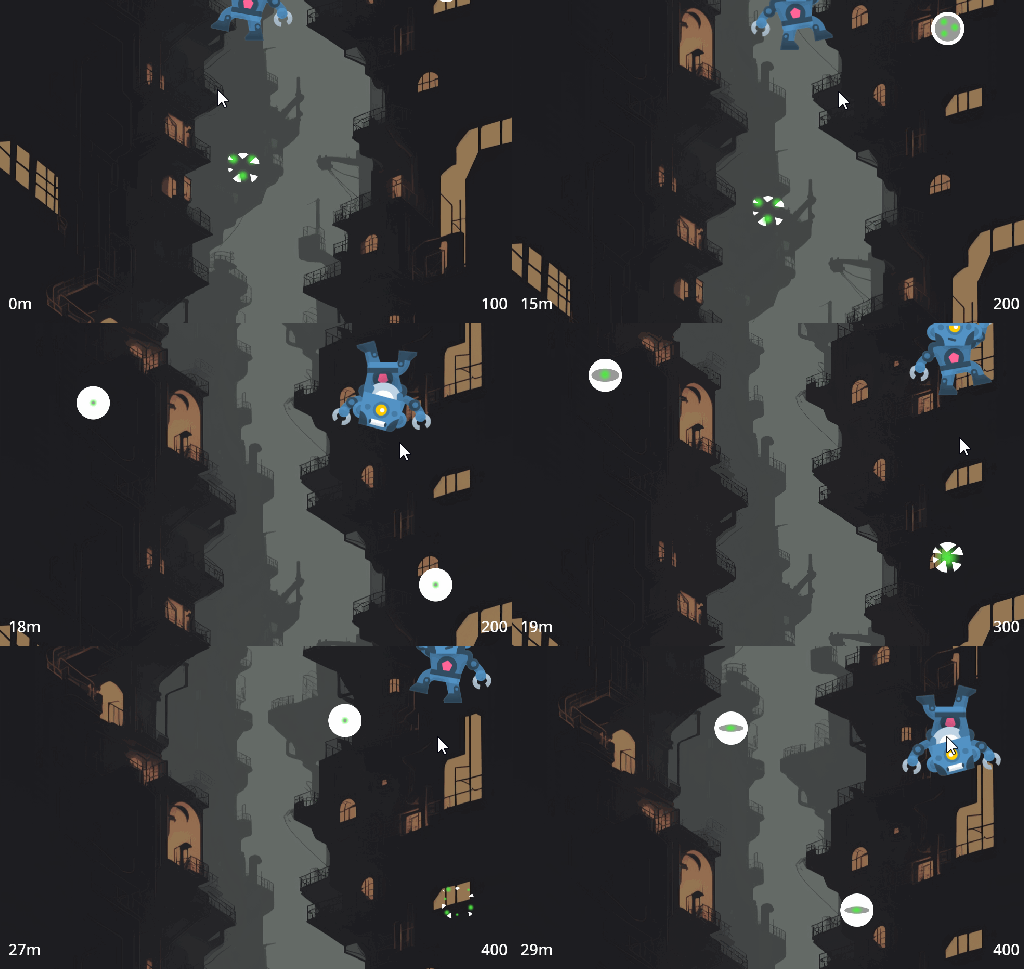
Alright, time for a final run of the project to see it all come together! Play the game and check if the score label is updating.

That finishes up this tutorial and the small game you built up along the way. I hope you enjoyed this journey through the land of scripts, signals and nodes.