Unreal Engine 4 Animation Tutorial
In this Unreal Engine 4 animation tutorial, you will learn how to import and use animations. By Tommy Tran.
Sign up/Sign in
With a free Kodeco account you can download source code, track your progress, bookmark, personalise your learner profile and more!
Create accountAlready a member of Kodeco? Sign in
Contents
Unreal Engine 4 Animation Tutorial
25 mins
- Getting Started
- What is a Skeleton?
- Importing a Skeletal Mesh
- Using a Skeletal Mesh
- Importing Animations
- Creating an Animation Blueprint
- The Animation Blueprint Editor
- What is a State Machine?
- Creating a State Machine
- Linking an Animation to a State
- Using an Animation Blueprint
- Creating the Jumping and Falling States
- Transition Rules
- Checking if the Player is Jumping or Falling
- Defining the Transition Rules
- What is a Blend Space?
- Creating a Blend Space
- Adding Animations to a Blend Space
- Using Blend Spaces
- Getting the Player’s Speed
- Using the Death Animation
- Checking if the Player is Dead
- Using the Blend Poses by Bool Node
- Where to Go From Here?
You will rarely see a modern game without animation. This is because animation is key in conveying motion. Without animation, a character would just look like they’re sliding instead of running.
Luckily, Unreal makes it easy to get your characters animated in no time!
In this tutorial, you will learn how to:
- Import a mesh with a skeleton
- Import animations
- Create an Animation Blueprint to transition to different animations
- Blend between animations
Please note, you will be using Blueprints in this tutorial. If you need a refresher, check out our Blueprints tutorial.
- Part 1: Getting Started
- Part 2: Blueprints
- Part 3: Materials
- Part 4: UI
- Part 5: How To Create a Simple Game
- Part 6: Animation (you are here!)
- Part 7: Audio
- Part 8: Particle Systems
- Part 9: Artificial Intelligence
- Part 10: How to Create a Simple FPS
Getting Started
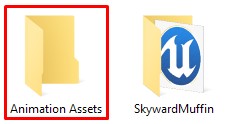
Download the starter project and unzip it. In the root directory, you will see a folder named Animation Assets. This folder contains the character and animations that you will be importing.
Open the project by navigating to the project folder and opening SkywardMuffin.uproject.
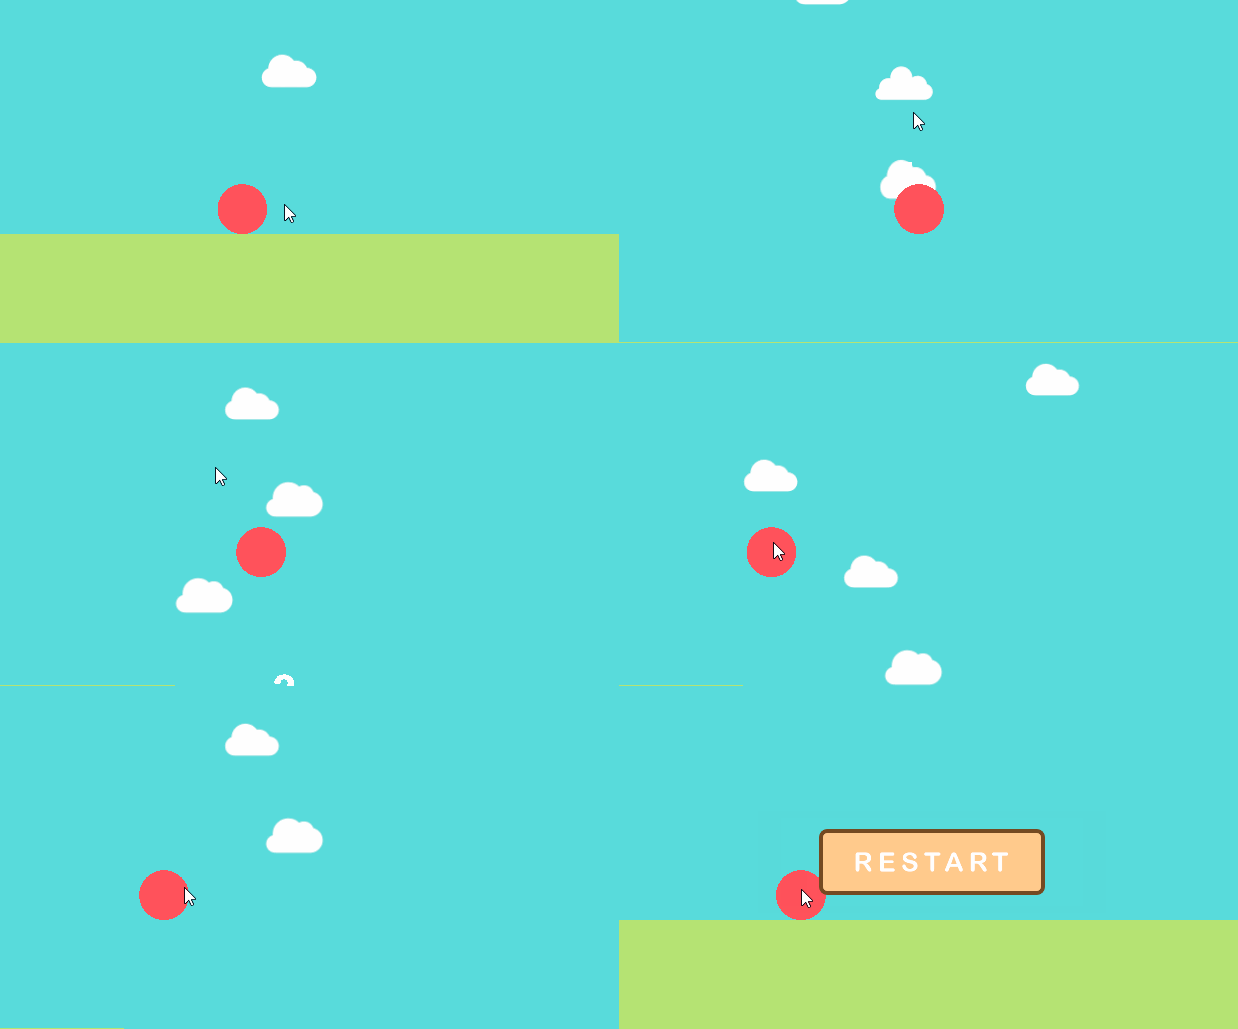
Press Play to start the game. The goal of the game is to touch as many clouds as possible without falling. Click the left-mouse button to jump up to the first cloud.
Instead of a plain red circle, let’s control this cute little muffin instead:

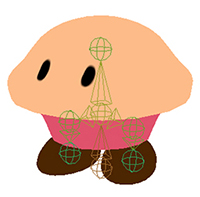
This muffin contains a skeleton which allows you to animate it.
What is a Skeleton?
In 3D applications, a skeleton is a set of interconnected points called joints. In the image below, each sphere is a joint.
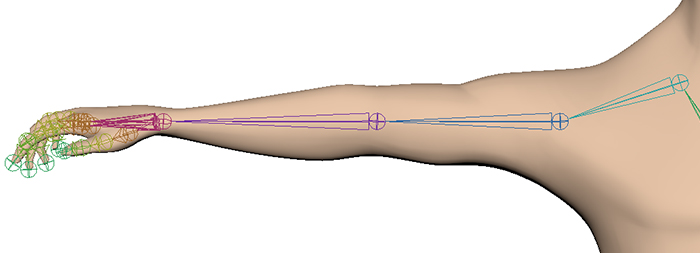
By manipulating these joints, you can create different poses for your character.

When you go from one pose to another, you are creating an animation.

If you create more poses between the previous poses, you can get something like this:

In Unreal, any mesh with a skeleton is a Skeletal Mesh. Let’s begin by importing the Skeletal Mesh for the muffin.
Importing a Skeletal Mesh
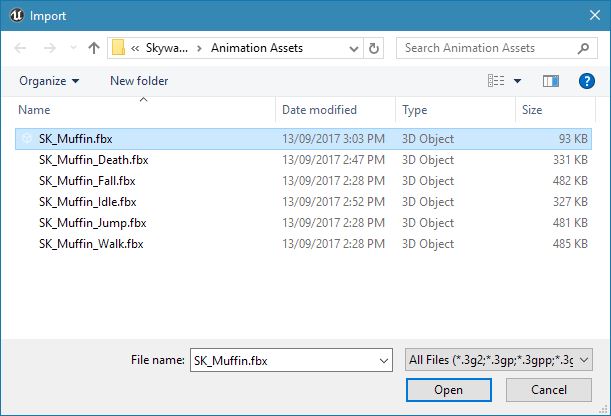
Go to the Content Browser and navigate to Characters\Muffin. Click Import and then go to SkywardMuffinStarter\Animation Assets. Select SK_Muffin.fbx and then click Open.
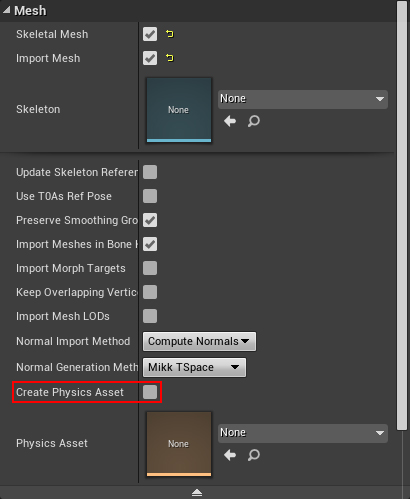
In the import window, go to the Mesh section and uncheck the Create Physics Asset option. The Physics Asset helps create a ragdoll effect. Since this tutorial does not cover that, you do not need one.
The project already includes the muffin material and texture so you don’t need to import them. Uncheck the Import Materials and Import Textures options.

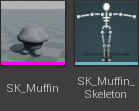
Leave everything else at their default settings and then click Import. This will create the following assets:
- SK_Muffin: The Skeletal Mesh asset. This is basically just a mesh with a link to a Skeleton asset.
-
SK_Muffin_Skeleton: The Skeleton asset. This holds a list of joints and other information such as their hierarchy.
Now that you have the muffin imported, it’s time to use it.
Using a Skeletal Mesh
Before you use your new Skeletal Mesh, you should give it a material so it’s not just a grey blob. Double-click on SK_Muffin to open it.
Go to the Asset Details panel and locate the Material Slots section. Assign the M_Muffin material and then close SK_Muffin.
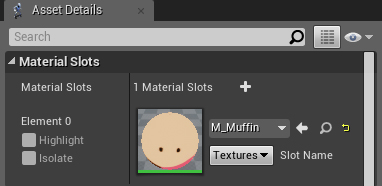
Now, let’s use SK_Muffin as the player character. Go back to the Content Browser and double-click on BP_Muffin to open it.
Go to the Components panel and select the Mesh (Inherited) component. Navigate to the Details panel and locate the Mesh section. Set the Skeletal Mesh property to SK_Muffin.

Click Compile and then go back to the main editor. Press Play to play the game as a muffin!

The game is already looking a lot better! Your next step is to import some animations that will add life to the muffin.
Importing Animations
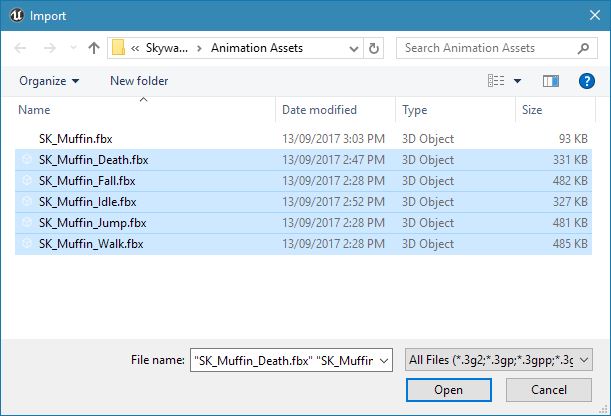
Go to the Content Browser and click Import. Make sure you are in SkywardMuffinStarter\Animation Assets. Select the following files:
- SK_Muffin_Death.fbx
- SK_Muffin_Fall.fbx
- SK_Muffin_Idle.fbx
- SK_Muffin_Jump.fbx
- SK_Muffin_Walk.fbx
Once you have done that, click Open.
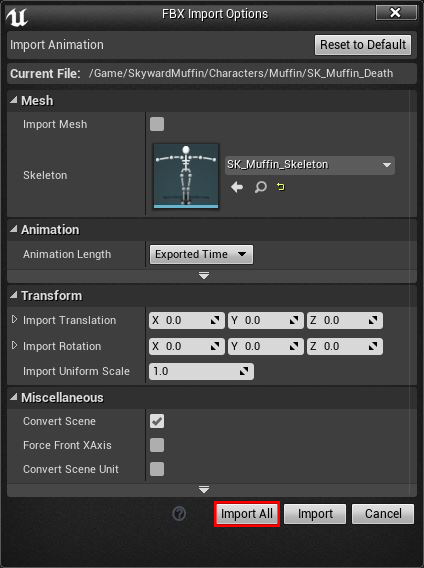
In the import window, go to the Mesh section and uncheck the Import Mesh option. This will make sure the Skeletal Mesh is not imported again.

Next, make sure the Skeleton property is set to SK_Muffin_Skeleton. This specifies which skeleton the animation will use.

Finally, click Import All. This will import all the animations with the settings you just specified.
Now that you have all your animations, you need a way to play them. You can use an Animation Blueprint to do this.
Creating an Animation Blueprint
An Animation Blueprint is like a regular Blueprint. However, it also features a graph dedicated to animation tasks.
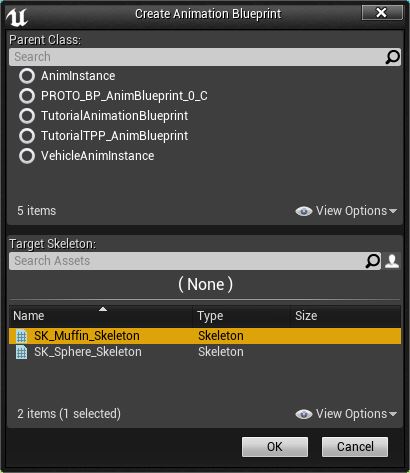
To create one, go to the Content Browser and click the Add New button. Select Animation\Animation Blueprint.
In the pop-up window, locate the Target Skeleton property and select SK_Muffin_Skeleton. Next, click the OK button to create the Animation Blueprint.
Rename the asset to ABP_Muffin. Afterwards, double-click on it to open it in the Animation Blueprint editor.
The Animation Blueprint Editor
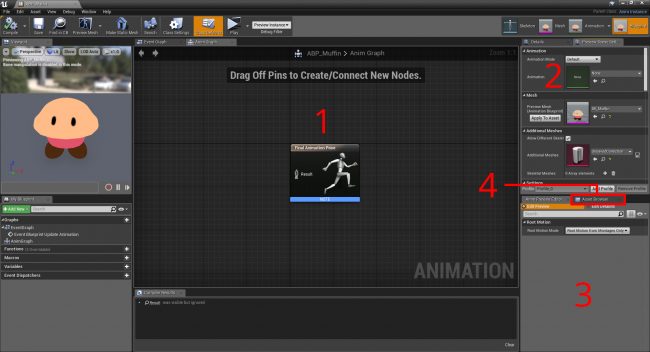
The Animation Blueprint editor is like the Blueprint editor but with four extra panels:
- Anim Graph: This graph is dedicated to animation. This is where you will play your animations.
- Preview Scene Settings: This panel allows you to tweak the preview scene in the Viewport
- Anim Preview Editor: Variables you create will also show up here. Use this panel to preview the effect your variables have on the final animation.
- Asset Browser: This panel contains a list of animations the current skeleton can use
To define when each animation should play, you can use a State Machine.
