Try/Catch
When it comes to handling exceptions for a specific coroutine, you can use a try/catch block to catch exceptions and handle them as you’d do in normal synchronous programming with Kotlin. To see this in action, navigate to downloadTwoImages and wrap the loadTwoImages invocation with the try/catch block.
try {
  loadTwoImages(deferredOne.await(), deferredTwo.await())
} catch (e: Exception) {
  showError("Try/catch: ${e.message}")
}
Notice that you didn’t wrap the async builder itself with the try/catch block because the exception is only thrown when you call await().
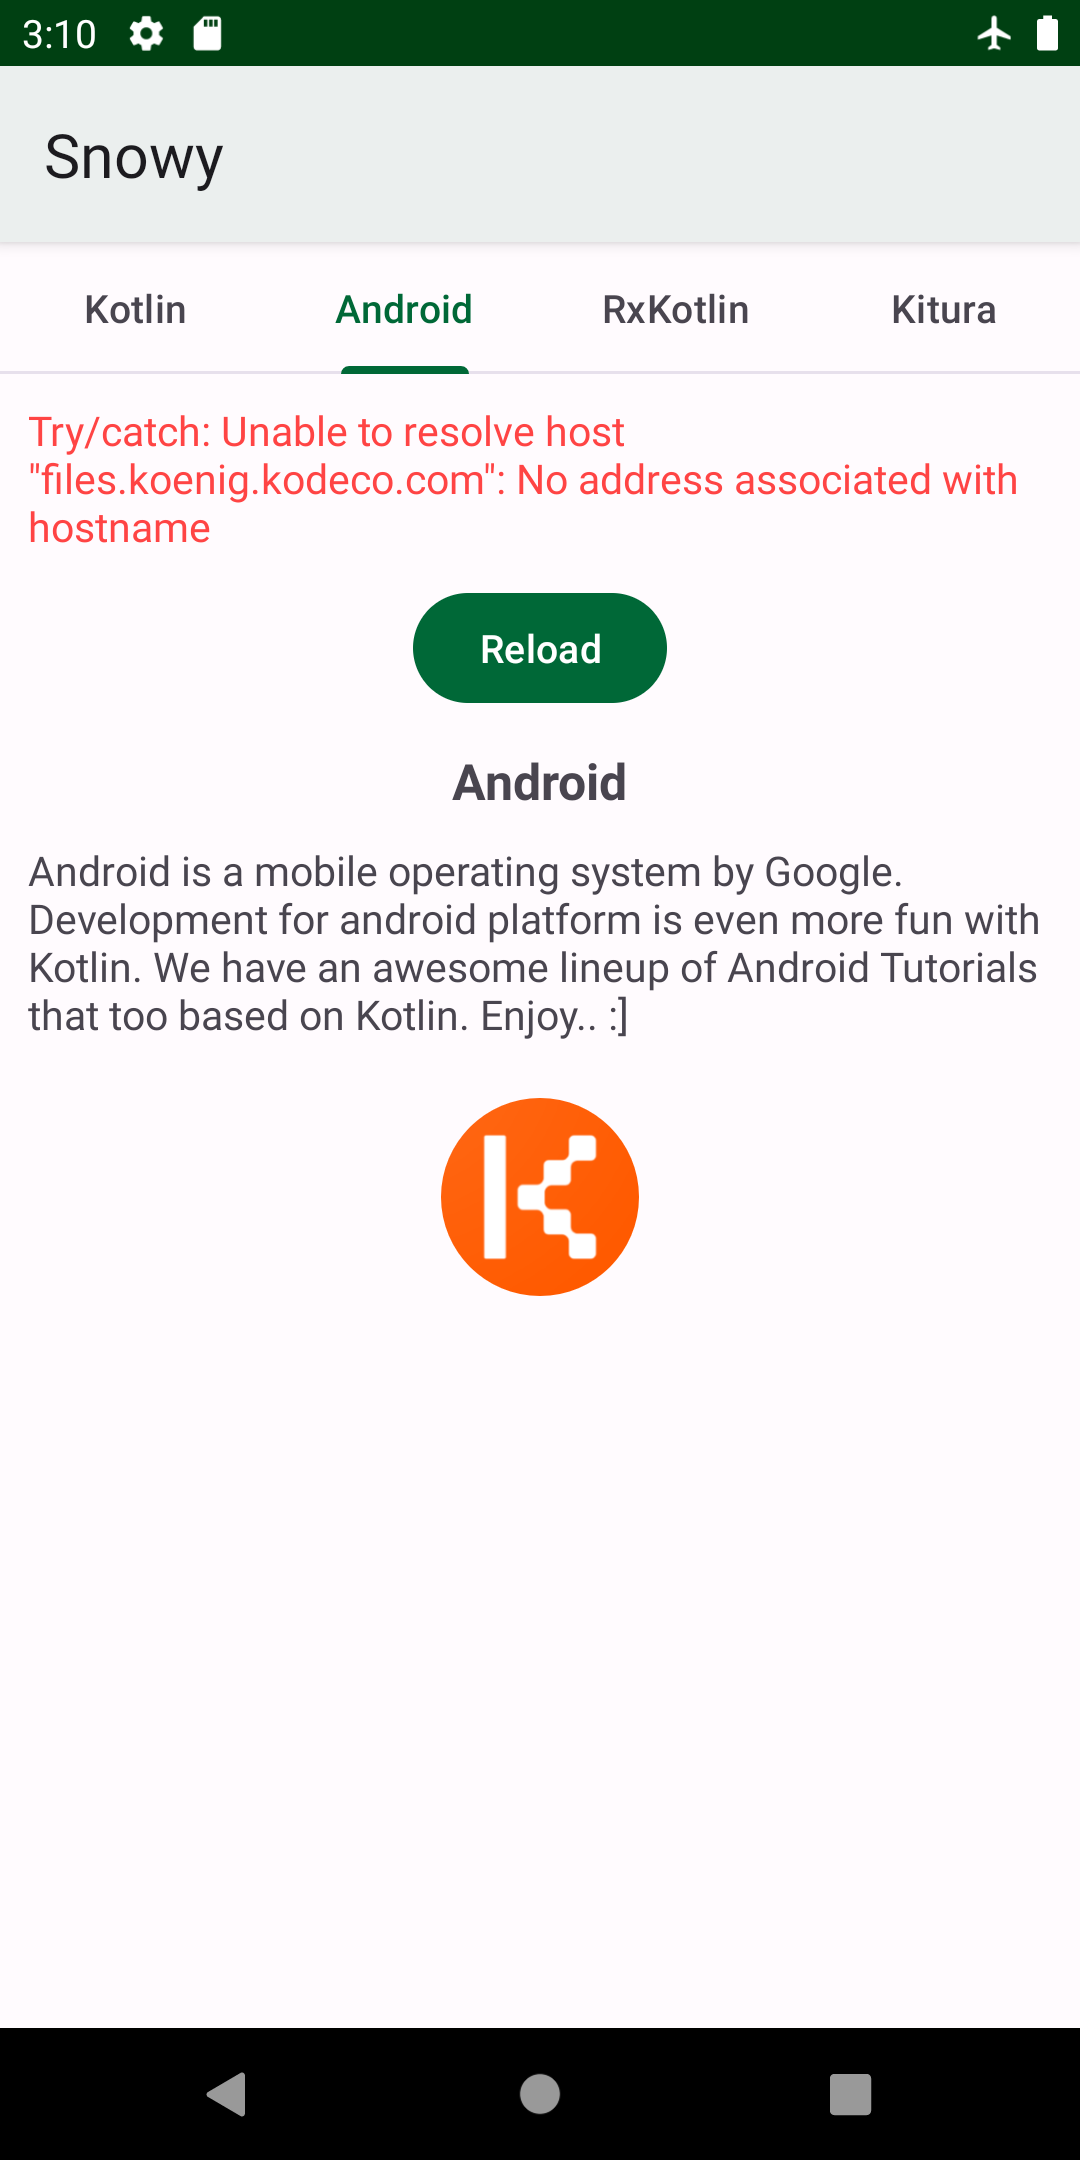
Build and run the app again, and navigate to the Android tab. You’ll see this screen:

Where to Go From Here?
Good job finishing the tutorial! In the end, you learned that Kotlin Coroutines aren’t just another tool in a dusty shed called asynchronous programming. The API is much more than that. It’s a new way to think about async programming overall, which is funny because the concept dates back to the ’50s and ’60s. You saw how easy it was to switch between threads and return values asynchronously, and you also saw how handling exceptions can be straightforward and how cleaning up resources takes one function call.
You can download the final project by clicking Download materials at the top or bottom of this tutorial.
If you want to learn more about coroutines, check out our Kotlin Coroutines by Tutorials book. It brings an even more in-depth look at Kotlin coroutines and offers more tutorials. You can also check out Kotlin Coroutines Tutorial for Android: Advanced. Finally, the official coroutines guide is a great learning resource as well.
I hope you enjoyed this tutorial. Join us in the forums to share your experiences with Kotlin Coroutines!

