UITableView integration
Well that worked great for our details controller, but we want it in our list controller too!
The problem is our list controller is a UITableViewController. Unfortunately, it seems like the best way to deal with this situation is to convert your UITableViewController to a normal UIViewController and then proceed similarly to the way we did above. So here are all of the gory steps:
1) Create a XIB for PortMeGameListController
Go to File\New File, choose User Interface and View XIB, make sure Product is iPhone, and click Next. Name the XIB PortMeGameListController.xib and click Finish.
Open up the XIB, click on the File’s Owner, and in the fourth tab of the Attributes Inspector change the class to PortMeGameListController.
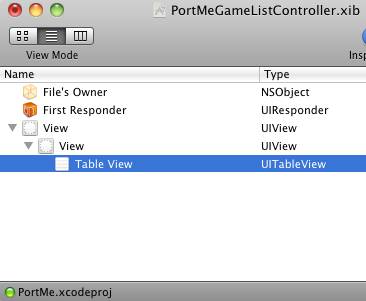
Then drag a UIView into the current UIView (so there are 2, just like we did before), and add a UITableView to the inner view. When you’re done it should look like this:

2) Make some changes to PortMeGameListController
Inside PortMeGameListController.h:
// Change the interface declaration
@interface PortMeGameListController : UIViewController <UITableViewDelegate, UITableViewDataSource> {

// Add inside class
UITableView *_tableView;
UIView *_contentView;

// Add after class
@property (nonatomic, retain) IBOutlet UITableView *tableView;
@property (nonatomic, retain) IBOutlet UIView *contentView;
Inside PortMeGameListController.m:
// In synthesize section
@synthesize tableView = _tableView;
@synthesize contentView = _contentView;

// In dealloc section
self.tableView = nil;
self.contentView = nil;
Don’t forget to save the files!
3) Hook up outlets
Now go back to PortMeGameListController.xib and connect the first view to the view outlet, the second to the contentView outlet, and the third to the tableView outlet.
Also control-drag from the tableView back to the File’s Owner and set it as the delegate and datasource.
4) Set the NIB name for PortMeGameListController in MainWindow
Open MainWindow.xib and MainWindow-iPad.xib, expand the Navigation Controller, select “Port Me Game List Controller”, and change the nib name to PortMeGameListController.
5) Compile and test to make sure everything works as usual
At this point, compile and run your code and make sure everything works as it usually does – but now you’re using a UIViewController rather than a TableViewController, and you have a XIB laid out in a nice way to use iAds!
6) Follow the steps from the previous section
Now you’re exactly where we were in the previous section with a view controller – so follow the same steps to integrate in this view!
Done!
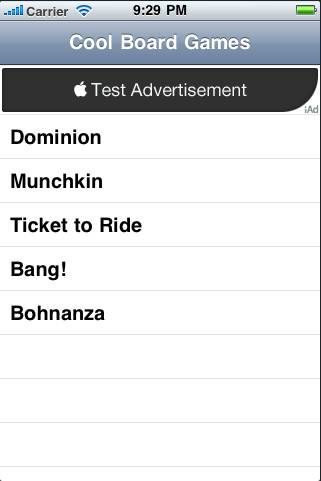
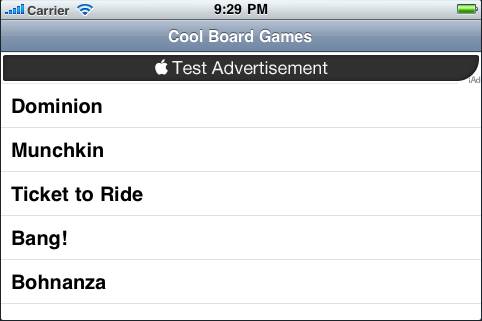
If all goes well, you should be able to compile and run your project and see advertisements at the top of your table view!


Where To Go Now?
Here is a sample project with all of the code we’ve developed in the above iAd tutorial.
Now you should know how to integrate iAds into your projects – no matter what OSs you wish to support for your app! I’d love to hear your experiences with iAds and how well they are working (or not) for your app!


