Photoshop For Developers: Creating a Custom UISwitch
This is a blog post by iOS Tutorial Team member Tope Abayomi, an iOS developer and Founder of App Design Vault, your source for iPhone App Design. Welcome back to our Photoshop for Developers tutorial series! In the first part of the series, I showed you how to make a leather-themed Navigation Bar. Today you […] By Tope Abayomi.
Sign up/Sign in
With a free Kodeco account you can download source code, track your progress, bookmark, personalise your learner profile and more!
Create accountAlready a member of Kodeco? Sign in
Sign up/Sign in
With a free Kodeco account you can download source code, track your progress, bookmark, personalise your learner profile and more!
Create accountAlready a member of Kodeco? Sign in
Contents
Photoshop For Developers: Creating a Custom UISwitch
15 mins
Slicing the images
To export the individual images for the switch background, turn off the visibility of the thumb layer and the background layer.
Choose Image>Trim and make sure “Transparent Pixels” is selected and all the lower boxes are checked. This will trim away everything but our background shape. You can also use the Crop tool to do this.

Export the image as a PNG. To do this, select File->Save As and give it a name like “switchBackground@2x.png”. Make sure to select the PNG option.

You exported the retina version. You can either resize the image (go to Image>Image Size) in Photoshop and re-export the PNG again, or open it in preview, cut the dimension by half and save it as switchBackground.png. Alternatively, you can use one of these image resizers.

Undo the Trim in Photoshop by selecting the Edit->Undo.
Then repeat this process for the thumb image and export it as a PNG. Call the images switchHandle@2x.png and switchHandle.png respectively.

Implementing it in Code
Now you can start writing some code to implement the switch. For this part, you are going to use a modified version of the open source RCSwitch component, which is an implementation of a control just like UISwitch – except you can actually customize the artwork :]
As a starting point, use this Xcode project. I have already added the RCSwitch source to it and from the code below, you will see that I have changed the colour of the background view and added an instance of RCSwitch to the view.
- (void)viewDidLoad
{

    [self.view setBackgroundColor:[UIColor colorWithRed:231.0/255 green:221.0/255 blue:196.0/255
      alpha:1.0]];

    RCSwitchOnOff* onSwitch = [[RCSwitchOnOff alloc] initWithFrame:CGRectMake(72, 20, 63, 23)];
    [onSwitch setOn:YES];
    [self.view addSubview:onSwitch];

    [super viewDidLoad];
}
Don’t run the code quite yet or it won’t look right – first you have to add the images you exported from Photoshop into the project.

Next open RCSwitch.m, you will see that I have named the images that will be loaded “switchBackground” and “switchHandle” as I suggested above. If you gave them different names, make sure to modify this file and use the name you gave them.
// In setKnobWidth:
UIImage *knobTmpImage = [UIImage imageNamed:@"switchHandle"];
UIImage *knobImageStretch = [knobTmpImage resizableImageWithCapInsets:UIEdgeInsetsMake(0, 0, 0, 0)];

// In initCommon
- (void)initCommon
{
    drawHeight = 23;
    /* It seems that the animation length was changed in iOS 4.0 to animate the switch slower. */
    if(kCFCoreFoundationVersionNumber >= kCFCoreFoundationVersionNumber_iOS_4_0){
        animationDuration = 0.25;
    } else {
        animationDuration = 0.175;
    }

    self.contentMode = UIViewContentModeRedraw;
    [self setKnobWidth:24];
    [self regenerateImages];

    sliderOff = [UIImage imageNamed:@"switchBackground"];

    if([[UIScreen mainScreen] respondsToSelector:@selector(scale)])
        scale = [[UIScreen mainScreen] scale];
    else
        scale = 1.0;
    self.opaque = NO;
}
In the initCommon method above, please change the drawHeight value to the height of your swichBackground.png file. If you used the exact dimensions I suggested in the Photoshop file and you cropped it close to the edges, you should end up with a number close to 23.
Now you can run the Xcode project and you should end up with this:

Now that is a custom switch with a chrome handle. You will notice that the On/Off text is kind of out of place. Let’s make that look nice, shall we?
Open RCSwitchOnOff.m and add the following attributes to the labels:
@implementation RCSwitchOnOff

- (void)initCommon
{
    [super initCommon];
    onText = [UILabel new];
    onText.text = NSLocalizedString(@"ON", @"Switch localized string");
    onText.textColor = [UIColor whiteColor];
    onText.font = [UIFont boldSystemFontOfSize:14];
    onText.shadowColor = [UIColor colorWithRed:104.0/255 green:73.0/255 blue:54.0/255 alpha:1.0];
    onText.shadowOffset = CGSizeMake(0, 1);

    offText = [UILabel new];
    offText.text = NSLocalizedString(@"OFF", @"Switch localized string");
    offText.textColor = [UIColor colorWithRed:104.0/255 green:73.0/255 blue:54.0/255 alpha:1.0];
    offText.font = [UIFont boldSystemFontOfSize:14];
    offText.shadowColor = [UIColor whiteColor];
    offText.shadowOffset = CGSizeMake(0, 1);
}
This adds some colors and shadows to both labels so they look a bit better. Now if you run the app, you should end up with this:

and this for the “Off” text:

That’s it – you just made a custom UISwitch! I hope you like the outcome of your hard work and have learned a bit about Photoshop along the way! :]
Where To Go From Here?
You can download the final project and Photoshop file here.
This tutorial showed you how to create one of the UI elements in the Foody app design template. As you can see, it’s quite a bit of work! :]
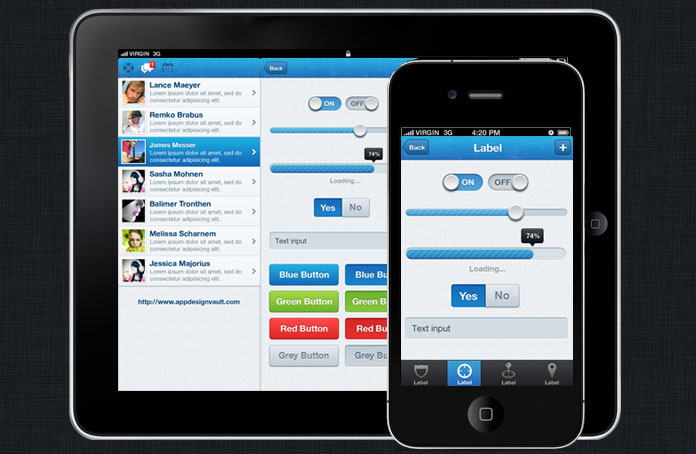
If you want to create a good looking template for your app without the hassle, you can get a complete template here that includes custom designs for almost all the UIKit controls including Navigation Bar, Tab Bar, UISwitch, UISegmentedControl, UIButton, UIProgressBar, USlider, iPad and iPhone retina designs, and more.
Again I hope you enjoyed this tutorial, and if you have any questions or comments about this tutorial or creating artwork for iPhone apps in Photoshop in general, please join the forum discussion below!
 This is a blog post by iOS Tutorial Team member Tope Abayomi, an iOS developer and Founder of App Design Vault, your source for iPhone App Design.
