Introduction to Asynchronous Programming in Unity
Dive deeper into the world of asynchronous programming in Unity by creating a fun town-builder game. By Johnny Thompson.
Sign up/Sign in
With a free Kodeco account you can download source code, track your progress, bookmark, personalise your learner profile and more!
Create accountAlready a member of Kodeco? Sign in
Sign up/Sign in
With a free Kodeco account you can download source code, track your progress, bookmark, personalise your learner profile and more!
Create accountAlready a member of Kodeco? Sign in
Contents
Introduction to Asynchronous Programming in Unity
35 mins
- Getting Started
- Setting Up the Starter Project
- Advantages of Asynchronous Programming
- Writing Basic Asynchronous Code
- Defining the async Keyword
- Building Structures With Task
- Placing Temporary Construction Tiles
- Adding await to Start Running Asynchronous Code
- Further Asynchronous Programming Concepts
- Returning Values From Tasks
- Awaiting Multiple Tasks
- Building a House by Parts
- Cleaning up Construction
- Improving Your Asynchronous Code
- Cancelling Tasks
- Cancelling a Task Efficiently
- Catching Exceptions
- Choosing Asynchronous Programming vs. Coroutines
- Advantages of async Over Coroutines
- Deciding When to Use Coroutines
- Where to Go From Here?
Awaiting Multiple Tasks
Next, you’ll create tasks for building each piece of the house. Luckily, the steps to build the house are all the same, so you can define one task to use for all of them, passing in a different prefab for each type.
In the ConstructionManager.cs script, define a new method, BuildHousePartAsync, which will return a Task<int> (the integer value of the cost):
private async Task<int> BuildHousePartAsync(HouseBuildProperties houseBuildProperties, GameObject housePartPrefab, Vector3 buildPosition)
{
    var constructionTime = houseBuildProperties.GetConstructionTime();
    await Task.Delay(constructionTime);
}
This method gets the time it takes to build a certain part, then waits for the specified duration. After the delay, that part of the house is complete. You may be curious how the delay is calculated. Well, that is a helper property that is defined on the HouseBuildProperties.cs ScriptableObject which is included in the project files.
public int GetConstructionTime() => Random.Range(minConstructionTime, maxConstructionTime);
After defining the BuildHousePartAsync method you may notice an error in your IDE. (Not all code paths return a value). That’s because the BuildHousePartAsync method isn’t returning a value yet but you have declared it with a return type of Task<int>. You’ll add this next.
In the same method after await Task.Delay(constructionTime);, spawn the housePartPrefab and calculate the cost of the task. Then, return that cost as an integer.
Instantiate(housePartPrefab, buildPosition, Quaternion.identity, levelGeometryContainer);
var taskCost = constructionTime * houseBuildProperties.wage;
return taskCost;
In the code block above, you’re:
- Calling
Instantiateto instantiate a new GameObject based on the relevant house part prefab and placing it as the correct location. - Calculating the cost by multiplying the
constructionTimeby the setwage. - Returning the calculated cost as an integer.
Building a House by Parts
Now that you have sufficient logic to build each part of the house, you need to define the tasks for each of these parts: frame, roof and fence. Call await for the tasks within BuildHouseAsync after the construction tile spawns, and before the return call.
Start with the frame of the house. You can’t start other tasks until the frame is complete, so any subsequent code will await the completion of this task:
Task<int> buildFrame = BuildHousePartAsync(houseBuildProperties, houseBuildProperties.completedFramePrefab, buildPosition);
await buildFrame;
Next, you can begin building the roof and fence. These tasks can take place at the same time, so don’t await anything just yet. Add this code immediately after the previous block you just added (in the same BuildHouseAsync method).
Task<int> buildRoof = BuildHousePartAsync(houseBuildProperties, houseBuildProperties.completedRoofPrefab, buildPosition);
Task<int> buildFence = BuildHousePartAsync(houseBuildProperties, houseBuildProperties.completedFencePrefab, buildPosition);
The final step of building the house is to finalize the house. However, you can’t start this step until both the roof and fence are done. This is where you’ll learn a new technique – how to await multiple Tasks.
Add this line after the definition of the previous two tasks you just added in BuildHouseAsync:
await Task.WhenAll(buildRoof, buildFence);
Task.WhenAll(Task[] tasks) will wait until all defined tasks are complete. In this case, the code will continue executing once both the roof and fence are up.
Now, in the same method, call and await a task to finalize the house. This task will place down the final, completed house prefab.
Task<int> finalizeHouse = BuildHousePartAsync(houseBuildProperties, houseBuildProperties.completedHousePrefab, buildPosition);
await finalizeHouse;
Cleaning up Construction
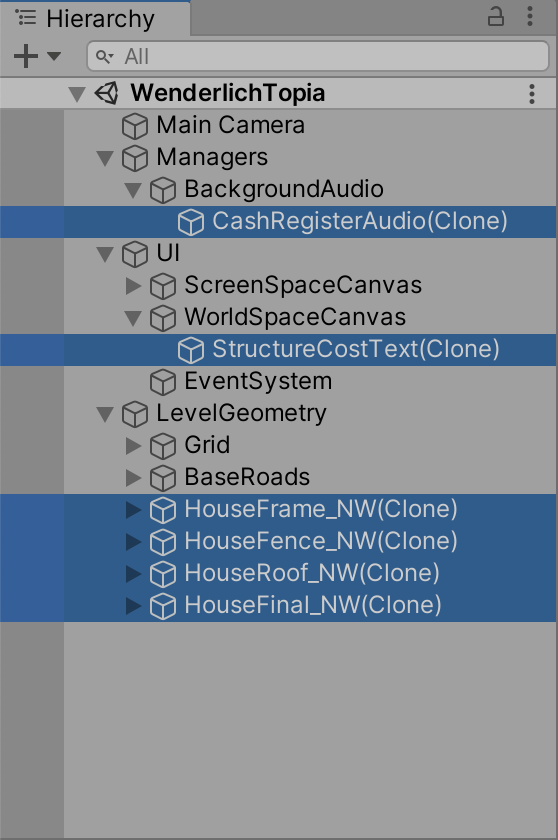
After the previously added code runs, the house is complete. The next steps are to destroy the temporary construction tile, calculate the total house cost, return the result and remove that temporary return value of $100. You’ll use Task.Result to get the cost of each task. Add the below code to BuildHouseAsync by replacing the existing return 100; line with:
Destroy(constructionTile);

var totalHouseCost = buildFrame.Result + buildRoof.Result + buildFence.Result + finalizeHouse.Result;
return totalHouseCost;
And that’s all it takes to build a house. In this game, at least… :]
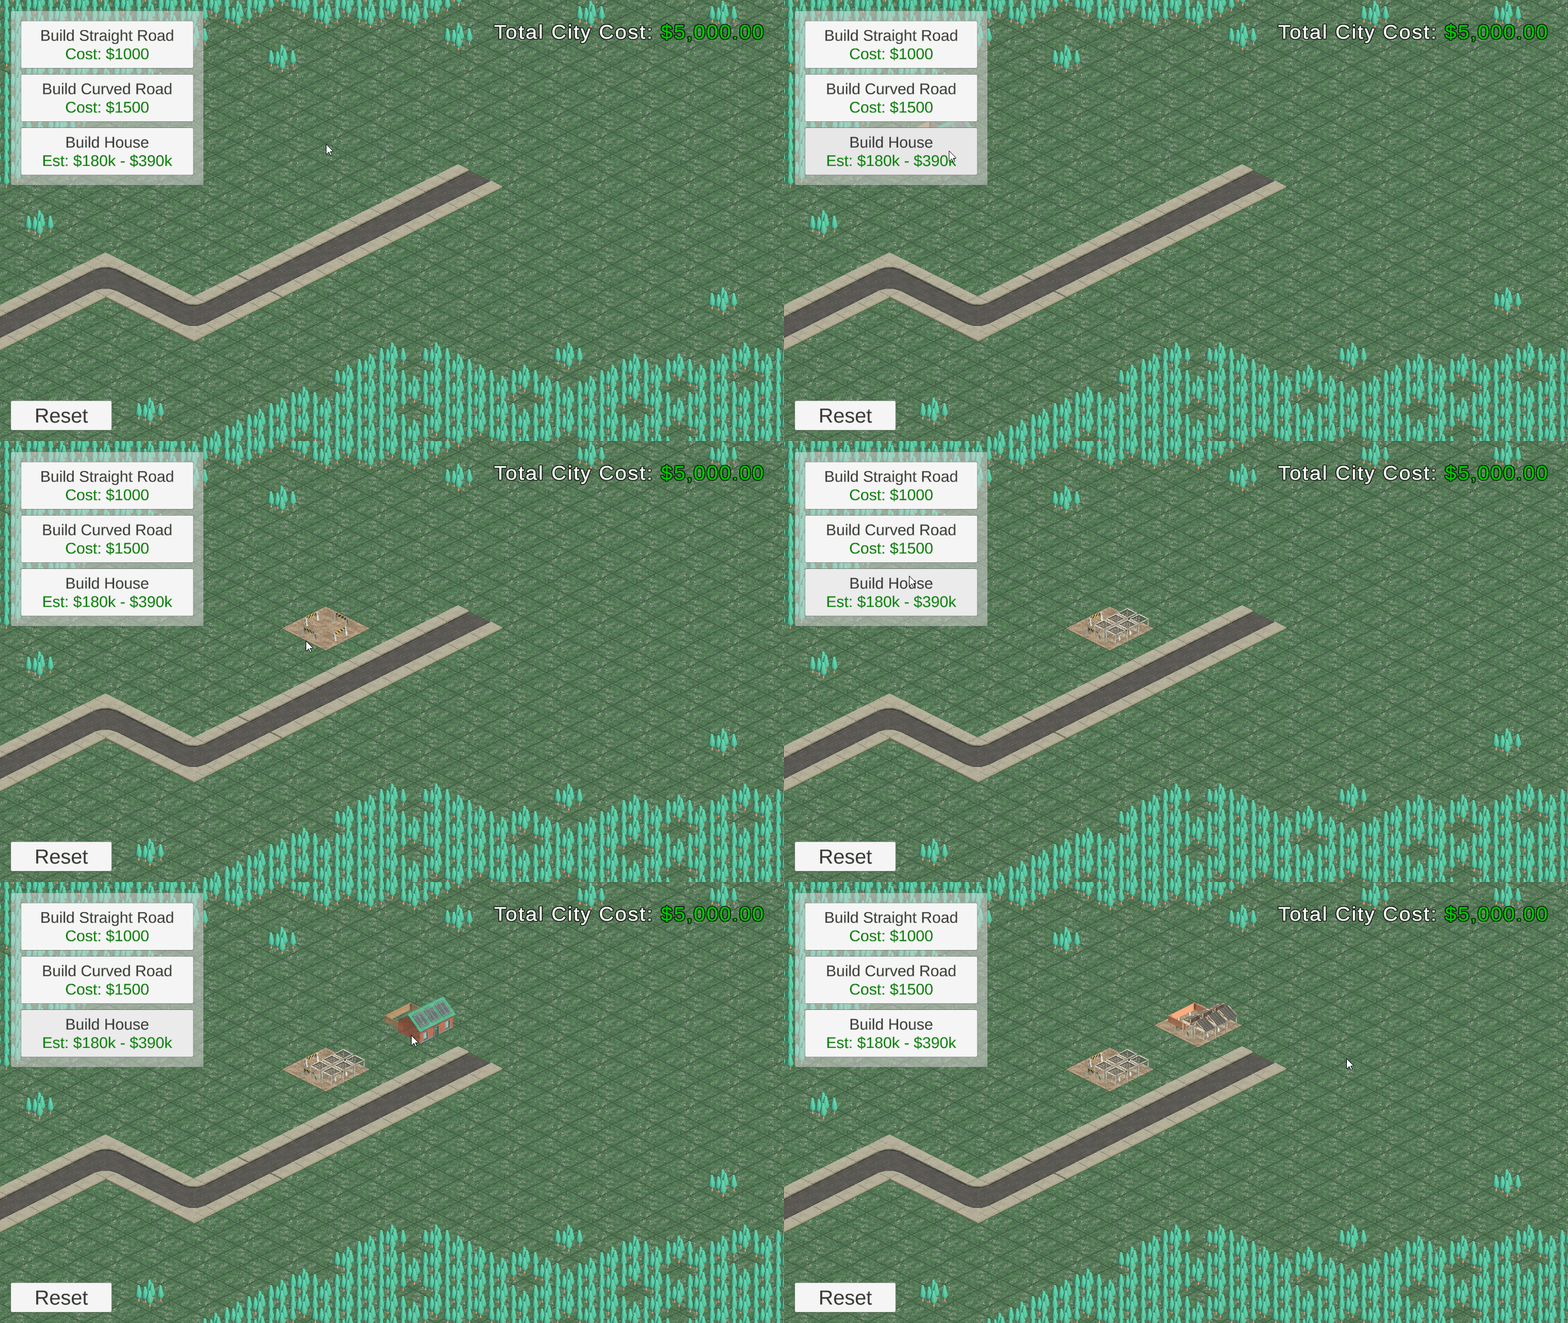
Now, go back to Unity, enter play mode, and test building some houses. You’ll know everything is working if you have a house at the end with a roof, a frame and a fence around it. You can refer to the code in the final project files in case you are stuck.
Look closely, and you’ll see that sometimes the fence finishes before the roof, and other times, it’s the other way around. If you’re really lucky, the ‘builders’ (a.k.a. random time returning Tasks!) are synchronized, and they complete at the same time.
Improving Your Asynchronous Code
Now that you know how to write basic asynchronous code, you need to make some considerations to make your asynchronous code safer and more flexible.
Cancelling Tasks
You need to consider how to handle task cancelation because there may be an occasion when you need to stop an active task. For example, you may want to add a feature that allows the player to cancel a building’s construction. Or if you’re running the game in the Unity Editor and you stop the project from running. Spoiler alert: you’ll actually implement both of these features! :]
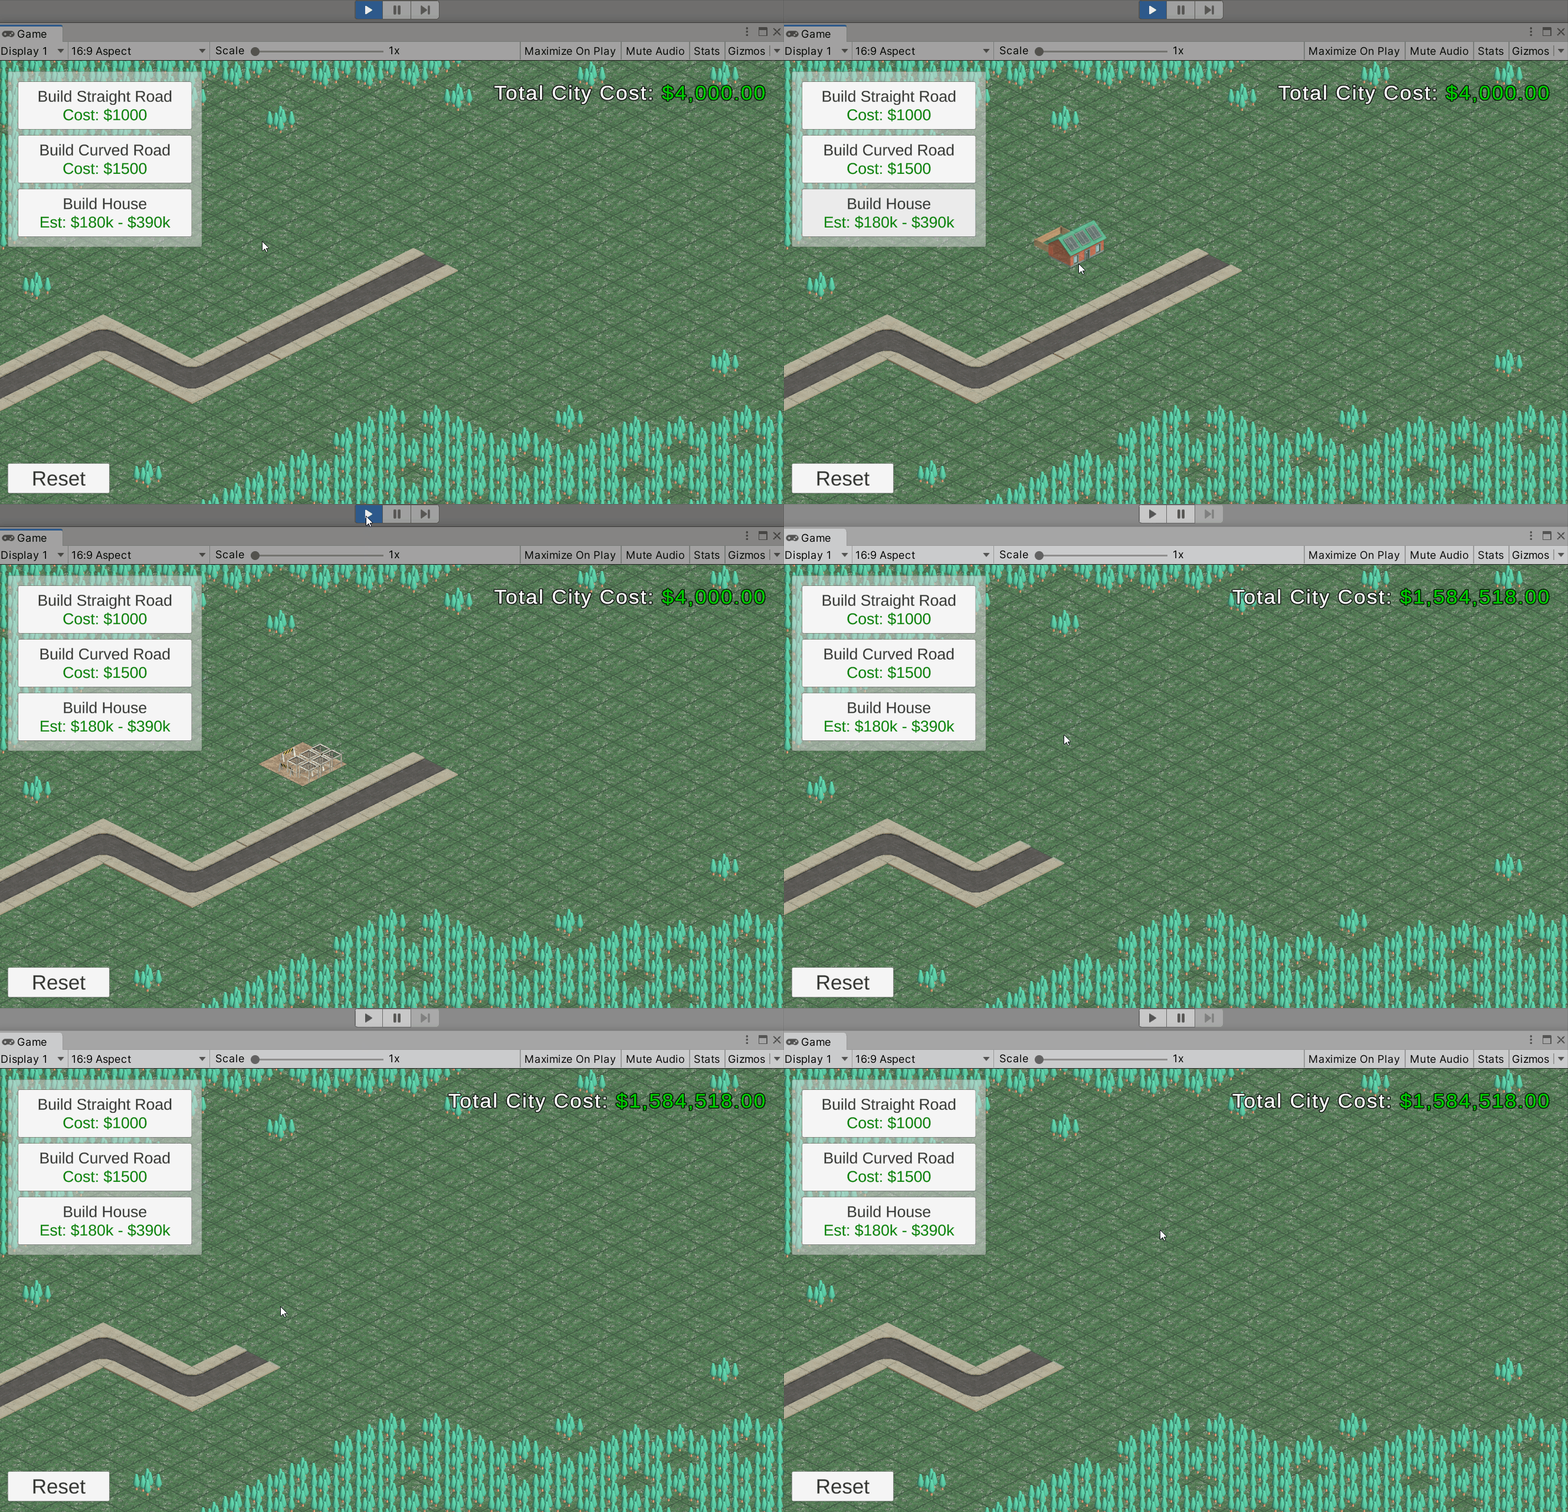
Replicate this use case by going back to Unity and running the application. Begin building a house, then exit play mode before the house is finished building.
You’ll notice something strange happens. Even while the game isn’t running, the house is still being built. You’ll even see these new objects in the scene hierarchy, even when it’s not in the play mode. I bet you didn’t think this could ever happen. :]
Since you don’t want this to happen to your players, you’ll need to put in a measure that will allow your game to cancel tasks.
Cancelling a Task Efficiently
To cancel a Task partway through execution, you’ll need a CancellationToken. In the ConstructionManager.cs script, declare a private CancellationTokenSource and then initialize it in Start.
private CancellationTokenSource cancellationTokenSource;

private void Start()
{
    cancellationTokenSource = new CancellationTokenSource();
}
Now that the variable is declared, get a reference to CancellationToken in the beginning of BuildStructure like below:
var cancellationToken = cancellationTokenSource.Token;
Modify the signature of all three async Task methods to take in a CancellationToken as the last parameter. For example, BuildRoadAsync should look like this:
private async Task BuildRoadAsync(RoadBuildProperties roadProperties, Vector3 buildPosition, CancellationToken cancellationToken)
Do the same for BuildHouseAsync and BuildHousePartAsync.
Next, modify the calls to each of these methods to pass in the cancellationToken. There are two such calls in BuildStructure, and four calls in BuildHouseAsync. As an example, for the call to BuildRoadAsync, you’ll pass in the new cancellationToken like this:
var buildRoadTask = BuildRoadAsync(roadProperties, buildPosition, cancellationToken);
Similarly, you need to update the calls for BuildHouseAsync in BuildStructure and BuildHousePartAsync in BuildHouseAsync.
Finally, pass the cancellationToken into the two Task.Delay calls. As an example, here is what you’ll do in the BuildHousePartAsync method:
await Task.Delay(constructionTime, cancellationToken);
Find and update the Task.Delay call in BuildRoadAsync too.
Now that the CancellationToken is everywhere it needs to be, cancellationTokenSource needs to be used when it is time to actually cancel a task(s). Add the following line to the OnDisable() method:
cancellationTokenSource.Cancel();
OnDisable() is always called when the application stops. (for example, when you stop the game in the Unity Editor). Doing this will cancel any currently running task that passed in the CancellationToken reference.
Go back to Unity, enter play mode, and start building a house. Exit play mode before the house is finished, and you’ll see that no extra objects spawn outside of play mode.
But what if the user wants to cancel a task halfway through? Let them! Using CancellationToken, a user will be able to cancel any Task while the application is still running. As the welcome UI says, the user can press the Escape key to cancel placing a structure. You can achieve this functionality by adding the following code to the Update() method:
if (Input.GetKeyDown(KeyCode.Escape))
{
    cancellationTokenSource.Cancel();
    cancellationTokenSource.Dispose();
    cancellationTokenSource = new CancellationTokenSource();
}
Now, when the player presses Escape:
-
CancellationTokenSourcecancels any tasks that references its token. -
CancellationTokenSourceis disposed of. - A new
CancellationTokenSourceis created.
Return to Unity and run the game. Place a house or a road on the map, then press Escape. Construction stops immediately.


