Verifying Image Uploads in Parse
Okay, so you need some proof that your images and comments made it to Parse. Since you haven’t actually coded the Image Wall yet, the only way to prove that your image is saved to Parse is to take a look at the Parse Data Browser.
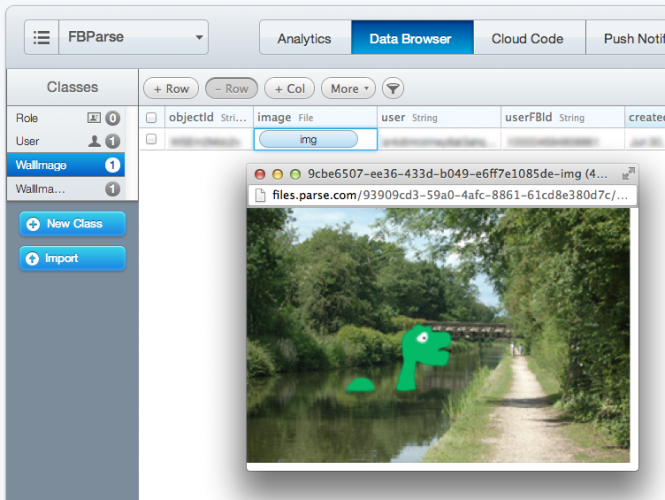
If you kept the browser window open from the previous section, simply refresh the page and you’ll see two new tables – Wall Image and Wall Image Comment. Take a look at the Wall Image table and you’ll see one new row. Click on the img button and Parse will show you your uploaded image as demonstrated below:

Where To Go From Here?
Here is the sample code which includes everything you have done up to this point in this tutorial.
In Part 1 of this tutorial, you built an app that uses both the Facebook and Parse SDKs, added Facebook authentication using Parse’s Facebook Utils, and have successfully uploaded images to Parse. This knowledge gives you a good foundation to develop apps that use Facebook and Parse together.
In Part 2 of this tutorial you will complete your app by fleshing out the Image Wall and allowing the user to create comments on friends’ images — and vice versa!
If you want to learn more about the Parse SDK, check out the Parse iOS SDK reference. In particular, you might be interested in the documentation for the classes you’ve used so far – PFFacebookUtils, PFFile, and PFUser.
Please use the comments section below to ask any questions about the tutorial, integrating Facebook and/or Parse and with any suggestions for related tutorials going forward.
