How To Make a Letter / Word Game with UIKit and Swift: Part 2/3
In this second part of the tutorial series, you’ll aim for developing a fully playable version of the game. When you’re finished, the user will be able to drag the tiles and drop them on the correct targets, where they will “stick” to the spot. By Caroline Begbie.
Sign up/Sign in
With a free Kodeco account you can download source code, track your progress, bookmark, personalise your learner profile and more!
Create accountAlready a member of Kodeco? Sign in
Sign up/Sign in
With a free Kodeco account you can download source code, track your progress, bookmark, personalise your learner profile and more!
Create accountAlready a member of Kodeco? Sign in
Contents
How To Make a Letter / Word Game with UIKit and Swift: Part 2/3
40 mins
Adding the Score to the HUD
Games are all about achievements and score, so there’s no sense in keeping the player’s score behind the scenes. You need to put it upfront, right on the HUD layer.
In Anagrams/Classes/Views, create a new Swift file called CounterLabelView. This will be another subclass of UILabel.
Open CounterLabelView.swift and replace its contents with the following:
import UIKit

class CounterLabelView: UILabel {
  //1
  var value:Int = 0 {
    //2
    didSet {
      self.text = " \(value)"
    }
  }

  required init(coder aDecoder:NSCoder) {
    fatalError("use init(font:frame:")
  }

  //3
  init(font:UIFont, frame:CGRect) {
    super.init(frame:frame)
    self.font = font
    self.backgroundColor = UIColor.clearColor()
  }
}
Here’s what you need to know about the above:
-
valueis a property that will hold the score currently shown on the label. - Whenever the value is changed, update the label
- Set the label’s font and set the background transparent
Inside HUDView.swift, add the following property to the HUDView class:
var gamePoints: CounterLabelView
In the HUDView‘s init(frame:) initializer, add the following before the super.init() call:
//the dynamic points label
self.gamePoints = CounterLabelView(font: FontHUD, frame: CGRectMake(ScreenWidth-200, 30, 200, 70))
gamePoints.textColor = UIColor(red: 0.38, green: 0.098, blue: 0.035, alpha: 1)
gamePoints.value = 0
Then add the following after the super.init()) call:
self.addSubview(gamePoints)

//"points" label
var pointsLabel = UILabel(frame: CGRectMake(ScreenWidth-340, 30, 140, 70))
pointsLabel.backgroundColor = UIColor.clearColor()
pointsLabel.font = FontHUD
pointsLabel.text = " Points:"
self.addSubview(pointsLabel)
When initializing the class, the class’s own properties must be initialized before calling the super class’s initialization. However, the super class’s properties can’t be referenced until after it has been initialized.
Now to update the score. Remember the two places where you change the score? In GameController.swift in the tileView(_:didDragToPoint:) method, find data.points += level.pointsPerTile and add the following just below it:
hud.gamePoints.value = data.points
Then look for the line data.points -= level.pointsPerTile/2 and add the following just below it:
hud.gamePoints.value = data.points
These lines updates the score label on the HUD to the same value as the game’s data points.
Build and run to see your score updating.
It’s a bit boring though, that the score label instantly changes from, say 500 to 750, as it will on the harder levels. It’s a lot more fun to have the score label rapidly cycle through 500, 501, 502, etc. all the way up to 750 – it just adds a little polish to an awesome game experience.
Inside the CounterLabelView class in CounterLabelView.swift, add new private variables:
private var endValue: Int = 0
private var timer: NSTimer? = nil
Basically, you will set up a timer to repeatedly update the HUD, incrementing (or decrementing) the label one point, until you reach endValue.
Now add the following helper method:
func updateValue(timer:NSTimer) {
  //1 update the value
  if (endValue < value) {
    value -= 1
  } else {
    value += 1
  }

  //2 stop and clear the timer
  if (endValue == value) {
    timer.invalidate()
    self.timer = nil
  }
}
There are two things happening in this method:
- Depending on whether
endValueis higher than the currentvalue, you increment or decrement the value. ThedidSetobserver onvaluewill update the label's text every timevalueis set. - When
endValueis equal to the currentvalue, you have finished, so stop the timer, and clear it.
Now it's time to implement setValue(_:duration:), which is the method that initially calls updateValue() to get the counter rolling. Add the following method:
//count to a given value
func setValue(newValue:Int, duration:Float) {
  //1 set the end value
  endValue = newValue

  //2 cancel previous timer
  if timer != nil {
    timer?.invalidate()
    timer = nil
  }

  //3 calculate the interval to fire each timer
  let deltaValue = abs(endValue - value)
  if (deltaValue != 0) {
    var interval = Double(duration / Float(deltaValue))
    if interval < 0.01 {
      interval = 0.01
    }

    //4 set the timer to update the value
    timer = NSTimer.scheduledTimerWithTimeInterval(interval, target: self, selector:"updateValue:", userInfo: nil, repeats: true)
  }
}
This function is the most complicated one you've added so far, so let's go over it carefully.
- Set
endValueto the value that you are counting to. - In the event that the player is really fast at adding letters, cancel any existing timers, because you don't want them overlapping.
- Here you calculate the
intervalbetween calls toupdateValue(timer:). To do so, you do the following:- You find how many values the label needs to count through. For example, if the current score is 50 and you want it to go to 65, you'll get the delta value 15. If the current value is 65 and you want to go to 50, you'll get the same delta value of 15.
- Only do the update if the value needs to be changed.
- You divide the total duration for the animation,
duration, by the number of values you need to count through. This gives you the timeintervalfor firing of the timer. - If
intervalis less than 0.01 seconds, you increase it to 0.01. This just keeps the animation from moving too quickly, which wouldn't look as nice.
- Finally, you schedule a NSTimer to call the update.
Nice – and you're just about done!
Now you need to call the new update functions from the game controller to see the animation. Switch to GameController.swift and replace the success line hud.gamePoints.value = data.points with:
hud.gamePoints.setValue(data.points, duration: 0.5)
This will make the score label count to the just-updated score value, and it'll do that in half a second.
Change the failure line hud.gamePoints.value = data.points to:
hud.gamePoints.setValue(data.points, duration: 0.25)
This updates the label, but does it in 0.25 seconds. Since the penalty values are half the success values, making the duration half as long will make the counter appear to change values at the same pace, whether it's going up or down. Feel free to tweak these values to your liking.
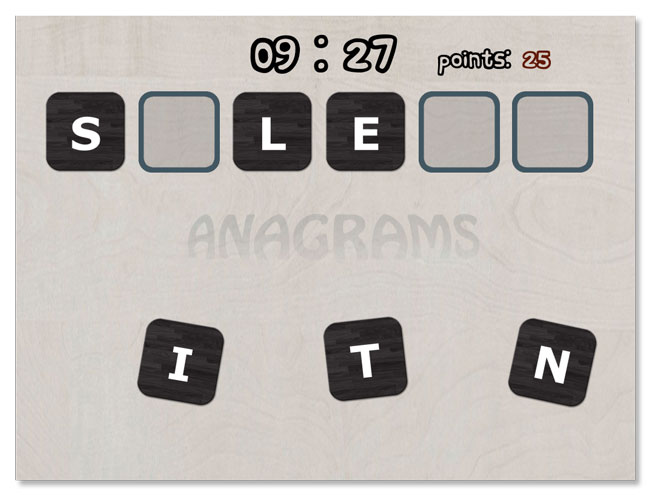
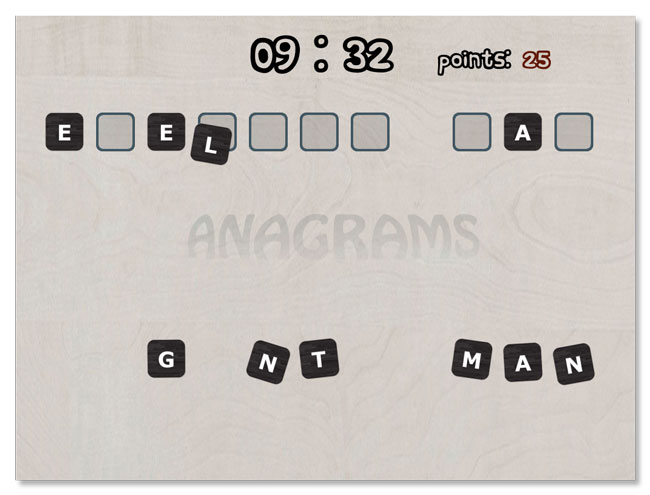
Build and run the project to enjoy your new and shiny HUD:
Oh, sweet joy! The score label counts up and down as you drop tiles on the targets. Your game is really coming together!

