How to Make a Game Like Mega Jump With Sprite Kit and Swift: Part 2/2
In this final part of the tutorial series, you’ll finish your game like Mega Jump, and add the level design, accelerometer support, and HUD using Swift and Sprite Kit! By Michael Briscoe.
Game Over!
At the end of the game, when the player falls off the bottom of the scene or climbs to the top of the level, you want to show the final score and the current high score. You’ll do it by transitioning to an end game scene.
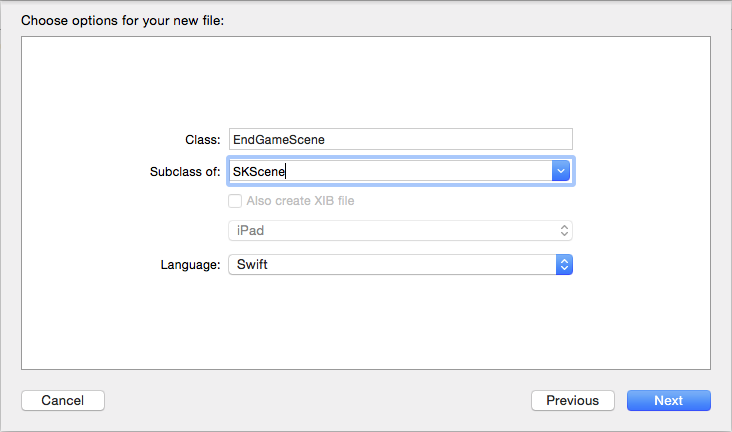
Create a new Cocoa Touch Class called EndGameScene and make it a subclass of SKScene.
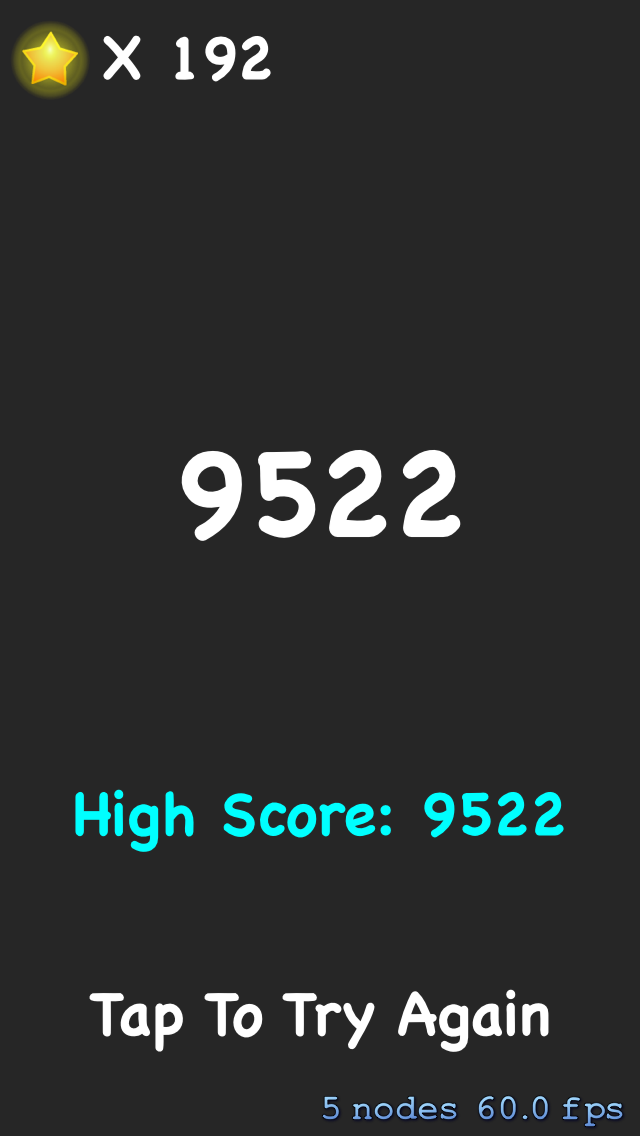
EndGameScene will be a simple screen that shows the player’s score, their star count, and the current high score. You add all the nodes in init(size:):, so open EndGameScene.swift and replace the entire file contents with the following:
import SpriteKit

class EndGameScene: SKScene {

  required init?(coder aDecoder: NSCoder) {
    super.init(coder: aDecoder)
  }

  override init(size: CGSize) {
    super.init(size: size)

    // Stars
    let star = SKSpriteNode(imageNamed: "Star")
    star.position = CGPoint(x: 25, y: self.size.height-30)
    addChild(star)

    let lblStars = SKLabelNode(fontNamed: "ChalkboardSE-Bold")
    lblStars.fontSize = 30
    lblStars.fontColor = SKColor.whiteColor()
    lblStars.position = CGPoint(x: 50, y: self.size.height-40)
    lblStars.horizontalAlignmentMode = SKLabelHorizontalAlignmentMode.Left
    lblStars.text = String(format: "X %d", GameState.sharedInstance.stars)
    addChild(lblStars)

    // Score
    let lblScore = SKLabelNode(fontNamed: "ChalkboardSE-Bold")
    lblScore.fontSize = 60
    lblScore.fontColor = SKColor.whiteColor()
    lblScore.position = CGPoint(x: self.size.width / 2, y: 300)
    lblScore.horizontalAlignmentMode = SKLabelHorizontalAlignmentMode.Center
    lblScore.text = String(format: "%d", GameState.sharedInstance.score)
    addChild(lblScore)

    // High Score
    let lblHighScore = SKLabelNode(fontNamed: "ChalkboardSE-Bold")
    lblHighScore.fontSize = 30
    lblHighScore.fontColor = SKColor.cyanColor()
    lblHighScore.position = CGPoint(x: self.size.width / 2, y: 150)
    lblHighScore.horizontalAlignmentMode = SKLabelHorizontalAlignmentMode.Center
    lblHighScore.text = String(format: "High Score: %d", GameState.sharedInstance.highScore)
    addChild(lblHighScore)

    // Try again
    let lblTryAgain = SKLabelNode(fontNamed: "ChalkboardSE-Bold")
    lblTryAgain.fontSize = 30
    lblTryAgain.fontColor = SKColor.whiteColor()
    lblTryAgain.position = CGPoint(x: self.size.width / 2, y: 50)
    lblTryAgain.horizontalAlignmentMode = SKLabelHorizontalAlignmentMode.Center
    lblTryAgain.text = "Tap To Try Again"
    addChild(lblTryAgain)
  }
}
That’s a lot of code, but by now, after all you’ve done in this tutorial, you’ve got pwnage.
In brief, you create three labels: one each to show the star count, the final score and the high score. You populate these labels with values from the GameState singleton. You also add a label explaining to the player that they can tap the screen to play again.
To track whether or not the game is over, add the following Bool to the class properties in GameScene.swift:
// Game over dude!
var gameOver = false
At the end of the game, the GameState singleton needs to save the current state and transition to the new scene. Add the following method to GameScene.swift:
func endGame() {
  // 1
  gameOver = true

  // 2
  // Save stars and high score
  GameState.sharedInstance.saveState()

  // 3
  let reveal = SKTransition.fadeWithDuration(0.5)
  let endGameScene = EndGameScene(size: self.size)
  self.view!.presentScene(endGameScene, transition: reveal)
}
Look at this method in detail:
- First you set
gameOvertotrue. - Then you instruct the
GameStatesingleton to save the game state to the app’s user defaults. - Finally, you instantiate an
EndGameSceneand transition to it by fading over a period of 0.5 seconds.
The game needs to call endGame when the player node either falls off the bottom of the screen or reaches the maximum height for the level. You’ll test for both of these triggers in update in the main scene.
Still in GameScene.swift, add the following code to the end of update::
// 1
// Check if we've finished the level
if Int(player.position.y) > endLevelY {
  endGame()
}

// 2
// Check if we've fallen too far
if Int(player.position.y) < maxPlayerY - 800 {
  endGame()
}
Take a look at these checks:
- Remember, you loaded
endLevelYfrom the level’s property list; it's the y-value at which the player has finished the level. - If the player node falls by more than 800 points below the max height they’ve reached, then it’s game over.
Before you can run the game to see your end game scene, you need to make sure the game doesn’t try to call endGame more than once, which might happen if update() runs again for another frame.
Add the following line to the start of update() in GameScene.swift:
if gameOver {
  return
}
Now, when the game calls update(), the method checks to see if the game is already over before progressing.
Build and run. Tap to start and then play the game, allowing the Uber Jumper to fall at some point. The game will transition to the end game scene.
Restarting
To restart the game from the end game scene, you need to modify EndGameScene so it transitions back to the main game scene upon a touch event.
Open EndGameScene.swift and add the following method to the class to handle touch events:
override func touchesBegan(touches: NSSet, withEvent event: UIEvent) {
  // Transition back to the Game
  let reveal = SKTransition.fadeWithDuration(0.5)
  let gameScene = GameScene(size: self.size)
  self.view!.presentScene(gameScene, transition: reveal)
}
This code simply transitions to a new GameScene in much the same way you transition to this scene when the app first starts.
One more bit of code, and you're all done! Open GameScene.swift. In init(size:), where you reset maxPlayerY, add the following code:
GameState.sharedInstance.score = 0
gameOver = false
This resets the score in the GameState singleton and also resets the gameOver flag so the game can start fresh.
Build and run. Tap to start and play the game. Now go and beat that high score! ;]
Where to Go From Here?
Congratulations, you’ve made a game like Mega Jump!
Here's the finished project with all of the code from this tutorial series.
In the 2 parts of this series you've covered the whole process of creating a physics based game. You learned much about how to setup collisions and how to build your game logic around detecting contacts in the game.
But you can do much more for your Uber Jump game! Open up the plist level data and think of new levels. What new shapes could you implement? You can just copy the plist source code and create any number of levels by adjusting what's inside the level file.
Play some Mega Jump and get inspiration! Can you implement some better game features compared to the original game?
And last but not least if you want to learn more about Sprite Kit, check out the iOS Games by Tutorials book, where you’ll learn how to make five complete games—from zombie action to car racing to shootouts in space!
In the meantime, if you have any questions or comments, please join the forum discussion below.