View Debugging in Xcode 6
In this tutorial, you will learn view debugging by using some of the awesome new tools provided with Xcode 6! By Scott Berrevoets.
Focusing on Views of Interest
In debugging this particular view hierarchy, the first four views (starting with the window) are really just visual noise. They don’t bring anything meaningful; they distract in trying to understand what else is going on in this view hierarchy. It would sure be nice if you could filter out that visual noise…
And you can. :] Look at the double-thumbed slider in the bottom right of the canvas. By default, the thumbs are all the way on the left and right side of the slider.

Drag the left thumb slowly to the right a little bit; you’ll see the wireframe that represents the app’s window disappear from the canvas. If you drag a little further, the UINavigationTransitionView disappears as well.
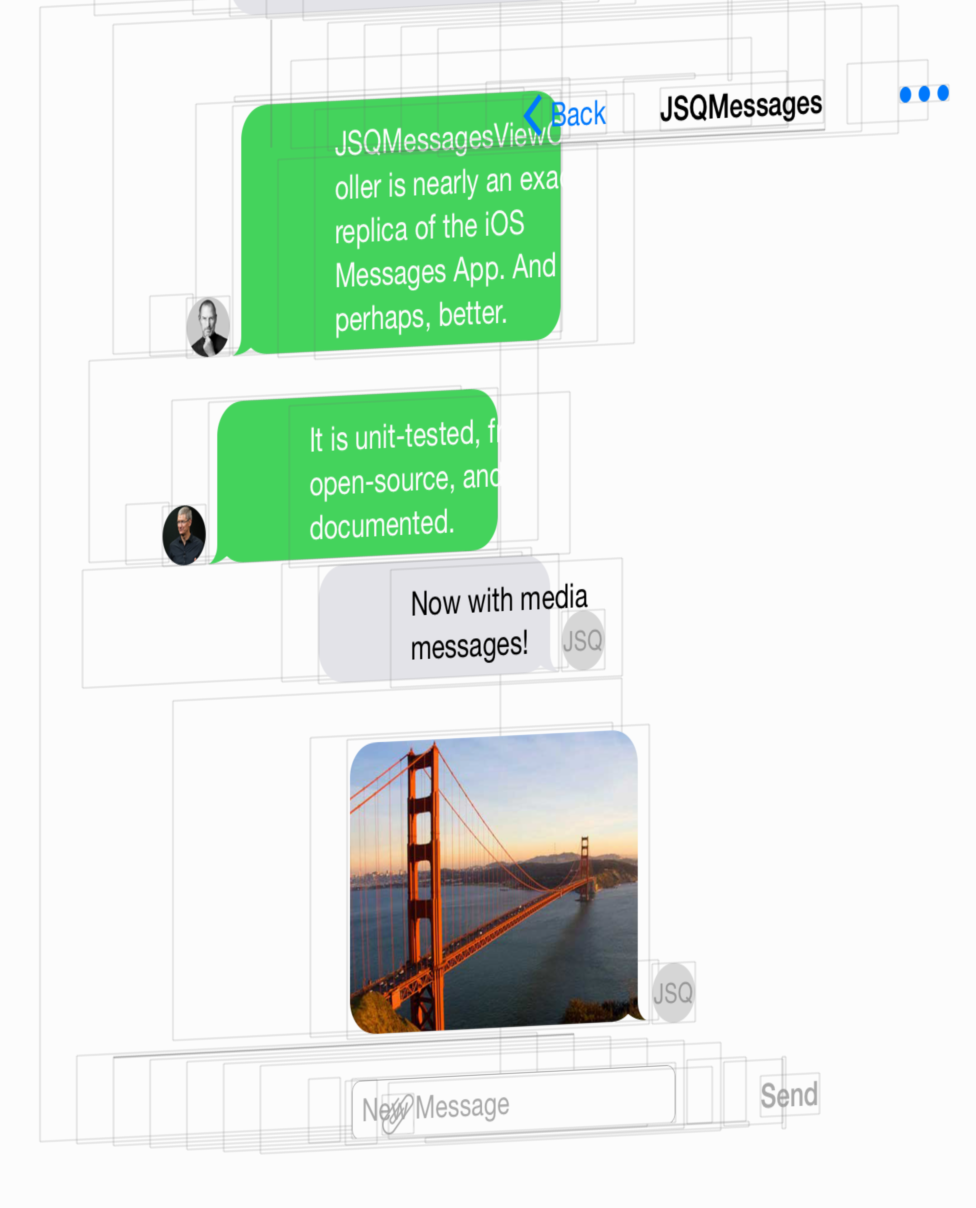
Drag the left thumb as far as needed to hide all the parent views of JSQMessagesCollectionView. Your canvas should now look similar to this:
On the right side, you might notice the navigation bar is not just distracting, but it’s actually laid out on top of the collection view, making it hard to see what’s going on underneath. Fortunately, you can hide it.
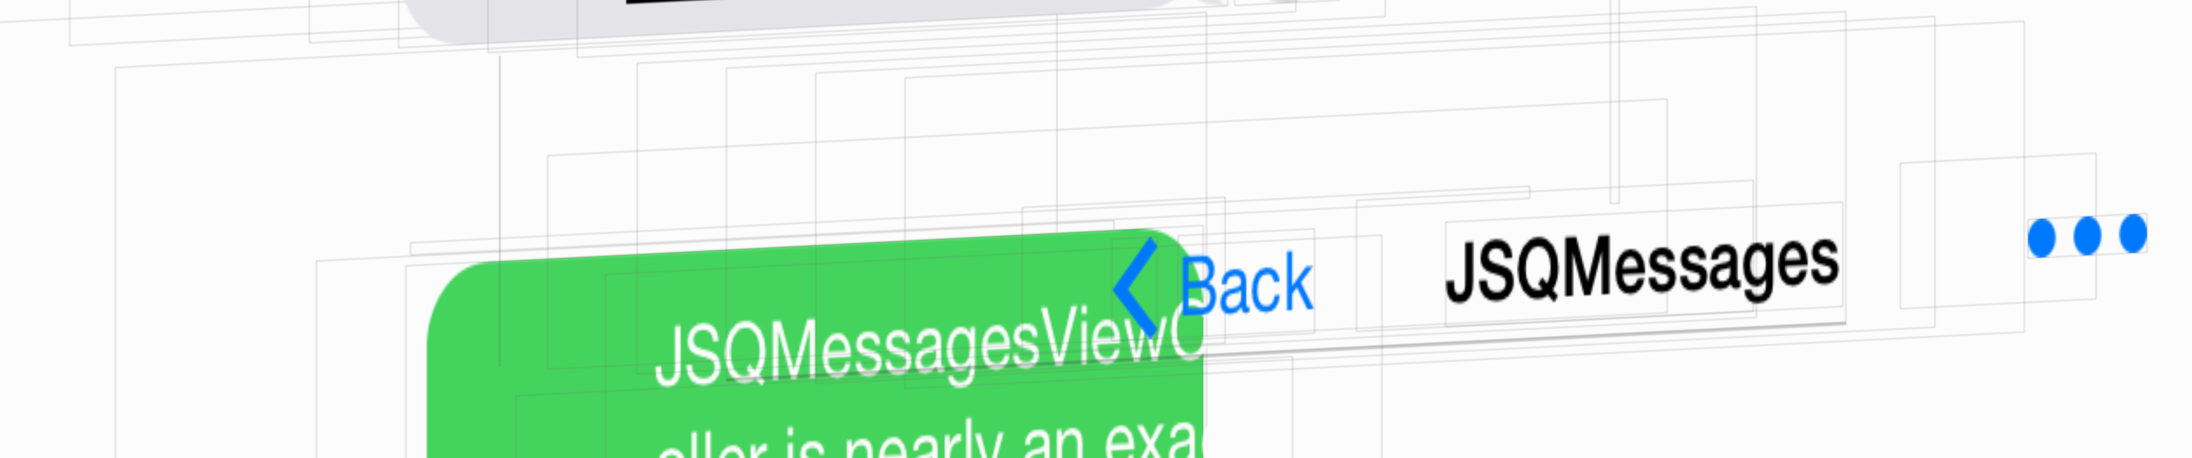
Because you’re focusing on a smaller area of the screen with many smaller views that comprise the navigation bar, it’s a good idea to zoom in on the nav bar so you can see what exactly you’re doing.
Use the zoom control buttons, which are in a group of three buttons centered at the bottom of the canvas:

As you would expect, the + button zooms in, the – zooms out, and the = button resets the zoom to the normal zoom level. Zoom in to get a good visual of the navigation bar.
Note: If you use a trackpad, pinch gestures will also zoom. A trackpad is also useful to move around in the canvas if all parts of the screen can’t be shown at once because you zoom in really far.
You can also zoom with option-mousewheel.
Note: If you use a trackpad, pinch gestures will also zoom. A trackpad is also useful to move around in the canvas if all parts of the screen can’t be shown at once because you zoom in really far.
You can also zoom with option-mousewheel.
The extra detail you get by zooming in on the toolbar is nice, but the views still slightly overlap, so it’s not easy to tell which view is which.
To solve that problem, use the spacing slider in the bottom left corner of the canvas. The further you drag the thumb of the spacing slider to the right, the more spacing Xcode shows between different views.

In this particular case, move the slider to the right as much as needed to avoid overlapping views in the toolbar. You might have to play around with the perspective by click-dragging on the canvas to get the desired result.

The 3D model is now perfectly manipulated so you can easily hide the navigation bar.
In the slider on the right (the one that hides views), drag the right thumb slowly to the left, up to the UINavigationBar. Remember that you can use the Jump Bar to identify each view’s class by selecting the topmost layer as you go. You’ll see the navigation items disappear first, then the buttons that contain them, followed by a few private views, and lastly, the navigation bar.
Look ma, no nav bar!

Look ma, no nav bar!
Note: If you rotate the canvas to look at the 3D view hierarchy model with the top layer on the left, the slider’s left thumb still removes views from the bottom of the stack, which is now on the right. Similarly, the right thumb removes views from the left.
Moving a slider from the left to the right and having views disappear from the right to the left (and vice versa) is counterintuitive, so that’s why looking at the model with the top layer on the right is the most natural perspective.
Unfortunately, hiding the nav bar (with the root view of _UIBackdropView) view also causes the toolbar items’ content at the bottom of the screen to disappear. To see this, you may need to adjust the zoom level or move down the canvas.
You want to see the toolbar items as they are an important part of the screen, so only hide the views up until (but not including) the _UIBackdropView. The navbar stack should look something like the following once you’re done.

More View Options
Now that irrelevant views are hidden, it’s time to take a look at the screen from the front again. You can try to drag the model back into place, but sometimes it’s difficult to get it just right. Fortunately, there is a simpler way.
Look at the group of four buttons to the left of the zoom buttons. The third button from the left is the ResetViewing Area button. It undoes rotations and gives you the front perspective of the view hierarchy, just like in the simulator or on a device.

Your canvas should look similar to the following at this point:
You probably noticed that what you see in the debugger is still not exactly what you see when the app actually runs.
First of all, you still have wireframes around every single view; they allow you to see transparent views or views without any content, but if you don’t need the detail they can make things pretty noisy.
You can turn this off with the View Mode button — the one to the right of the Reset Viewing Area button. When you click the view mode button, you can specify if you want to see the views’ wireframes, their contents or both.

A wireframes-only view is particularly useful if you’re mostly interested in positioning, and not so much about what a view looks like. Showing only the views’ contents is useful when you’re trying to debug a view’s appearance.
To reduce some of the clutter the wireframes cause in this case (especially near the navigation bar and toolbar), change the view mode to Contents to remove all the wireframes and leaves you with the core of the app.

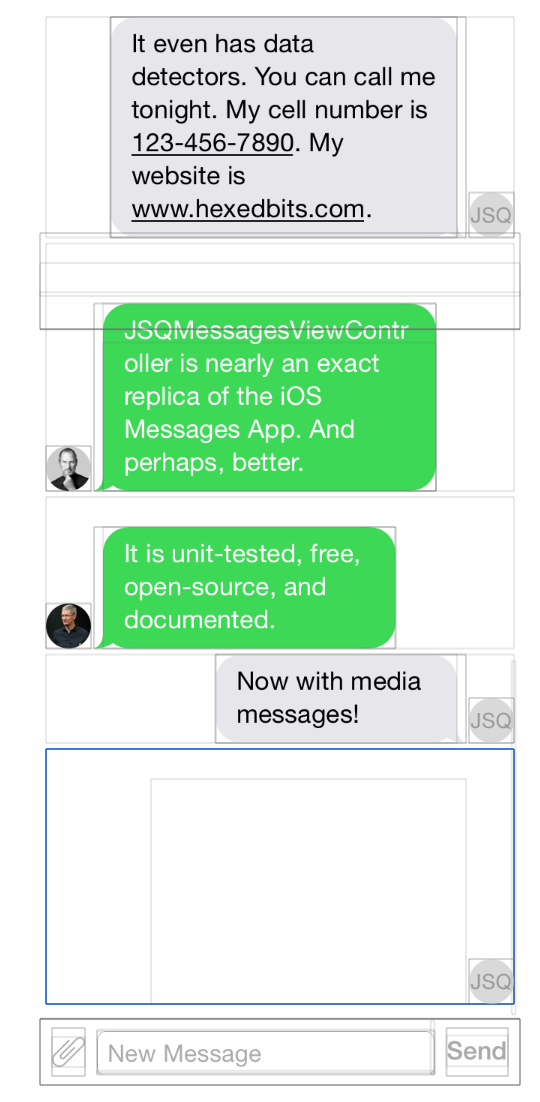
Next, a couple of things are missing from the current view. When you run the app, you’ll see labels above the text bubbles that indicate the sender’s name or the message’s timestamp, as well as an image of the Golden Gate Bridge in the last bubble. But the debugger isn’t showing those labels and that image!
To solve this, look at the first button in the center row of buttons on the canvas. This is a toggle to show or hide clipped views. These are views that have their clipsToBounds property set to YES.
![]()
That is exactly what is happening with these labels, presumably because long names and dates should not extend beyond the bounds of their labels. The same applies to the image, which uses a corner radius and clipping to produce the rounded corners. Click on the toggle and you’ll notice these views now show up in Xcode.

Note: You may notice wireframes around the newly visible items. If that’s the case, toggle wireframes on and then off with the View Mode button you used previously. That should resolve the issue.
Note: You may notice wireframes around the newly visible items. If that’s the case, toggle wireframes on and then off with the View Mode button you used previously. That should resolve the issue.
And there you have it: a near-perfect replica of your view hierarchy right within Xcode.
That was easy!

That was easy!