How to Create an iOS Book Open Animation: Part 2
Learn how to create an iOS book open animation including page flips, with custom collection views layout and transitions. By Vincent Ngo.
Sign up/Sign in
With a free Kodeco account you can download source code, track your progress, bookmark, personalise your learner profile and more!
Create accountAlready a member of Kodeco? Sign in
Sign up/Sign in
With a free Kodeco account you can download source code, track your progress, bookmark, personalise your learner profile and more!
Create accountAlready a member of Kodeco? Sign in
Contents
How to Create an iOS Book Open Animation: Part 2
30 mins
- Getting Started
- Creating your Custom Navigation Controller
- Creating the Custom Transition
- Setting up Your Transition
- Creating the Push Transition
- State 1 – Closed Book
- State 2 – Opened Book
- Implementing the Book Opening Transition
- Applying the Push Transition to the Navigation Controller
- Implementing the Pop Helper Methods
- Applying the Pop Transition to the Navigation Controller
- Creating an Interactive Navigation Controller
- Where To Go From Here?
State 1 – Closed Book
Next, add the following code just after makePerspectiveTransform:
func closePageCell(cell : BookPageCell) {
  // 1
  var transform = self.makePerspectiveTransform()
  // 2
  if cell.layer.anchorPoint.x == 0 {
    // 3
    transform = CATransform3DRotate(transform, CGFloat(0), 0, 1, 0)
    // 4
    transform = CATransform3DTranslate(transform, -0.7 * cell.layer.bounds.width / 2, 0, 0)
    // 5
    transform = CATransform3DScale(transform, 0.7, 0.7, 1)
   }
   // 6
   else {
     // 7
     transform = CATransform3DRotate(transform, CGFloat(-M_PI), 0, 1, 0)
     // 8
     transform = CATransform3DTranslate(transform, 0.7 * cell.layer.bounds.width / 2, 0, 0)
     // 9
     transform = CATransform3DScale(transform, 0.7, 0.7, 1)
    }

    //10
    cell.layer.transform = transform
}
Recall that the BookViewController is a collection view of pages. You transformed every page to align to the book’s spine, and rotated it on an axis to achieve the page flipping effect. Initially, you want the book to be closed. This method transitions every cell (or page) to be flat and fit behind the book’s cover.
Here’s a quick illustration of the transform:
Here’s an explanation of the code that makes that happen:
- Initialize a new transform using the helper method you created earlier.
- Check that the cell is a right-hand page.
- If it’s a right-hand page, set its angle to 0 to make it flat.
- Shift the page be centered behind the cover.
- Scale the page on the x and y axes by 0.7. Recall that you scaled the book covers to 0.7 in the previous tutorial, in case you wondered where this magic number came from.
- If the cell isn’t a right-hand page, then it must be a left-hand page.
- Set the left-hand page’s angle to 180. Since you want the page to be flat, you need to flip it over to the right side of the spine.
- Shift the page to be centered behind the cover.
- Scale the pages back to 0.7.
- Finally, set the cell’s transform.
Now add the following method below the one you added above:
func setStartPositionForPush(fromVC: BooksViewController, toVC: BookViewController) {
  // 1
  toViewBackgroundColor = fromVC.collectionView?.backgroundColor
  toVC.collectionView?.backgroundColor = nil

  //2
  fromVC.selectedCell()?.alpha = 0

  //3
  for cell in toVC.collectionView!.visibleCells() as! [BookPageCell] {
    //4
    transforms[cell] = cell.layer.transform
    //5
    closePageCell(cell)
    cell.updateShadowLayer()
    //6
    if let indexPath = toVC.collectionView?.indexPathForCell(cell) {
      if indexPath.row == 0 {
        cell.shadowLayer.opacity = 0
      }
    }
  }
}
setStartPositionForPush(_:toVC:) sets up stage 1 of the transition. It takes in two view controllers to animate:
-
fromVC, of type BooksViewController, lets you scroll through your list of books. -
toVC, of type BookViewController, lets you flip through the pages of the book you selected.
Here’s what’s going on in the code above:
- Store the background color of BooksViewController‘s collection view and set BookViewController‘s collection view background to
nil. - Hide the selected book cover.
toVCwill now handle the display of the cover image. - Loop through the pages of the book.
- Save the current transform of each page in its opened state.
- Since the book starts from a closed state, you transform the pages to closed and update the shadow layer.
- Finally, ignore the shadow of the cover image.
State 2 – Opened Book
Now that you’ve finished state 1 of the transitions, you can move on to state 2, where you go from a closed book to an opened book.
Add the following method below setStartPositionForPush(_:toVC:)):
func setEndPositionForPush(fromVC: BooksViewController, toVC: BookViewController) {
  //1
  for cell in fromVC.collectionView!.visibleCells() as! [BookCoverCell] {
    cell.alpha = 0
  }

  //2
  for cell in toVC.collectionView!.visibleCells() as! [BookPageCell] {
    cell.layer.transform = transforms[cell]!
    cell.updateShadowLayer(animated: true)
  }
}
Digging into the code above:
- Hide all the book covers, since you’re presenting the selected book’s pages.
- Go through the pages of the selected book in BookViewController and load the previously saved open transforms.
After you push from BooksViewController to BookViewController, there’s a bit of cleanup to do.
Add the following method just after the one you added above:
func cleanupPush(fromVC: BooksViewController, toVC: BookViewController) {
  // Add background back to pushed view controller
  toVC.collectionView?.backgroundColor = toViewBackgroundColor
}
Once the push is complete, you simply set the background color of BookViewController‘s collection view to the background color you saved earlier, hiding everything behind it.
Implementing the Book Opening Transition
Now that you have your helper methods in place, you’re ready to implement the push animation! Add the following code to the empty implementation of animateTransition(_:):
//1
let container = transitionContext.containerView()
//2
if isPush {
  //3
  let fromVC = transitionContext.viewControllerForKey(UITransitionContextFromViewControllerKey) as! BooksViewController
  let toVC = transitionContext.viewControllerForKey(UITransitionContextToViewControllerKey) as! BookViewController
  //4
  container.addSubview(toVC.view)

  // Perform transition
  //5
  self.setStartPositionForPush(fromVC, toVC: toVC)

  UIView.animateWithDuration(self.transitionDuration(transitionContext), delay: 0.0, usingSpringWithDamping: 0.7, initialSpringVelocity: 0.7, options: nil, animations: {
    //6
    self.setEndPositionForPush(fromVC, toVC: toVC)
    }, completion: { finished in
      //7
      self.cleanupPush(fromVC, toVC: toVC)
      //8
      transitionContext.completeTransition(finished)
  })
} else {
  //POP
}
Here’s what’s happening in animateTransition(_:):
- Get the container view, which acts as the superview between the transitioning view controllers.
- Check that you’re performing a push.
- If so, get both
fromVC(BooksViewController) andtoVC(BookViewController). - Add
toVC(the BookViewController) to the containing view. - Set up the starting positions for the to and from view controllers for the closed state.
- Next, you animate from the starting position (Closed State) to the ending position (Opened State)
- Perform any cleanup.
- Notify the system that the transition is complete.
Applying the Push Transition to the Navigation Controller
Now that you have your push transition set up, it’s time to apply it to your custom navigation controller.
Open BooksViewController.swift and add the following property just after the class declaration:
var transition: BookOpeningTransition?
This property keeps track of your transition, letting you know whether the transition is a push or pop.
Next add the following extension after the ending curly brace:
extension BooksViewController {
func animationControllerForPresentController(vc: UIViewController) -> UIViewControllerAnimatedTransitioning? {
  // 1
  var transition = BookOpeningTransition()
  // 2
  transition.isPush = true
  // 3
  self.transition = transition
  // 4
  return transition
  }
}
This creates an extension to separate parts of the code’s logic. In this case, you want to group methods related to transitions in one place. This method sets up the transition object and returns it as well.
Taking a closer look at the code:
- Create a new transition.
- Since you are presenting the controller, or pushing, set
isPushtotrue. - Save the current transition.
- Return the transition.
Now open CustomNavigationController.swift and replace the push if statement with the following:
if operation == .Push {
  if let vc = fromVC as? BooksViewController {
    return vc.animationControllerForPresentController(toVC)
  }
}
This checks that the view controller you’re pushing from is a BooksViewController, and presents BookViewController with the transition you created: BookOpeningTransition.
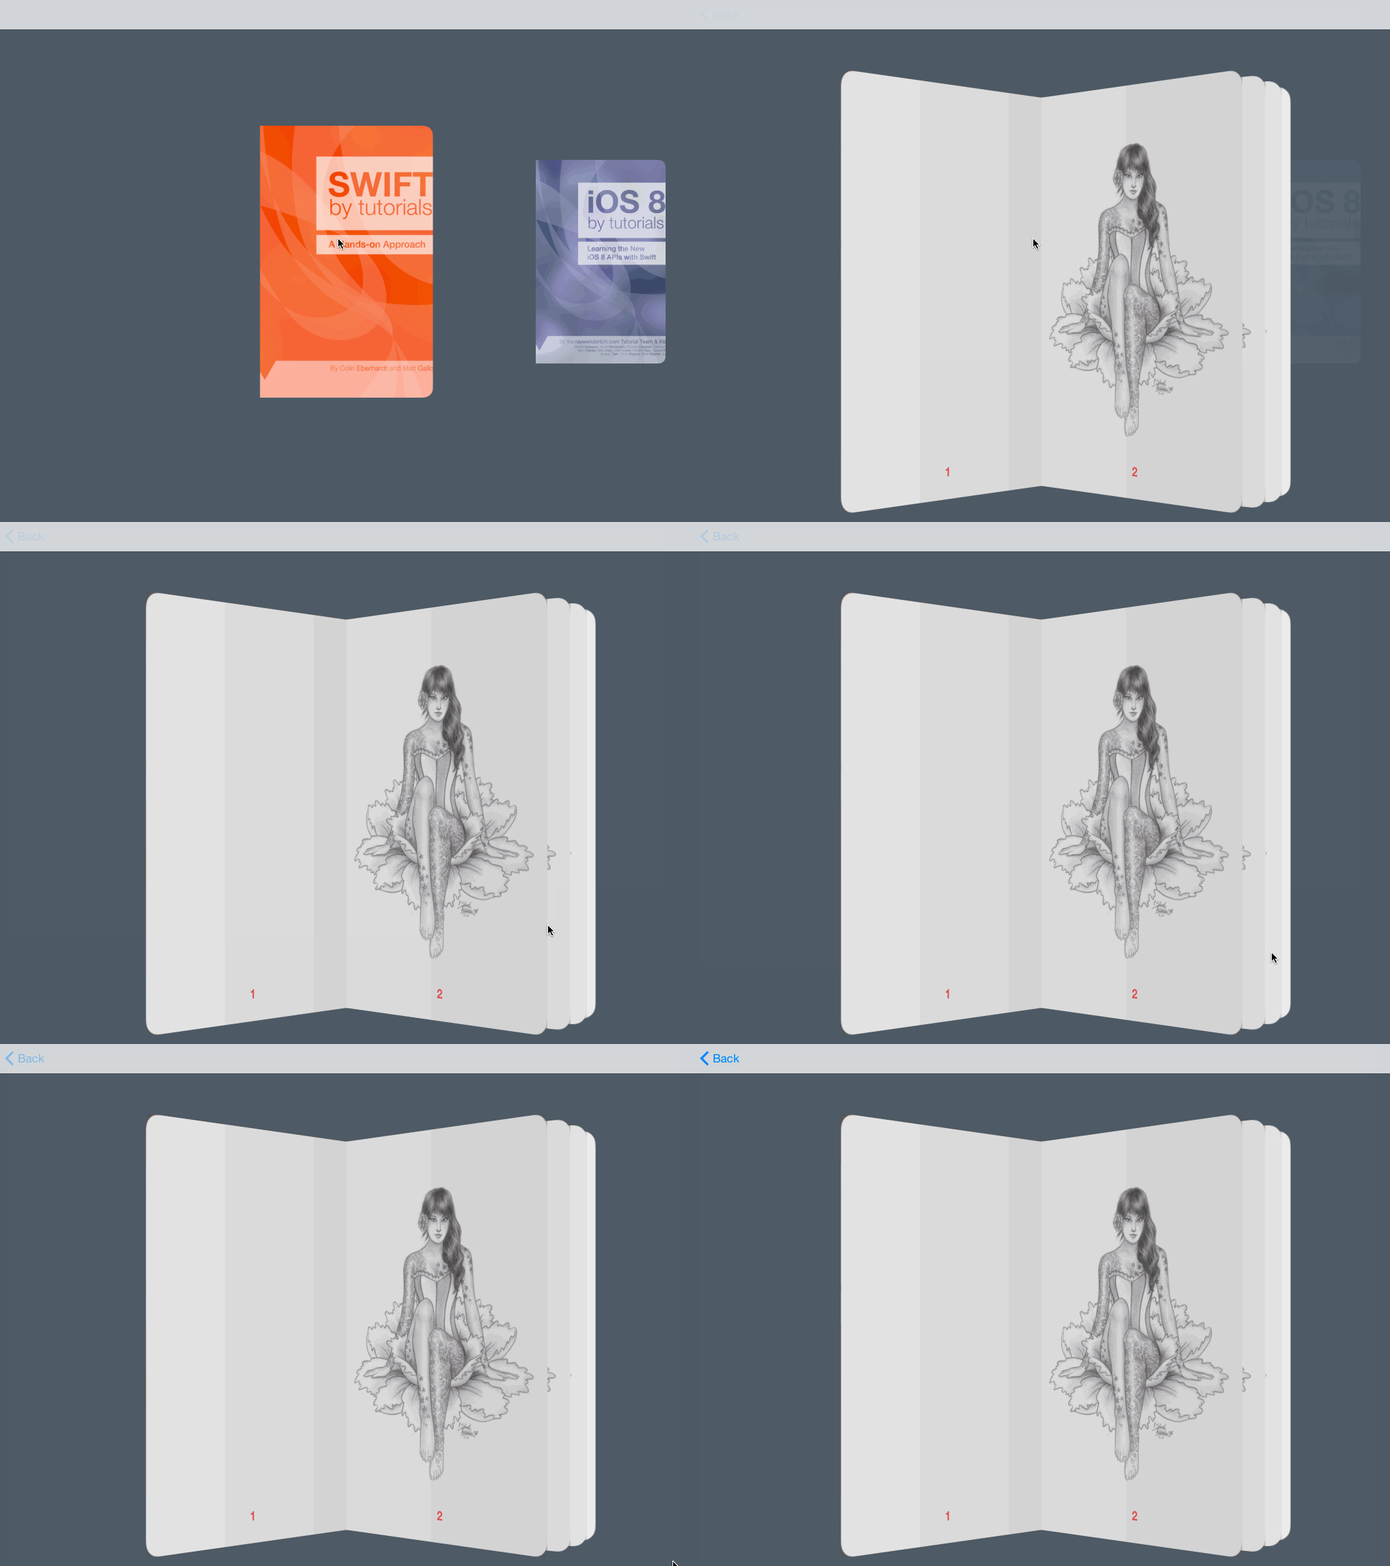
Build and run your app; click on a book of your choice and you’ll see the book animate smoothly from closed to opened:
Uh..how come it’s not animating?
It’s jumping straight from a closed book to an opened book because you haven’t loaded the pages’ cells!
The navigation controller transitions from BooksViewController to BookViewController, which are both UICollectionViewControllers. UICollectionView cells don’t load on the main thread, so your code sees zero cells at the start — and thinks there’s nothing to animate!
You need to give the collection view enough time to load all the cells.
Open BooksViewController.swift and replace openBook(_:) with the following:
func openBook(book: Book?) {
  let vc = storyboard?.instantiateViewControllerWithIdentifier("BookViewController") as! BookViewController
  vc.book = selectedCell()?.book
  //1
  vc.view.snapshotViewAfterScreenUpdates(true)
  //2
  dispatch_async(dispatch_get_main_queue(), { () -> Void in
    self.navigationController?.pushViewController(vc, animated: true)
    return
  })
}
Here’s how you solved the problem:
- You tell BookViewController to create a snapshot after the changes have been incorporated.
- Make sure you push BookViewController on the main thread to give the cells time to load.
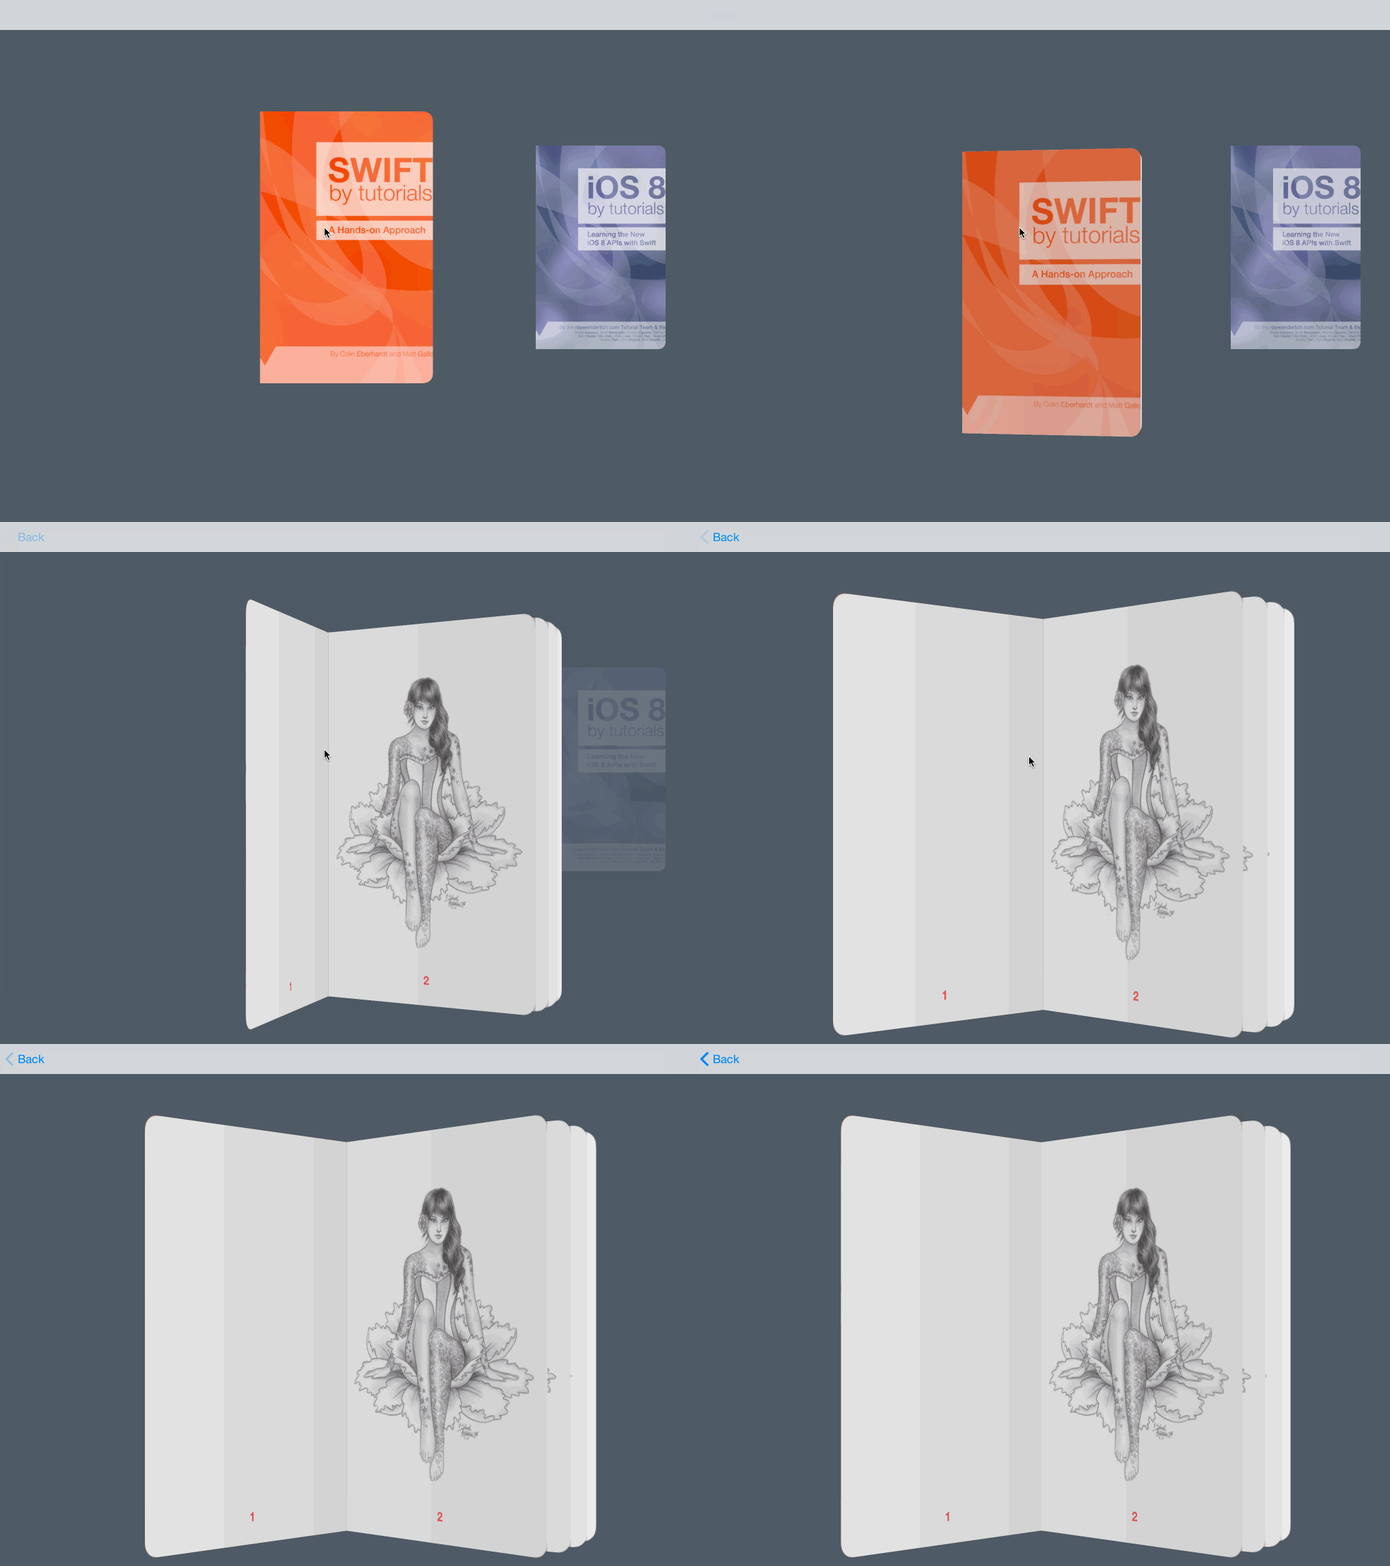
Build and run your app again; you should see the book animate properly on a push:
That looks much better! :]
Now that you’re done with the push transition, you can move on to the pop transition.


