Dagger 2 Tutorial For Android: Advanced
In this tutorial, you’ll learn about the advanced concepts of Dagger. You’ll learn about component lifecycles, @Binds, and component builders and factories. By Massimo Carli.
Sign up/Sign in
With a free Kodeco account you can download source code, track your progress, bookmark, personalise your learner profile and more!
Create accountAlready a member of Kodeco? Sign in
Sign up/Sign in
With a free Kodeco account you can download source code, track your progress, bookmark, personalise your learner profile and more!
Create accountAlready a member of Kodeco? Sign in
Sign up/Sign in
With a free Kodeco account you can download source code, track your progress, bookmark, personalise your learner profile and more!
Create accountAlready a member of Kodeco? Sign in
Contents
Dagger 2 Tutorial For Android: Advanced
35 mins
- Getting Started
- Taking a Closer Look
- How Can Dagger Help?
- Understanding the Dependency Graph
- What Object To Inject
- Defining Inject Targets
- Scope Management
- Providing Singleton Values
- Managing the @Component Lifecycle
- Sharing the @Component
- Using @Binds
- Binding Dependencies
- Improving Binds
- Hidden Power of @Binds
- The @Component.Builder Interface
- Providing Parameterized Dependencies
- Improving Parameterized Dependencies
- Making Dagger Work for You Again
- Using the @Component.Factory Interface
- Where to Go From Here
Using the @Component.Factory Interface
Like the Builder, the Factory method is a creational GoF pattern. That means it defines some way of creating instances of a specific class. While the former provides you some methods in to pass what you need, the latter provides you a single method with multiple parameters.
The former defines a build() that the latter doesn’t need. The same difference happens when you use them with Dagger. To prove this, change the AppComponent.kt to the following:
@Component(modules = [AppModule::class])
interface AppComponent {

  fun inject(frag: NewsListFragment)

  fun inject(frag: NewsDetailFragment)

  // 1
  @Component.Factory
  interface Factory {
    // 2
    fun repository(@BindsInstance repo: NewsRepository): AppComponent
  }
}
Here you can see two main differences:
- The inner interface is now annotated with
@Component.Factory. - The interface defines a single method which has the
AppCompomnentas return type. The parameter is of the type you need to pass and is annotated with@BindsInstance.
In this case, the factory method contains only one parameter but it could have many. You can see the different generated code in the InitApp class where the creation of the AppCompomnent has to be like this:
class InitApp : Application() {
  - - -
  override fun onCreate() {
    super.onCreate()
    appComponent = DaggerAppComponent
      .factory() // 1
      .repository(MemoryNewsRepository()) // 2
  }
  - - -
}
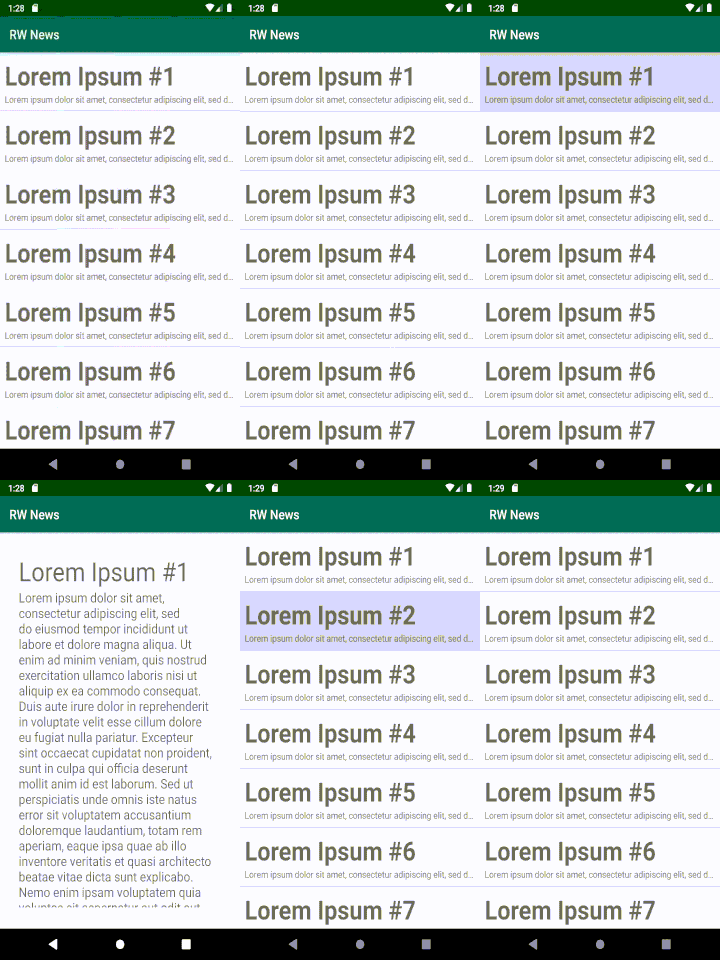
As you can see, Dagger creates a factory method for you which exposes the repository() you can invoke to pass the missing dependencies. Build and run the app.
RwNews App

RwNews App
You’ve now covered many ways you can build dependencies in Dagger! :]
Where to Go From Here
You can download the final result using the Download Materials button at the top or bottom of this tutorial.
In this tutorial, you configured Dagger to manage DI in several ways, depending on what information you provided and how they can be used to manage dependencies, change code generation performance and runtime dependency fetching.
You’re a Dagger master now, but you still need to learn one more step: How to manage dependencies between different @Component definitions with different @Scope. You’ll learn that in the second part of this tutorial! :]
I hope you found this helpful! If you have any comments or questions, feel free to join in the forum below.