Android Things Tutorial: Getting Started
Did you ever want to tinker with all those little pins on hardware boards? Well in this tutorial, you’ll learn how to do just that, with AndroidThings! By Dean Djermanović.
Sign up/Sign in
With a free Kodeco account you can download source code, track your progress, bookmark, personalise your learner profile and more!
Create accountAlready a member of Kodeco? Sign in
Sign up/Sign in
With a free Kodeco account you can download source code, track your progress, bookmark, personalise your learner profile and more!
Create accountAlready a member of Kodeco? Sign in
Sign up/Sign in
With a free Kodeco account you can download source code, track your progress, bookmark, personalise your learner profile and more!
Create accountAlready a member of Kodeco? Sign in
Contents
Android Things Tutorial: Getting Started
30 mins
- Developing for Android Things
- Getting Started
- Connect the Hardware
- Install Android Things
- Connect to the Internet
- Download and Explore the Starter Project
- Communication with Hardware
- Manage the Connection
- Read from an Input
- Listen for Input State Changes
- Write to an Output
- Connect with Firebase
- Capture the Ring Event
- Notify the User
- Handle Response
- Where to Go From Here?
Connect the Hardware
Before you start, you need to assemble the hardware together.
-
- Plug the Rainbow HAT in to your Raspberry Pi. Make sure the pins are lined up and not off by one row.
- Plug the Rainbow HAT in to your Raspberry Pi. Make sure the pins are lined up and not off by one row.

-
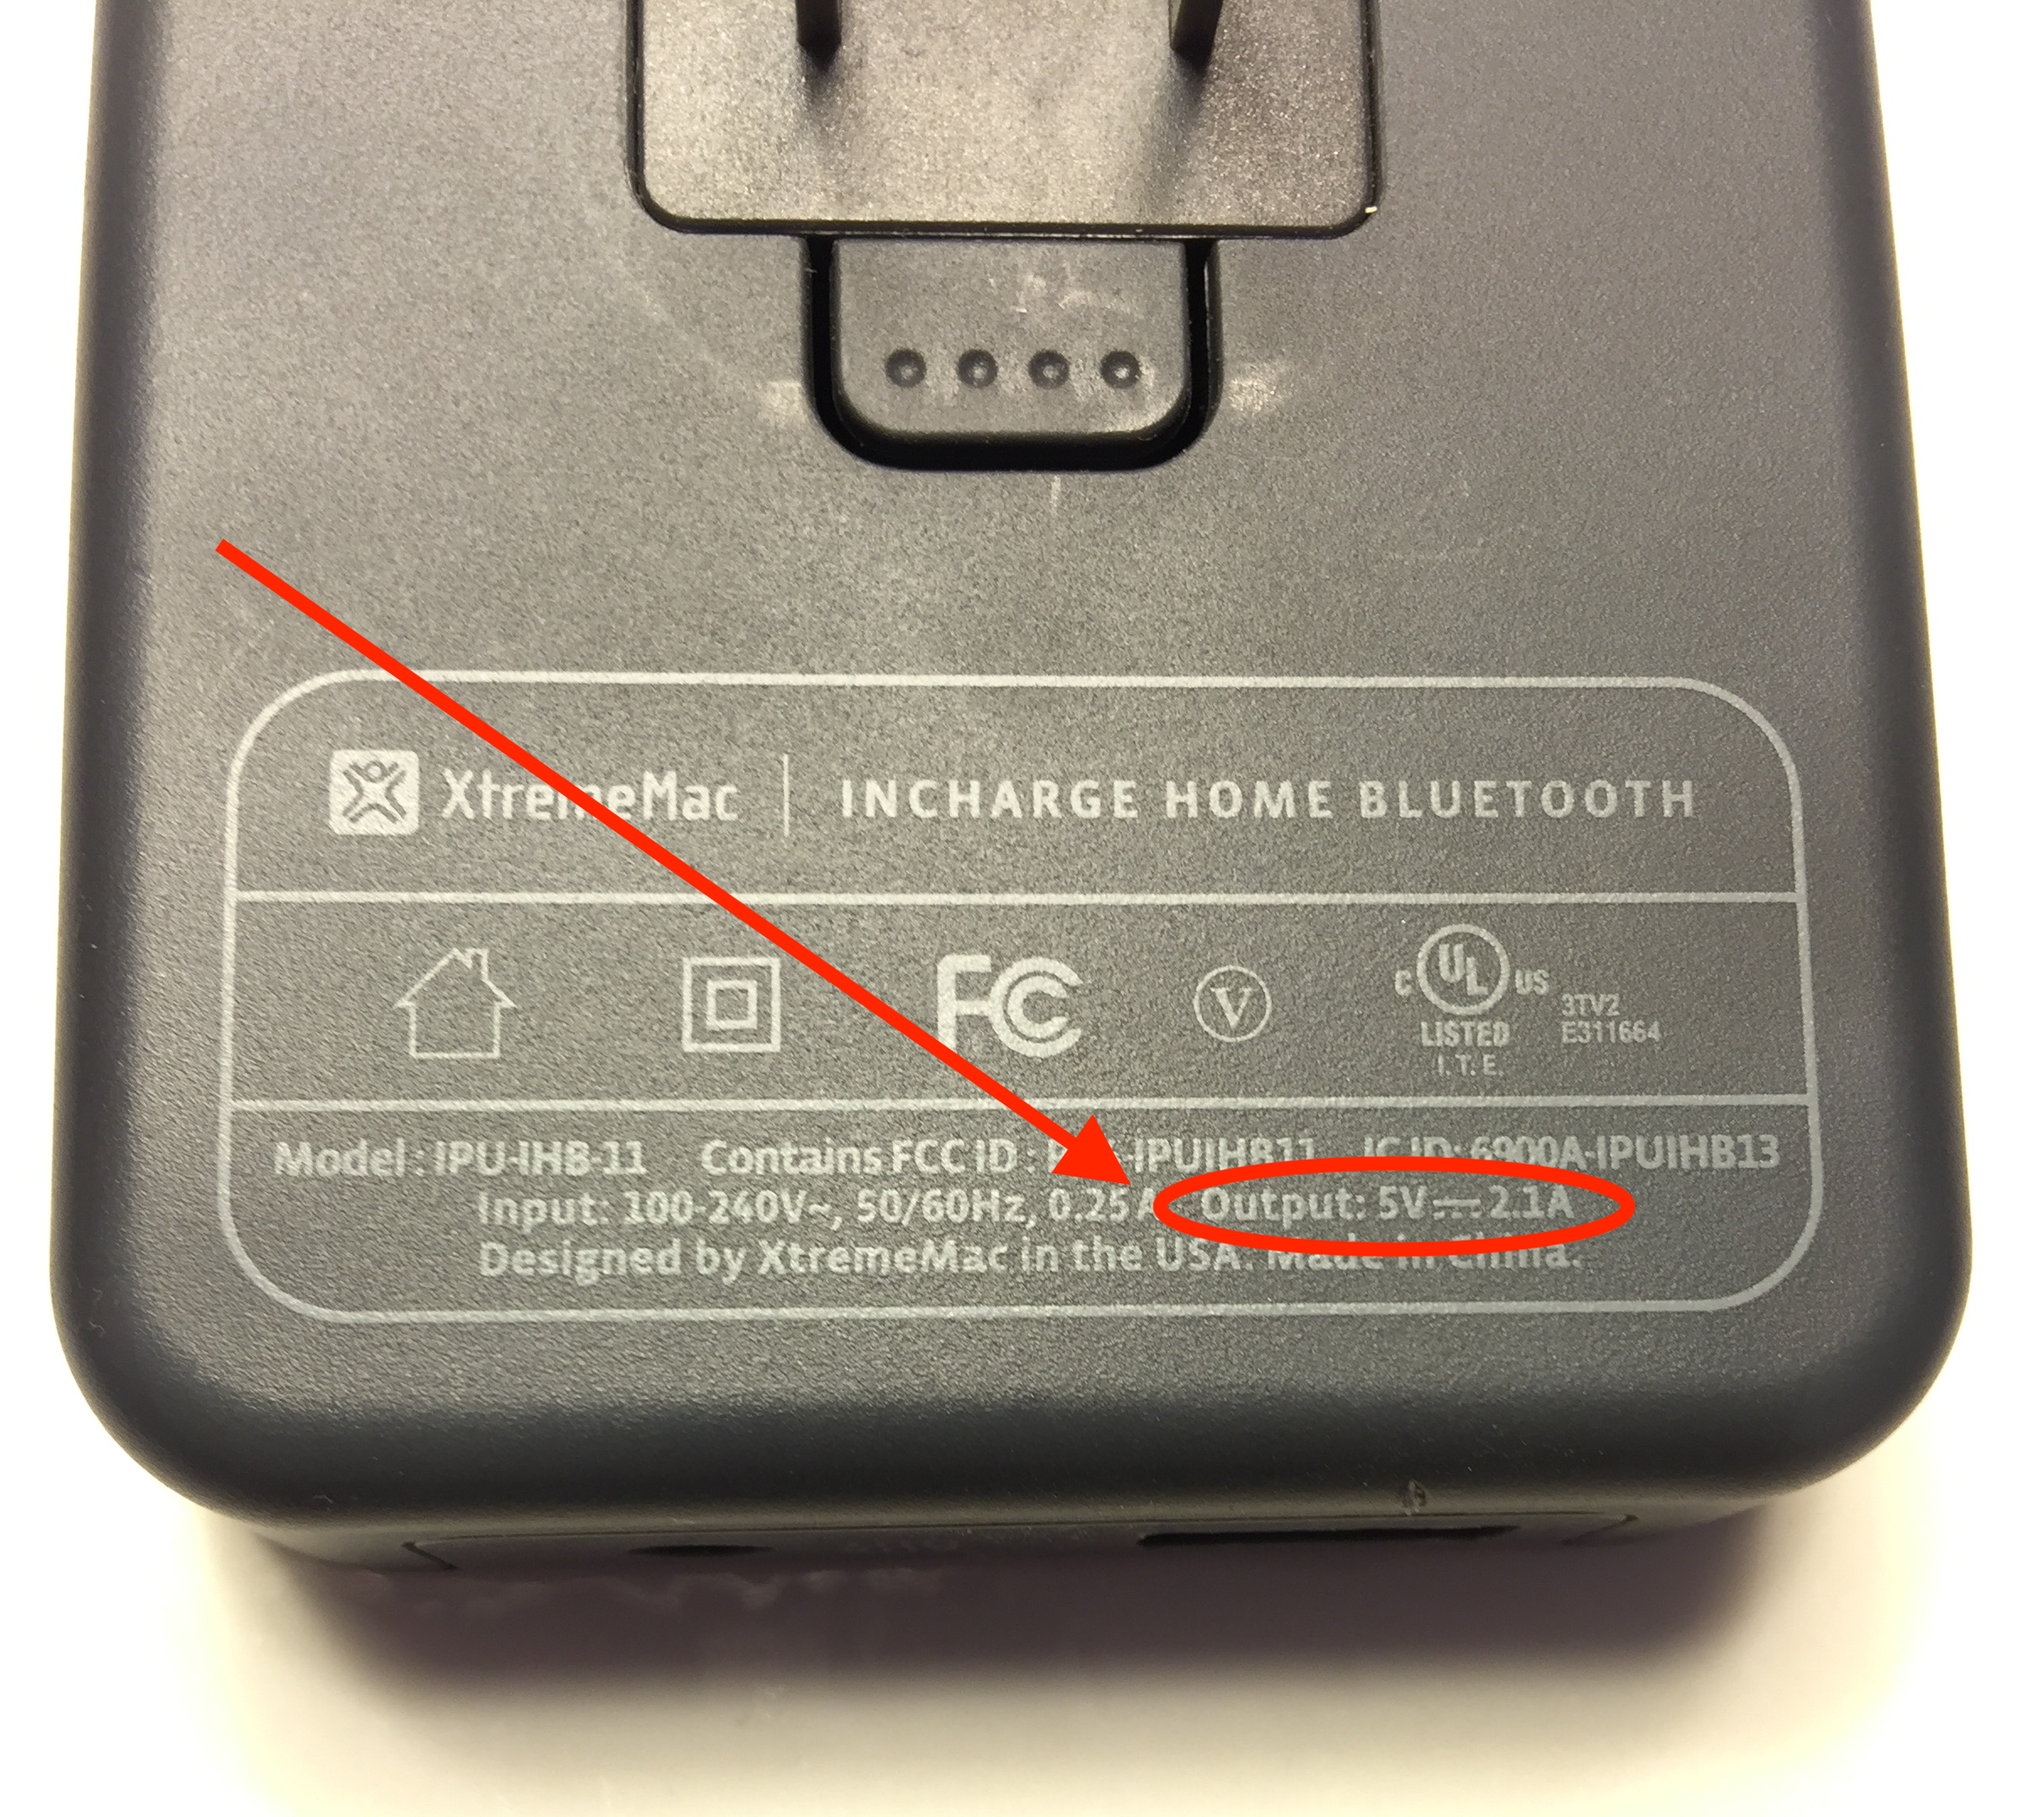
- Connect your Raspberry Pi to the power supply. Use a separate power supply, do not try to run it off your computer because that’s not recommended for Raspberry Pi 3’s. The power supply output you’re using should be rated at 5V 2.0A, at least. Check the small print on the power supply and make sure you’re using one with adequate specs.
- Connect your Raspberry Pi to the power supply. Use a separate power supply, do not try to run it off your computer because that’s not recommended for Raspberry Pi 3’s. The power supply output you’re using should be rated at 5V 2.0A, at least. Check the small print on the power supply and make sure you’re using one with adequate specs.
Install Android Things
In order to flash Android Things to the development board, you’ll use the Android Things Setup Utility tool. Most Android Things boards, including the Pico Pi, can be flashed by plugging them directly into the computer via USB. The Raspberry Pi requires you to flash an SD card. The steps stay the same, but you will need to mount an SD card.
-
- First, go to the Android Things console.
- First, go to the Android Things console.

-
- Next, click on the hamburger menu at the top-left corner and select Tools from the menu.
- Next, click on the hamburger menu at the top-left corner and select Tools from the menu.

-
- Now, click on the Download button to download the Setup Utility tool.
- Now, click on the Download button to download the Setup Utility tool.

-
- Finally, unzip the downloaded file and you’ll see three scripts for flashing Android Things images, for Linux, Mac OS and Windows. Choose the one appropriate to your environment.
- Finally, unzip the downloaded file and you’ll see three scripts for flashing Android Things images, for Linux, Mac OS and Windows. Choose the one appropriate to your environment.

The script will present you with the following menu:
-
- In this example, we used the Mac script. Open the Terminal and navigate to the folder with the scripts. If you are using a Raspberry Pi, mount your SD card. If your using a Pico Pi connect it to your USB port. Now, run the script. For example, on a mac it will be:
sudo ~/android-things-setup-utility/android-things-setup-utility-macos
The script will present you with the following menu:
- In this example, we used the Mac script. Open the Terminal and navigate to the folder with the scripts. If you are using a Raspberry Pi, mount your SD card. If your using a Pico Pi connect it to your USB port. Now, run the script. For example, on a mac it will be:
- In this example, we used the Mac script. Open the Terminal and navigate to the folder with the scripts. If you are using a Raspberry Pi, mount your SD card. If your using a Pico Pi connect it to your USB port. Now, run the script. For example, on a mac it will be:
sudo ~/android-things-setup-utility/android-things-setup-utility-macos
The script will present you with the following menu:
sudo ~/android-things-setup-utility/android-things-setup-utility-macos

-
- Select option one to install Android Things by typing
1and pressing Enter.
- Select option one to install Android Things by typing
- Select option one to install Android Things by typing
1and pressing Enter.

-
- Select the hardware you are using.
- Select the hardware you are using.

-
- Now you’ll see an option that allows you to choose a custom image which you can create in the Android Things console. A custom image is more flexible and is for more experienced developers. For this tutorial, you’ll use the default image. Select option one to download the default image.
- Once you download the image, you’ll see the following screen. Make sure you plugged in your SD card, into the computer and then press Enter.

-
- Select the drive by using arrow keys and press Enter. Type
yto confirm your selection and press Enter.
- Select the drive by using arrow keys and press Enter. Type
- Select the drive by using arrow keys and press Enter. Type
yto confirm your selection and press Enter.

-
- Once it’s completed, it’ll say Setup Complete. Type
nin the terminal to select that you don’t want to set up the Wi-Fi. You’ll connect the board to the Wi-Fi later. You can safely eject the SD card from the computer now.
- Once it’s completed, it’ll say Setup Complete. Type
- Once it’s completed, it’ll say Setup Complete. Type
nin the terminal to select that you don’t want to set up the Wi-Fi. You’ll connect the board to the Wi-Fi later. You can safely eject the SD card from the computer now.

Connect to the Internet
If you are using a Raspberry Pi you will need an HDMI monitor, HDMI cable and a mouse. If you are using a Pico Pi as part the Android Things kit make sure you follow the instructions that came with it to attach the included screen.
-
- If you are using a Raspberry Pi insert your SD card into it and connect your external monitor to the board via the HDMI cable. Now, connect your mouse to a USB port and make sure the board is connected to the power supply
- If you are using a Pico Pi, power it up via a USB-C cable.
- You’ll see this screen. Click Continue using your mouse on a Raspberry Pi or touch screen if using the Pico Pi Android Things Kit

-
- You’ll see this screen:
- You’ll see this screen:

-
- Download Android Things Toolkit from Google Play Store to your mobile phone. This is a companion app for mobile devices that can help you get started quickly. Open the app after you install it.
- Download Android Things Toolkit from Google Play Store to your mobile phone. This is a companion app for mobile devices that can help you get started quickly. Open the app after you install it.

-
- Set up your account and accept Terms of Use. After you do that, you’ll see this screen:
- Set up your account and accept Terms of Use. After you do that, you’ll see this screen:

-
- Tap on Pair your device.
- Tap on Pair your device.

-
- Tap YES.
- Tap YES.

-
- Tap NEXT.
- Tap NEXT.

-
- Tap SEARCH.
- Tap SEARCH.

-
- Enter the device code that you see on your monitor. Tap PAIR after that.
- Select your Wi-Fi network from the list. Your computer and the board need to be on the same network.
- Enter the Wi-Fi password and press CONNECT. Once you connect it, you’ll see this screen:
- Enter the device code that you see on your monitor. Tap PAIR after that.
- Select your Wi-Fi network from the list. Your computer and the board need to be on the same network.
- Enter the Wi-Fi password and press CONNECT. Once you connect it, you’ll see this screen:

-
- You can test the Rainbow HAT peripheral here, but for some users these tests don’t always run from the app. For now, tap FINISH.
- You can test the Rainbow HAT peripheral here, but for some users these tests don’t always run from the app. For now, tap FINISH.

-
- A dialog window will pop up. Tap NOT NOW.
- You’ll see this screen on your monitor:
- A dialog window will pop up. Tap NOT NOW.
- You’ll see this screen on your monitor:

Replace ip-address text with your ip address and press Enter. You should get the message that you’ve connected successfully.
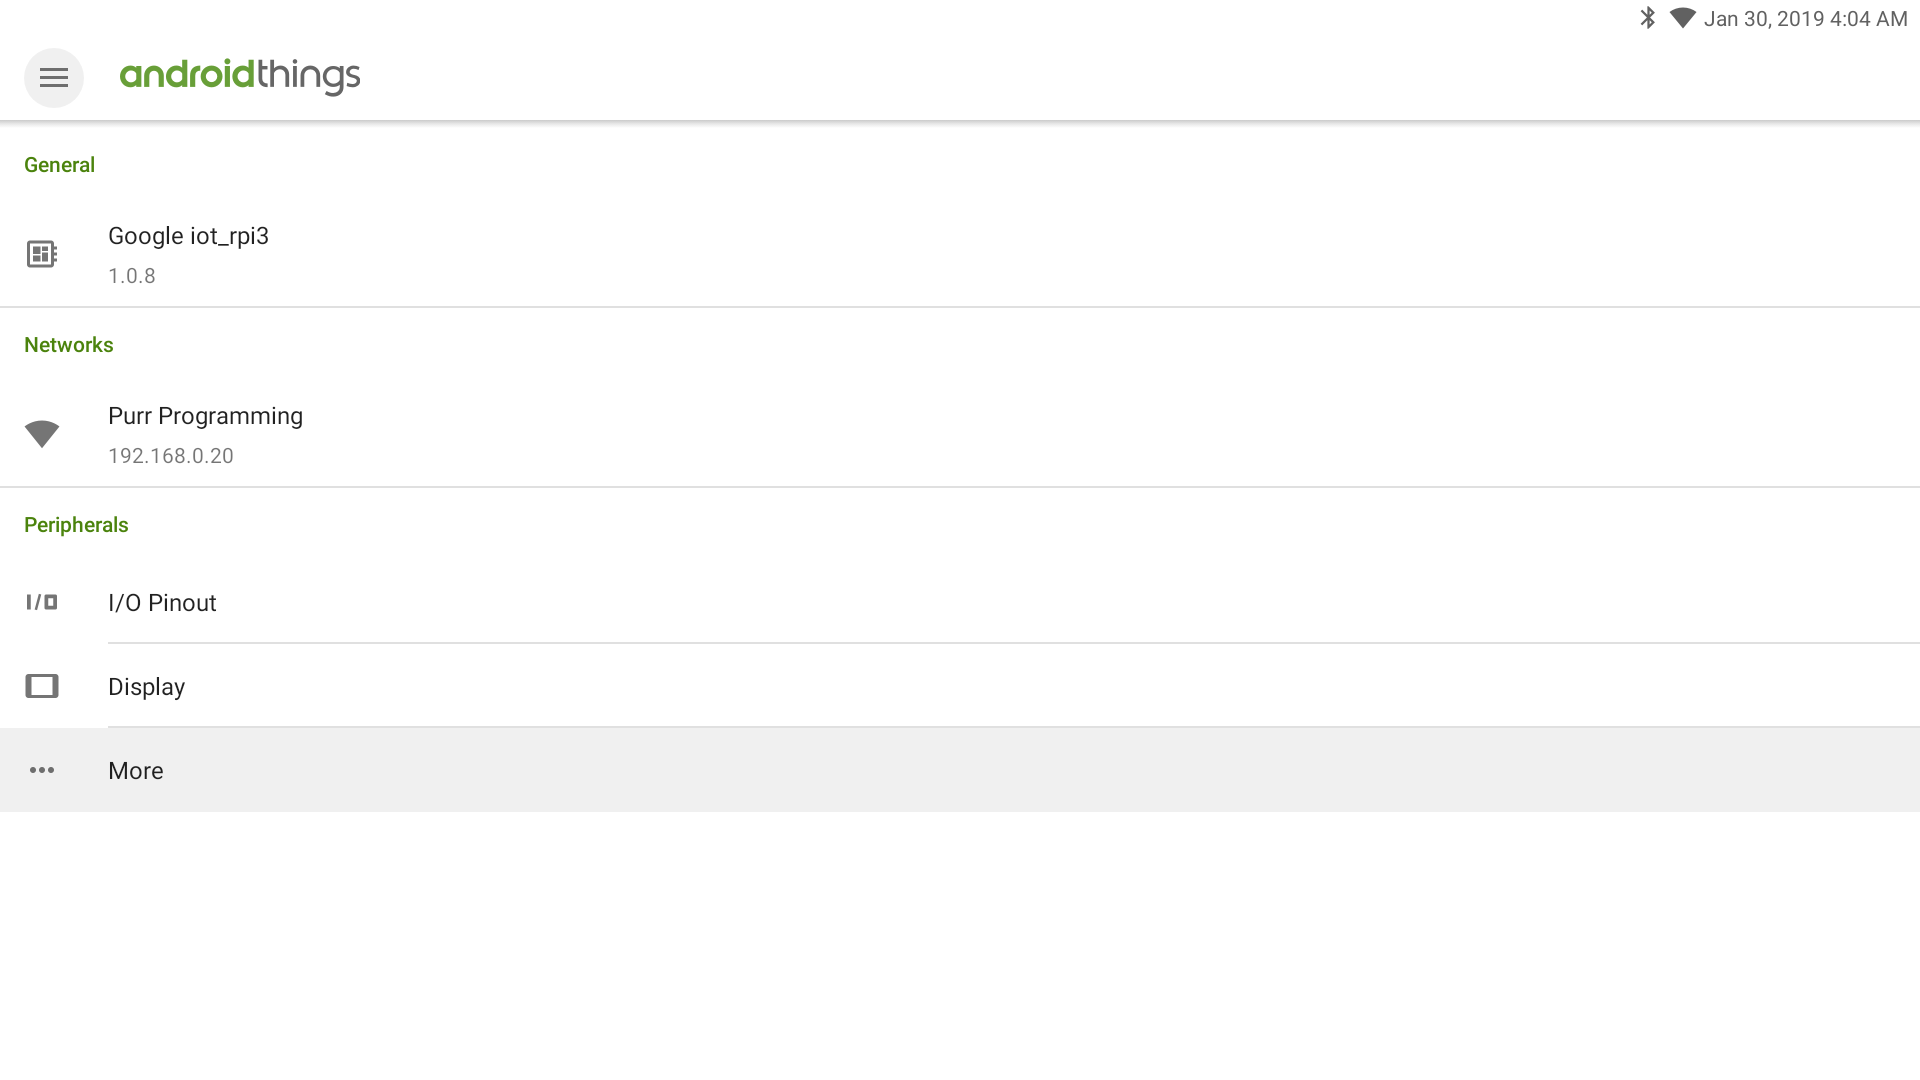
- Under the Network section there’s a network name that you’re connected to, and the IP address. Remember that IP address.
- Open the terminal and enter the following command:
adb connect ip-address
Replace
ip-addresstext with your ip address and press Enter. You should get the message that you’ve connected successfully.
adb connect ip-address
Congratulations! You have connected to your board. :]

Before you move on to the code, it is a good idea to test your Rainbow HAT to make sure that it’s up and running. The screen on your device should look like this:
Click or tap on the … More option.
Next, select Rainbow Hat
Finally click or tap the Test button.
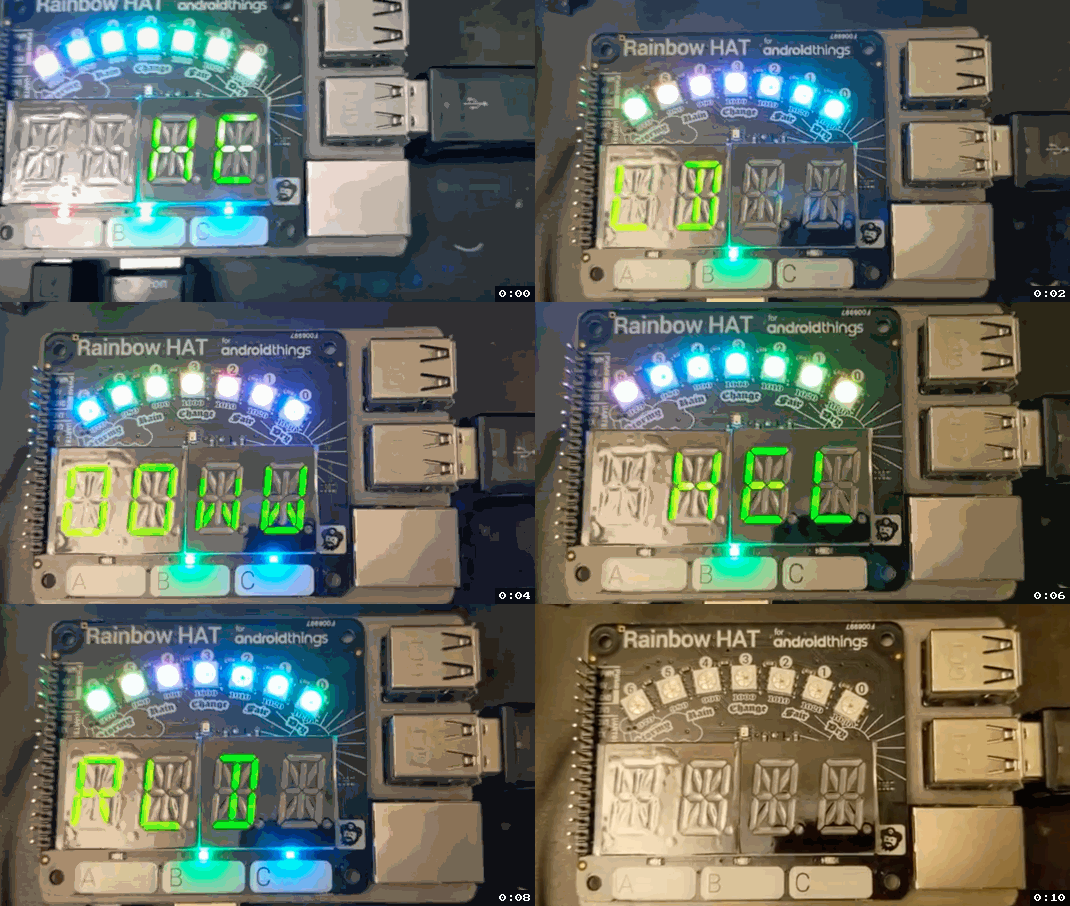
If you conneted your HAT correctly, it should light up and flash “hello world”. If you’re using a Raspberri Pi, you can optionally unplug the HDMI cable from the monitor since you’re not going to use it for the rest of the tutorial. Your development board is ready to use. :]


