Challenge
You’ve learned so much about live templates in this tutorial. As a challenge to exercise your new knowledge, for your first shview template you made, apply what you’ve learned to:
- Change the order of variables.
- Use the
capitalize() function to only type the view name once.
- Skip the variable if defined
You can find the solution in the final project.
Where To Go From Here
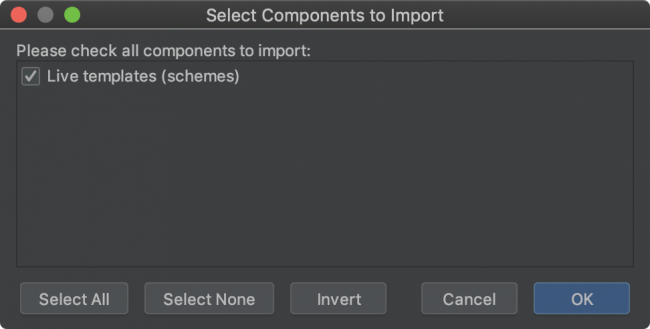
You can download the final project using the Download Materials button at the top or bottom of this tutorial. To import the live templates included in the project you need to select File ‣ Import Settings, select settings.zip from the root of the final project, and make sure you check Live templates before clicking OK. You’ll need to restart Android Studio before you see the imported templates.

Note: You’ll need to add your Trakt API key to run the final project.
Hopefully you’re starting to think of all the places you can start to use live templates. To get ideas on where you can use them you can look at:
You can also learn more about live templates by looking at the JetBrains documentation:
Did you think of a cool place to use live templates? Have any questions or comments? Join the discussion in the forum below!
