Exploring Basic Materials
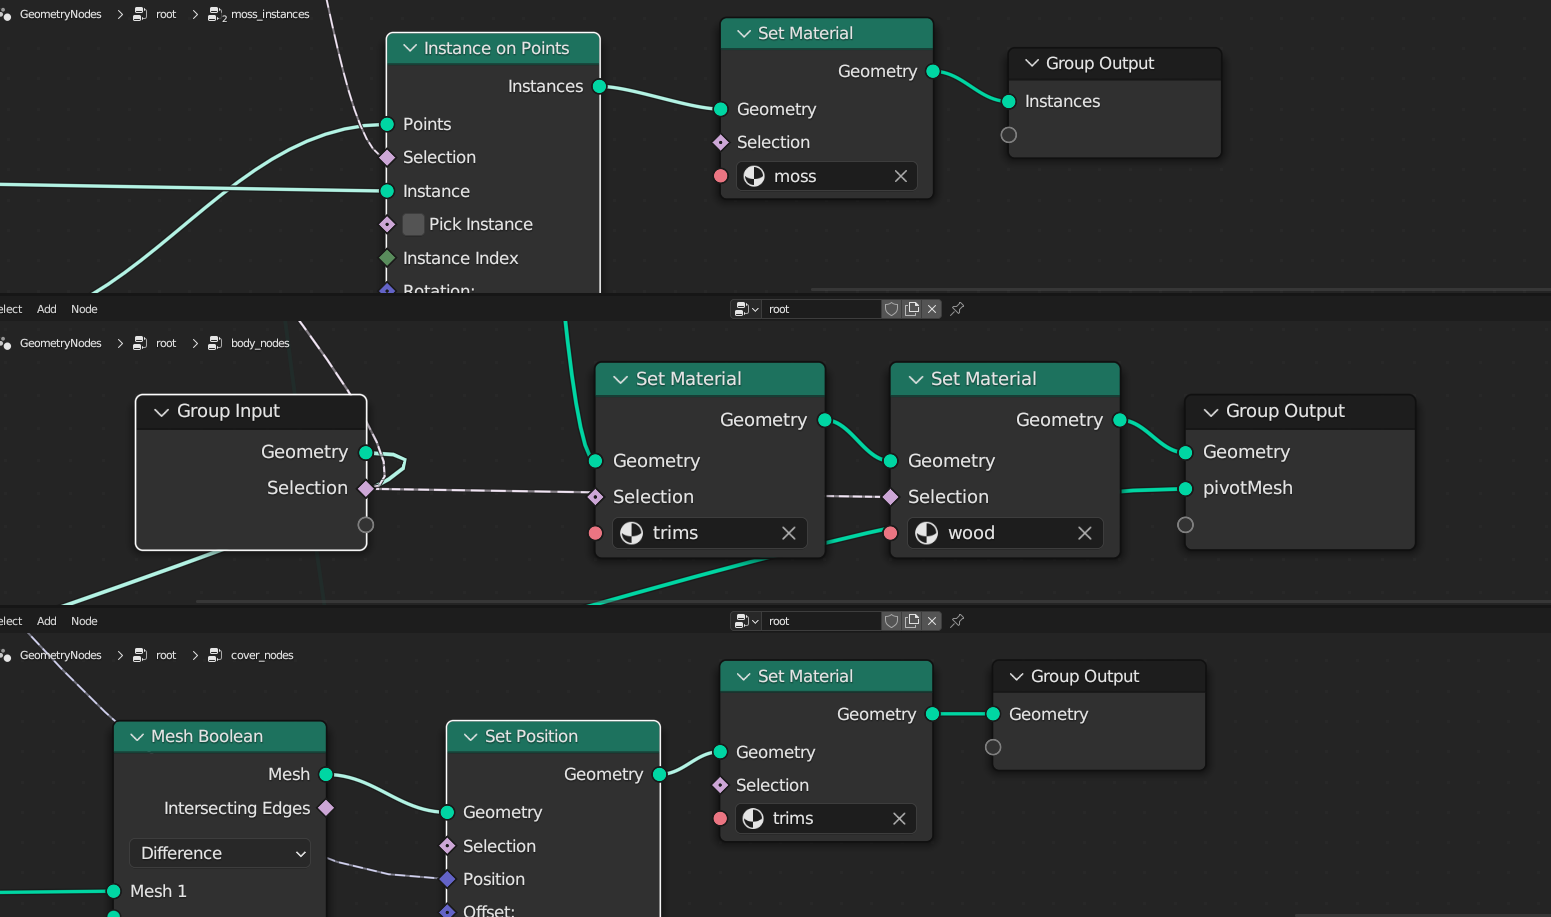
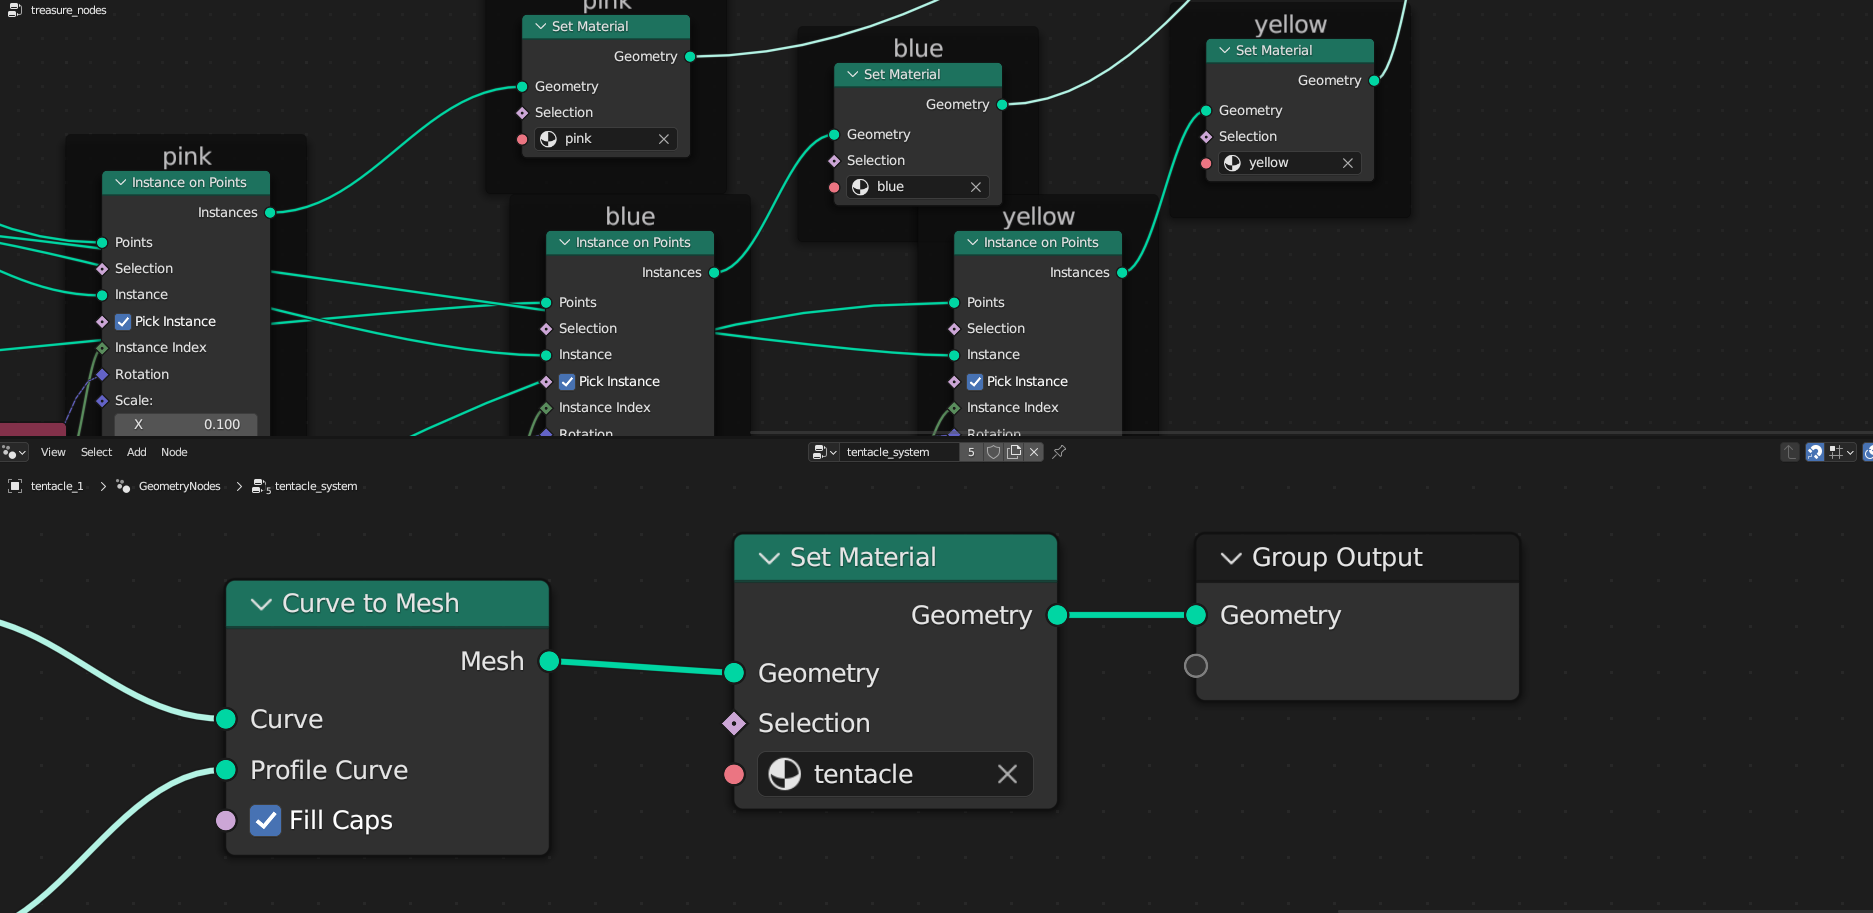
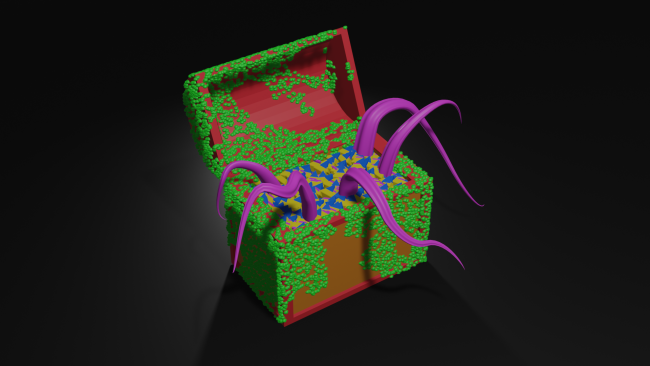
The treasure chest is now complete. It functions as intended and even has a hidden guardian. You can use the Set Material node to apply color to the different parts of the asset. The project has all the materials required ready to go. The Set Material node simply applies the selected material to the input geometry and returns it. It also contains a selection input to choose which parts of the mesh will get the input material. Use this technique to differentiate between the trims and the body of the chest.
Make the following changes in the project:
- In the
treasure_nodes group, drop each Set Material between Join Geometry and Instance on Points with the matching labels.
- For the
tentacle_system node group, drop the Set Material before Group Output.
- Edit the
body_nodes group and drop the Set Material (trim) and Set Material (wood) between Mesh Boolean and Group Output.
- Connect the Selection output from Group Input to the Selection input for Set Material (wood).
- In the
cover_nodes group, drop the Set Material before Group Output.
- In the
moss_instances group, drop the Set Material before Group Output.


Where to Go From Here?
Download the completed project files by clicking the Download Materials link at the top or bottom of the tutorial.
In this tutorial, you learned the basics of geometry nodes in Blender and created a treasure chest game asset.

Check out the Geometry Node Docs for further explanations on the nodes you used in this article and explore some new nodes as well.
We hope you enjoyed this tutorial. If you have any questions or comments, please join the forum discussion below!

