“Doctor, you’re needed in Xcode”
Now we do brain surgery. We need to take the sqlite database we just generated in you OS X console applicaiton and transplant it into the iPhone app. The easiest way to find the sqlite db is the right click on the CoreDataTutorial2 product and select “Show in Finder”.
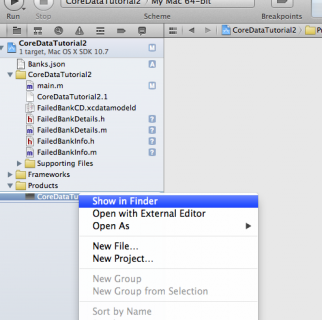
This will open a new Finder window to location that the project got built. Here, you can see four files:
- Banks.json – The json file with the bank information in it (remember we added the copy file build phase)
- CoreDataTutorial2 – This is the application
- FailedBankCD.momd (or just .mom) – this is the compiled version of the Managed Object Model (FailedBankCD.xdatamodeld)
- CoreDataTutorial2.sqlite – the sqlite db that is generated by the application and where Core Data stores its infomration according to the model that FailedBankCD.momd specifies. If you have a viewer like this one you can even open it and view the raw data.
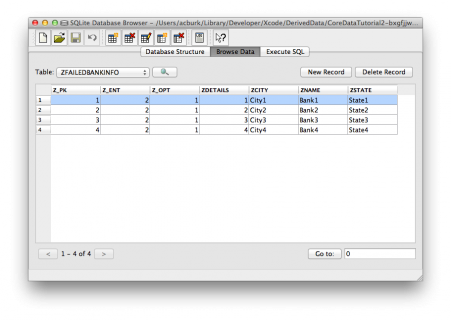
That “CoreDataTutorial2.sqlite” file is the juicey bit we need. Copy that file into the directory for the project from tutorial 1 then open the tutorial 1 project in Xcode.
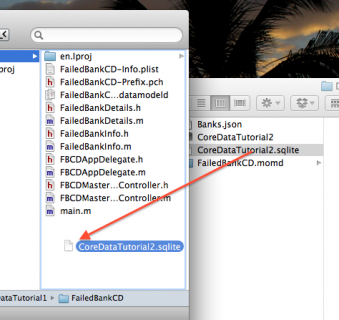
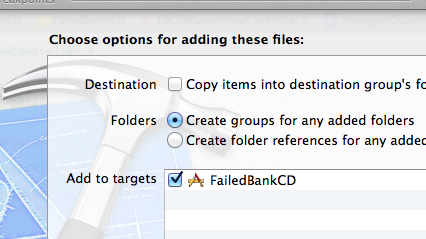
Drag the “CoreDataTutorial2.sqlite” file from the Finder into the Xcode project (again make sure that “Copy items into destination group’s folder (if needed)” is NOT checked but “Add to targets” is checked for “FailedBanksCD”).

Lastly open up “FBCDAppDelegate.m”. Scroll down to the persistentStoreCoordinator method. Right under the NSURL *storeURL = [[self app... line, add:
if (![[NSFileManager defaultManager] fileExistsAtPath:[storeURL path]]) {
    NSURL *preloadURL = [NSURL fileURLWithPath:[[NSBundle mainBundle] pathForResource:@"CoreDataTutorial2" ofType:@"sqlite"]];
    NSError* err = nil;

    if (![[NSFileManager defaultManager] copyItemAtURL:preloadURL toURL:storeURL error:&err]) {
        NSLog(@"Oops, could copy preloaded data");
    }
}
This chunk of code checks to see if a sqlite db already exists for this app. If it doesn’t exist, it finds the path for the preloaded sqlite db we loaded and tries to copy the db to the path for the normal app db. IT’S THAT SIMPLE! Give it a run. You should see something like this:
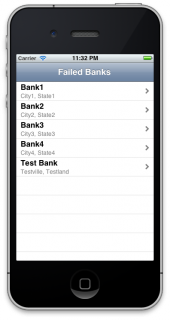
We see our four banks and then we see that extra bank than get added from the code we wrote in tutorial 1. If you don’t see this, it’s probably because a sqlite db was already there so it’s not overwriting it. Just delete it like we did in tutorial 1.
Where to Go From Here?
You can download the code for the project here (direct download).
At this point, we have a detail view that works pretty much as efficiently as the way it did in our SQLite example. However, with Core Data, with just a couple more steps we can make it even more efficient. So in the next tutorial we cover how to do that by using NSFetchedResultsController!
If you have any questions about this tutorial or Core Data in general, please join the forum discussion below!

This is a blog post by iOS Tutorial Team member Adam Burkepile, a full-time Software Consultant and independent iOS developer. Check out his latest app Pocket No Agenda, or follow him on Twitter.


