Tweening Animations in Unity with LeanTween
Learn how to use LeanTween to animate the User Interface and various GameObjects in Unity 3D by creating a Breakout game clone. By Ricardo Santos.
Sign up/Sign in
With a free Kodeco account you can download source code, track your progress, bookmark, personalise your learner profile and more!
Create accountAlready a member of Kodeco? Sign in
Sign up/Sign in
With a free Kodeco account you can download source code, track your progress, bookmark, personalise your learner profile and more!
Create accountAlready a member of Kodeco? Sign in
Contents
Tweening Animations in Unity with LeanTween
25 mins
- Getting Started
- Why Not Use Unity’s Animator for Everything?
- What is Tweening?
- Animator Component vs Tweening Techniques
- Performance Comparison
- Adding LeanTween to Your Project
- Animating the Paddle With the Tween Library
- Translating Objects with LeanTween
- Bouncing the Paddle
- Adding Character to the Ball
- Scaling the ball
- Personalized Easing Functions
- Color-Changing Effects
- Breaking the Blocks
- Rotating Objects With LeanTween
- Tweening UI Elements
- Score Increase Animation
- Tweening the Background Color
- Where to Go From Here
Color-Changing Effects
In addition to Transform-based effects, like movement and scaling, you can also add color-changing effects.
In BallScript.cs, add one more line to the end of OnCollisionEnter2D() to allow for color effects:
gameObject.LeanColor(Color.yellow, 0.5f).setEasePunch();
This final line makes the ball flash yellow for half a second, producing the following effect:
Now the ball is a character in the game.
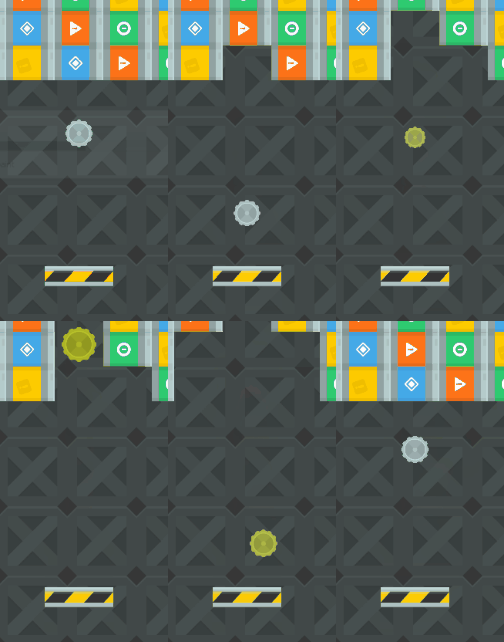
Now the ball is a character in the game.
In the case of color changing, you have the option of calling the LeanTween function directly on the GameObject, rather than having to pass the GameObject in as an argument, which is a nice bit of syntactic sugar.
Breaking the Blocks
Currently, the blocks break, but you could add more interesting behaviors to the blocks after they collide with the ball.
Open Crates.cs. You’ll see the code for OnCollisionEnter2D().
In OnCollisionEnter2D(), you find only a reference to the function that increases the score as the player breaks the crates. But, you’ll add more momentarily.
The blocks just vanish…
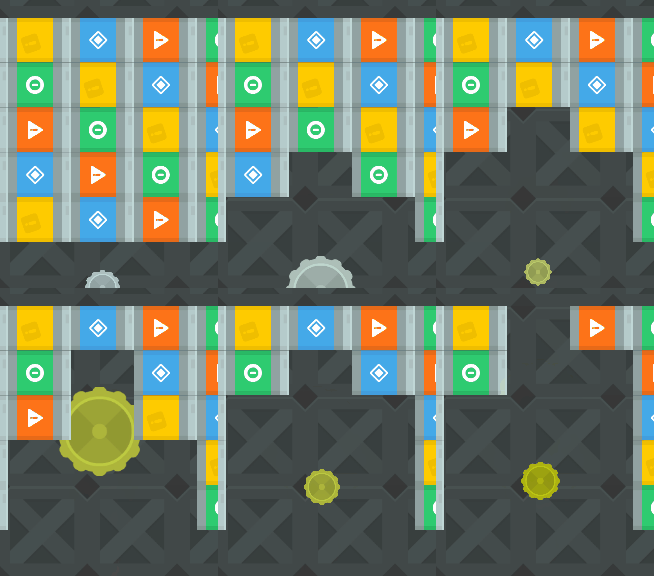
The blocks just vanish…
Rotating Objects With LeanTween
By now, you may be wondering which numbers you could interpolate next. In this step, you’ll use tweening on rotations to create a destroy animation for the crates.
In the original code, when the ball collides with the crates, it simply disappears. Now you’ll use LeanTween to add a more interesting effect to it.
Replace the entire OnCollisionEnter2D() with:
private void OnCollisionEnter2D(Collision2D collision)
{
    //1
    gameObject.GetComponent<Collider2D>().enabled = false;
    //2
    LeanTween.alpha(gameObject, 0.2f, 0.6f);
    //3
    LeanTween.rotateAround(gameObject, collision.GetContact(0).normal, 250.0f, 0.6f).setDestroyOnComplete(true);
    // Increases the score
    GameManager.Instance.IncreaseScore(1);
}
Here’s what the code does:
- Initially, you disable the GameObject’s collider to avoid getting additional collisions between when crate is hit and when it finally disappears from the scene.
- To give the illusion of the crate disappearing, you use the alpha channel to decrease the element’s opacity to 0.2 over 0.6 seconds.
-
rotateAround()rotates the gameObject around the point where the collision happened, 250 degrees along 0.6 seconds. This creates a more responsive feel as the crate rotates around the point of contact between itself and the ball. Then, the code tells LeanTween to destroy the GameObject after the animation finishes, removing the elements from the scene just after the marked operations finishes.
Now press Play and see how cool your work looks.
Much better now!
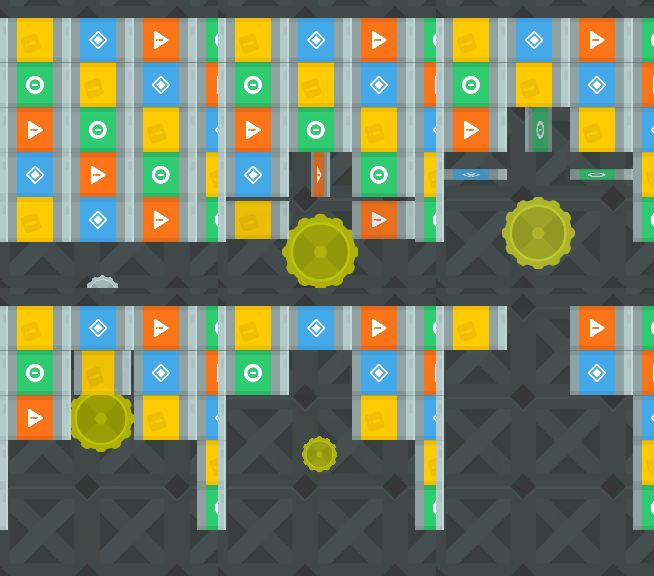
Much better now!
Tweening UI Elements
You’ve come a long way in adding animation to the project. Even though the individual animations are simple, when everything comes together, the composition is awesome.
But if you look closely, you’ll notice that not everything has dynamic behavior.
The score text is still static. It counts the points correctly, but there isn’t much to it.
In Unity, UI elements are also GameObjects, so it should be simple to add some effects, right? Right!
How it is now.

How it is now.
Score Increase Animation
The GameManager has a reference to the text object and is responsible updating the score.
In GameManager.cs, find and replace the entire IncreaseScore(int value) with:
public void IncreaseScore(int value)
{
    gameScore += value;
    scoreDisplay.text = gameScore.ToString();

    // 1
    LeanTween.cancel(scoreDisplay.gameObject);
    scoreDisplay.transform.rotation = Quaternion.Euler(0.0f, 0.0f, 0.0f);
    scoreDisplay.transform.localScale = Vector3.one;

    // 2
    LeanTween.rotateZ(scoreDisplay.gameObject, 15.0f, 0.5f).setEasePunch();
    LeanTween.scaleX(scoreDisplay.gameObject, 1.5f, 0.5f).setEasePunch();
}
As this code has a few new functions, analyze it by blocks:
- This block resets the score display GameObject’s appearance. These lines stop any tweening operation acting on
scoreDisplayand reset its rotation and scale to avoid any error propagation during gameplay. - The functions in this block add rotation and scale effects to the
scoreDisplayGameObject. Here, you declare a rotation along the Z-axis and a scale along the X-axis, with the same easing function.
As you may have realized, you can perform the same operations available for every other GameObject on the UI elements. However, while the tweening code was encapsulated inside each one, the tweening code for the score is inside the GameManager class.
Now, run the game and see your newly animated scores add up.
Much better now!

Much better now!
You can use LeanTween to animate other elements, not just ones where you include the script files.
Tweening the Background Color
If you press Play now, you’ll see that the game is complete, but there’s still room for improvement. The background could respond to the game actions as well. It’s the perfect opportunity to go the extra mile and add a few more interesting effects to the visuals.
Before jumping into the code, expand the Level Geometry GameObject in the Hierarchy window. Then select the Background GameObject and look at its properties in the Inspector Window.
Notice that the Sprite Renderer component has a color other than white. This helps create the illusion of three-dimensional space, with the background being at a distance from the foreground.
To act on it, you’ll need a reference to the Background GameObject. So, at the top of GameManager.cs, right below:
public GameObject Paddle;
Add two more variables to represent the reference to the Background GameObject and how much it should shake, like this:
public GameObject Background;
public float backgroundShakeRate = 2.0f;
Now, replace IncreaseScore(int value) again with the following:
public void IncreaseScore(int value)
{
    gameScore += value;
    scoreDisplay.text = gameScore.ToString();

    LeanTween.cancel(scoreDisplay.gameObject);
    scoreDisplay.transform.rotation = Quaternion.Euler(0.0f, 0.0f, 0.0f);
    scoreDisplay.transform.localScale = Vector3.one;

    LeanTween.rotateZ(scoreDisplay.gameObject, 15.0f, 0.5f).setEasePunch();
    LeanTween.scaleX(scoreDisplay.gameObject, 1.5f, 0.5f).setEasePunch();

    // 1
    LeanTween.move(Background.gameObject, Random.insideUnitCircle * backgroundShakeRate, 0.5f).setEasePunch();

    // 2
    Background.LeanColor(Color.red, 0.3f).setEasePunch().setOnComplete(() =>
        {
            Background.GetComponent<SpriteRenderer>().color = new Color(0.38f, 0.38f, 0.38f);
        });
}
Both move and LeanColor were already used for other elements. Now, you’ll use them slightly differently:
- This code uses
LeanTween.move(). But in this case, the movement is performed in a random direction by usingRandom.insideUnitCircleto return a randomVector2inside a unit circle (a circle with a radius of 1). - This code shows how to define a lambda expression to execute as soon as the animation finishes. In this case, the code redefines the Background sprite color attribute to the default value to avoid changing the color, just like the ball size resets every animation round.
Don’t forget to add the reference you created in the script in the editor as well! Drag the Background GameObject from the Hierarchy window to the appropriate slot in the GameManager.
Now, click Play and enjoy playing your game. Look how much better it looks compared to the initial project:
The starter project. Feels like it was 20 minutes ago…
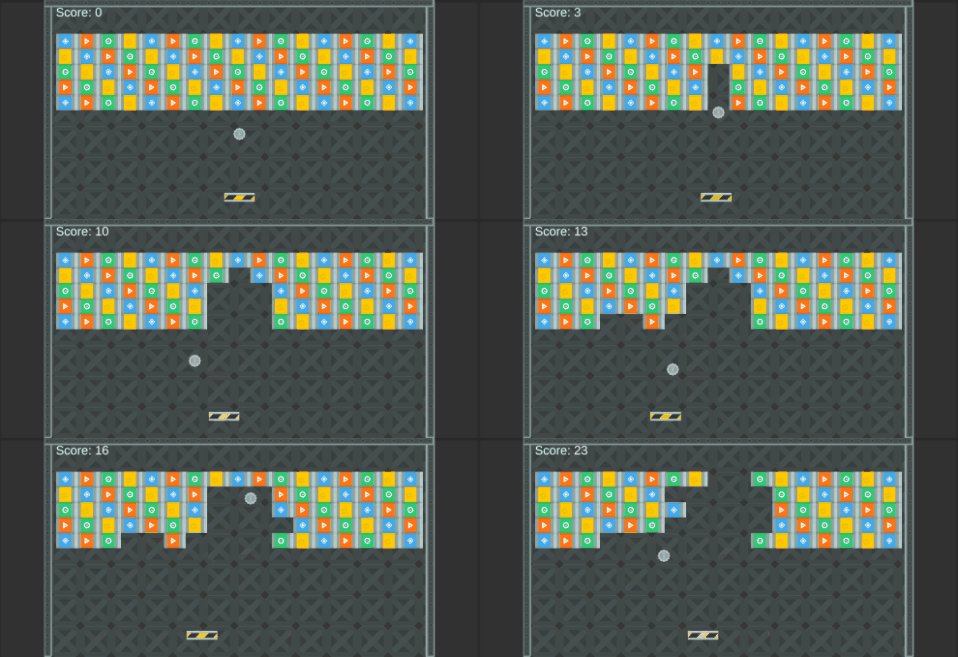
The starter project. Feels like it was 20 minutes ago…
The final project, it just looks much better.
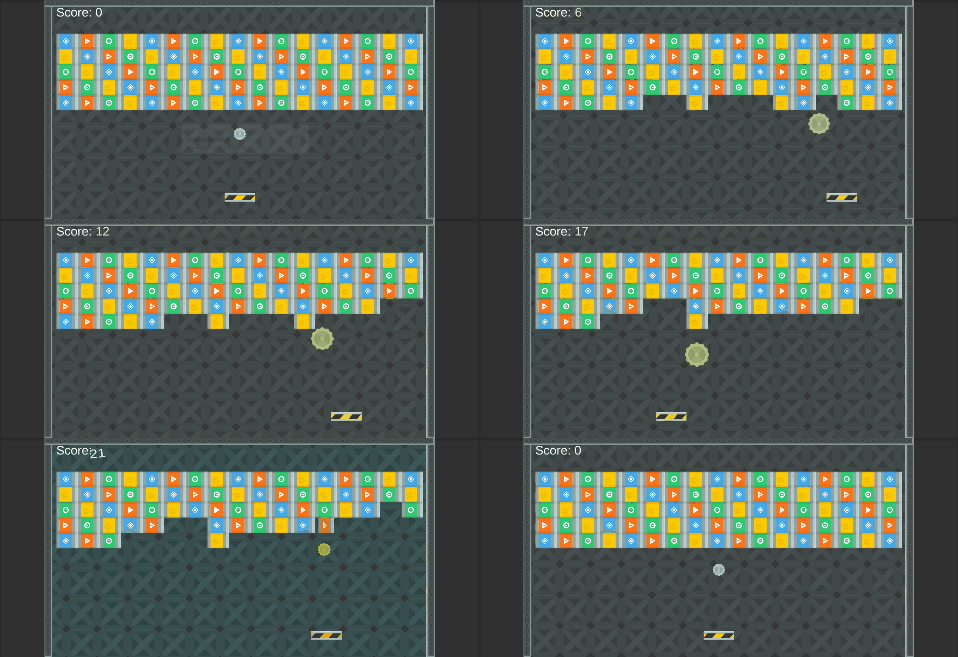
The final project, it just looks much better.
