SwiftUI View Preferences Tutorial for iOS
Learn how SwiftUI view preferences allow views to send information back up the view hierarchy and the possibilities that opens up for your apps. By Andrew Tetlaw.
Sign up/Sign in
With a free Kodeco account you can download source code, track your progress, bookmark, personalise your learner profile and more!
Create accountAlready a member of Kodeco? Sign in
Sign up/Sign in
With a free Kodeco account you can download source code, track your progress, bookmark, personalise your learner profile and more!
Create accountAlready a member of Kodeco? Sign in
Contents
SwiftUI View Preferences Tutorial for iOS
25 mins
- Getting Started
- Exploring Buzzy
- Creating View Preferences to Switch Data Directions
- Making a Preference Key
- Setting the Child’s View Preference Key Value
- Adding a Handler to Observe Preference Key Values
- Using Preference Key Values
- Using Preference Key Values to Help Buzzy Navigate
- Showing Buzzy the Way Home With View Preferences
- Generating a Minimap Overlay
- Adding Minimap Icons
- Adding Buzzy’s Flight Path to the Minimap
- Converting to a Custom View Modifier
- Where to Go From Here?
Setting the Child’s View Preference Key Value
You’ll now add a way for each flower to report a value for TargetPreferenceKey. Open Flower.swift and add the following modifier after the onTapGesture closure:
.anchorPreference(key: TargetPreferenceKey.self, value: .bounds) { anchor in
  [TargetModel(id: id, anchor: anchor)]
}
anchorPreference(key:value:) is a convenient view modifier that allows you to obtain an Anchor for the view and transform it into a value you can store in a preference key. In the code above, you’re taking the view’s bounds as the Anchor and returning an array of [TargetModel], which is what your preference key will append to the global array for the key. If you were interested in single points instead of the entire rectangle, there are also anchors for the center, top, bottom and so on which return single points.
OK. You have two out of three pieces in place. The last piece is the handler to observe changes to your preference key.
Adding a Handler to Observe Preference Key Values
Open ContentView.swift and add the following modifier to ZStack in body:
.onPreferenceChange(TargetPreferenceKey.self) { value in
  print(value)
}
This is how you define your preference key handler. Now, each time the key’s value changes, SwiftUI calls this closure. Right now, all the closure does is print the value.
Build and run. Watch the Xcode console and you’ll see the value printed:
[
Buzzy.TargetModel(id: 0, anchor: SwiftUI.Anchor<__C.CGRect>(...)),
Buzzy.TargetModel(id: 1, anchor: SwiftUI.Anchor<__C.CGRect>(...)),
Buzzy.TargetModel(id: 2, anchor: SwiftUI.Anchor<__C.CGRect>(...)),
Buzzy.TargetModel(id: 3, anchor: SwiftUI.Anchor<__C.CGRect>(...)),
Buzzy.TargetModel(id: 4, anchor: SwiftUI.Anchor<__C.CGRect>(...)),
Buzzy.TargetModel(id: 5, anchor: SwiftUI.Anchor<__C.CGRect>(...))
]
You can see an ID value for each flower, then a lot of nonsense representing the anchor. You’re seeing information being sent back up the view tree — nowhere in ContentView have you specified how many flowers should be in the app, or what their identifiers are. The preference key is working! Next, you need to turn those anchors into something useful.
Using Preference Key Values
In this section, you’re going to use your reported preference values to finally get Buzzy flying around her field.
Start by adding a new property to ContentView:
@State var targets: [TargetModel] = []
This is the state property that stores the preference key value when it updates.
Next, remove print(value) from onPreferenceChange(_:perform:) and replace it with:
targets = value
This ensures ContentView updates the state property for all the flower locations. Any time the layout of the flowers changes, you’ll have the latest information ready to use.
Using Preference Key Values to Help Buzzy Navigate
Currently, a tap signals to Buzzy that she should go to the tapped flower, but she doesn’t know how to get there. Next, you’ll help Buzzy find her way to the tapped flower.
In ContentView, update the onChange(of:) modifier where you listen to changes of selectedTargetId. Replace the print statement with the following code:
// 1.
guard let target = targets.first(where: { $0.id == newValue }) else {
  return
}
// 2.
let targetFrame = geometry[target.anchor]
// 3.
beePosition = CGPoint(x: targetFrame.midX, y: targetFrame.midY)
Here’s all that’s happening:
1. The handler uses the new ID value to find the TargetModel that matches the flower.
2. geometry is the GeometryProxy for the current view. This is why you are using anchors in the preference value — you can use an anchor as a subscript on geometry and get back the flower’s frame converted to the local coordinate space. Isn’t that just amazingly useful?
3. Using the flower’s frame, you’re calculating the midpoint of the flower and setting beePosition to match. The existing animation takes over and Buzzy takes flight.
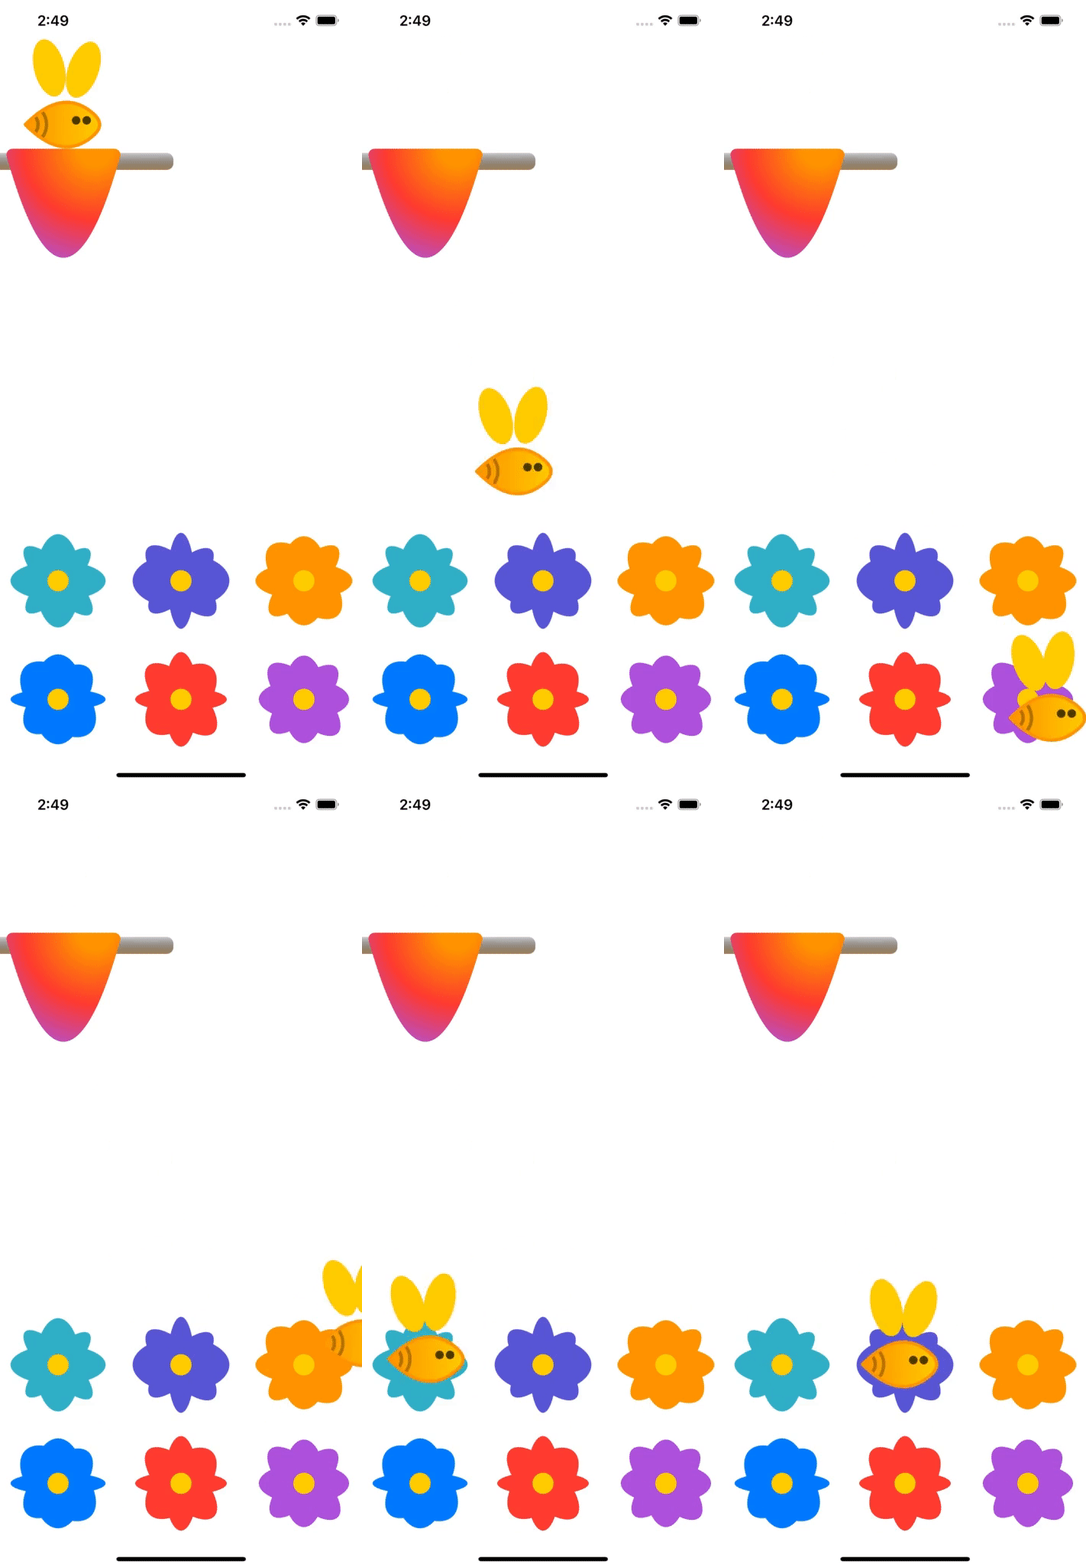
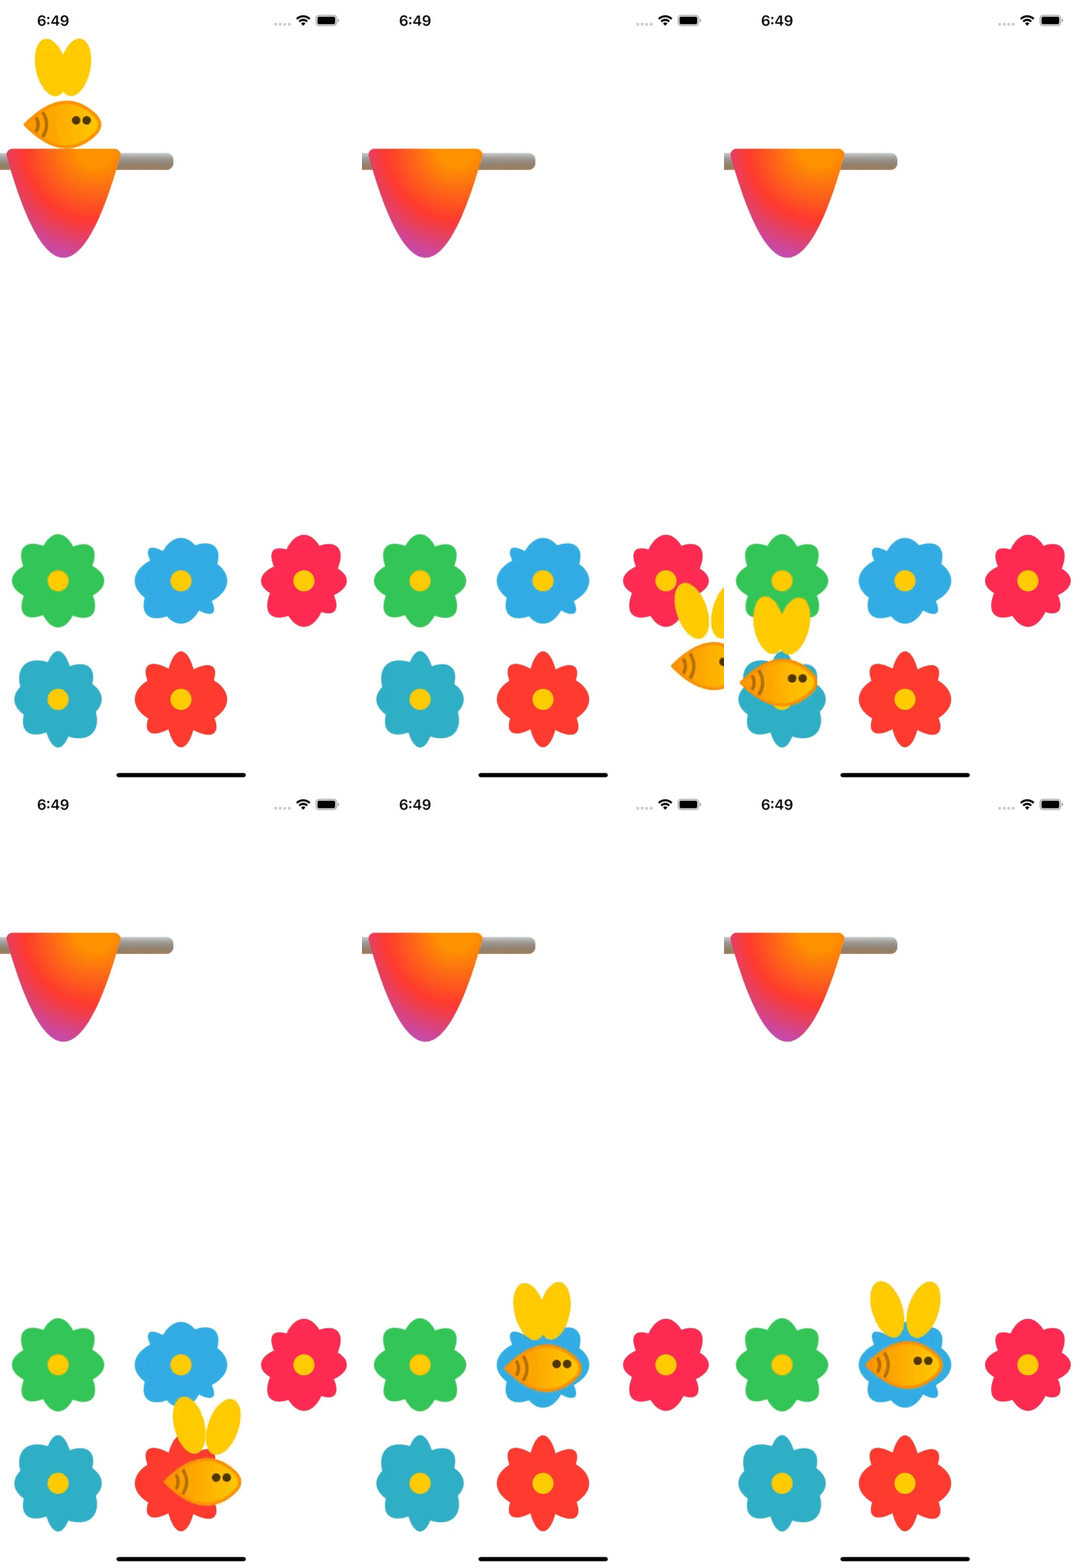
Build and run. Tap all the flowers and check if Buzzy makes it around the field.
Pretty sweet! (Well, for Buzzy anyway.)
Change the number of flowers in FlowerField or rotate the simulator or device so the layout changes. No matter where the flowers are on the screen, Buzzy will always know where to go now, thanks to your use of view preferences.
In the case of Buzzy, you’re just storing the value until a tap uses it so you’re safe here. Just be aware. If you’re not careful, you’ll find out that PreferenceKey has a little stinger in its tail!
PreferenceKey‘s tail: Be careful how you use PreferenceKey. You may have noticed when you printed the value to the console that all six flower values were output at once. That’s because when SwiftUI computes the body of the whole view graph, it includes the preference keys. If you take a preference key value and use it in a way that triggers another reevaluation of the view body, that changes the preference value again, and you’ll find yourself in a real hornets’ nest of trouble. You may trigger SwiftUI exceptions for updating the view graph mid-update or potentially create an infinite loop.
In the case of Buzzy, you’re just storing the value until a tap uses it so you’re safe here. Just be aware. If you’re not careful, you’ll find out that PreferenceKey has a little stinger in its tail!
Showing Buzzy the Way Home With View Preferences
You may have noticed a glaring omission: Buzzy is stuck going from flower to flower and can’t go home to her hive. Considering that Hive is also a view, you can set a view preference for it to handle taps so Buzzy can get home.
First, you need a special ID for the hive. Open TargetPreferenceKey.swift and add a static property to TargetModel:
static let hiveID = 999
Next, open Hive.swift and add the required properties to Hive:
let onTap: Binding<Int>
private let id = TargetModel.hiveID
Hive now has an ID and a binding in the same way as the flowers do. You are using a let of type Binding instead of an @Binding property because you don’t need this view to be recomputed when the value changes. You’re only interested in sending the results of a tap up to the parent view.
Fix the build error in the preview by updating the initializer:
Hive(onTap: .constant(0))
Hive will also need to register its anchor preference and have a tap handler. Add the following modifiers to the ZStack in the view body:
.anchorPreference(key: TargetPreferenceKey.self, value: .bounds) { anchor in
  // 1
  [TargetModel(id: id, anchor: anchor)]
}
.onTapGesture {
  // 2
  onTap.wrappedValue = id
}
Here’s what’s happening in the code above:
- Just like the flowers, the hive registers its frame anchor and identifier with your preference key.
- When the user taps the hive, the hive’s identifier is sent up to the parent via the binding.
Open ContentView.swift and fix the compiler error by changing the line where Hive is initialized:
Hive(onTap: $selectedTargetID)
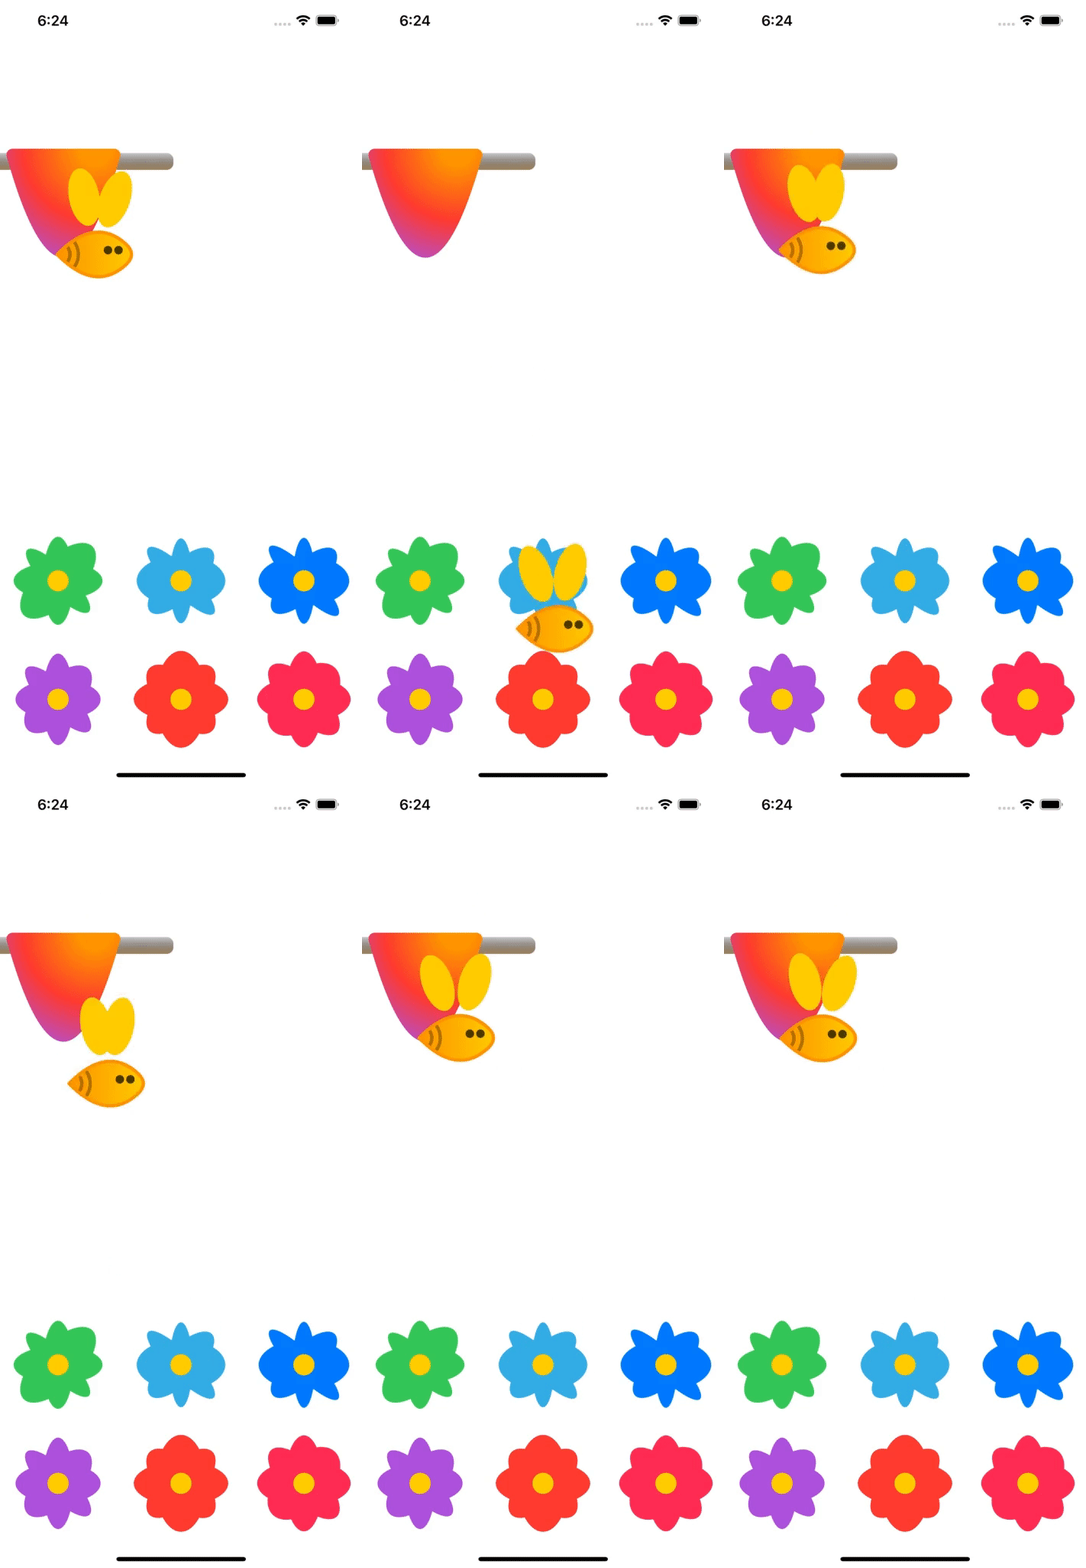
Build and run. Tap the hive and call Buzzy back to her home sweet honeycomb.
Using view preferences has allowed you to gather information about the layout of your view tree, in order to tell Buzzy where to go. In the next section, you’ll use all of that information in another way.


