Adding Polish to Your App
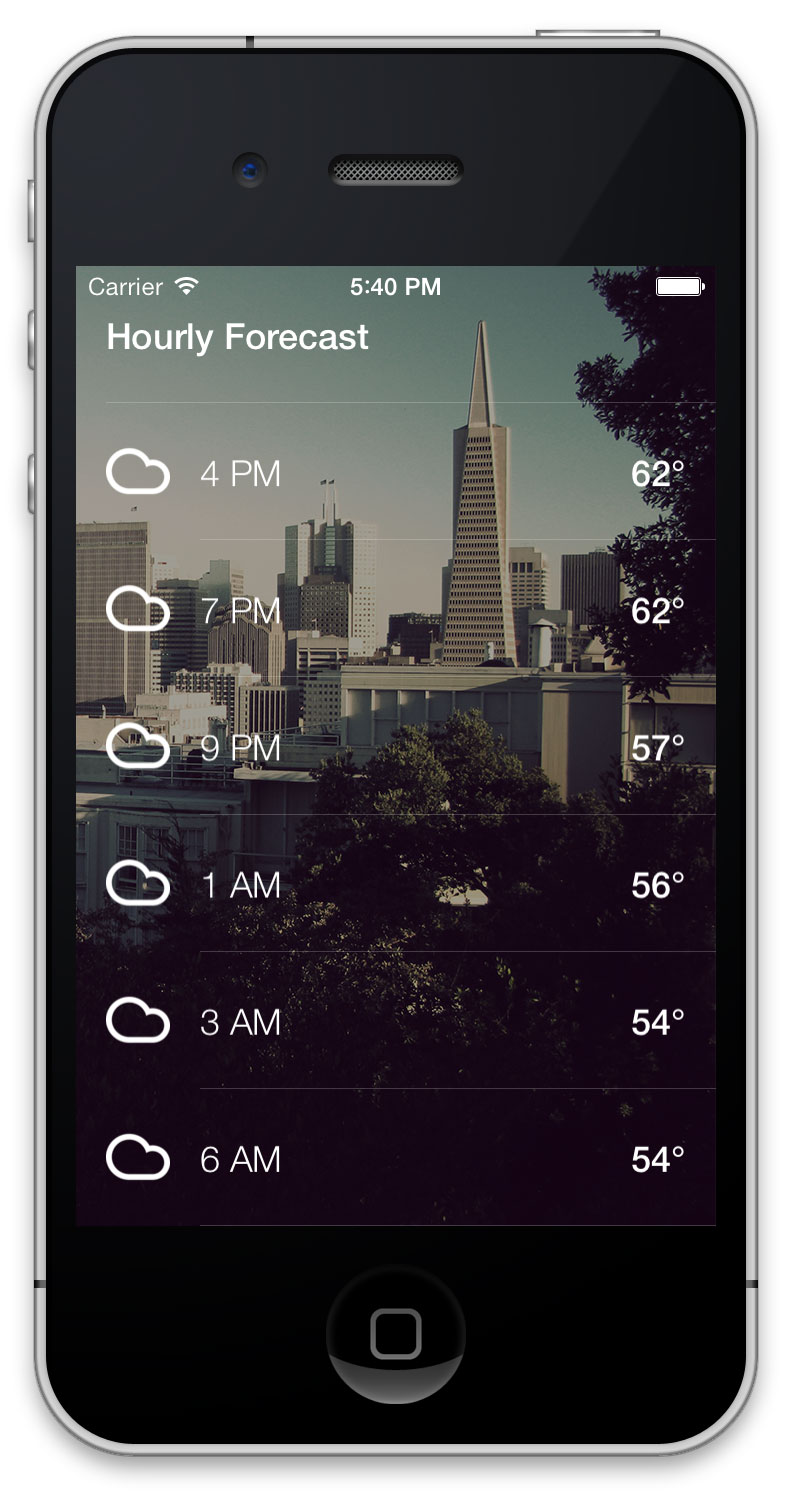
The pages for the hourly and daily forecasts aren’t taking up the whole screen. Fortunately, this turns out to be a real easy fix. Earlier in the tutorial you captured the screen height in -viewDidLoad.
Find the table view delegate method -tableView:heightForRowAtIndexPath: in WXController.m and replace the TODO and return lines with the following:
NSInteger cellCount = [self tableView:tableView numberOfRowsInSection:indexPath.section];
return self.screenHeight / (CGFloat)cellCount;
This divides the screen height by the number of cells in each section so the total height of all cells equals the height of the screen.
Build and run your app; the table view now fills the entire screen as shown in the screenshot below:

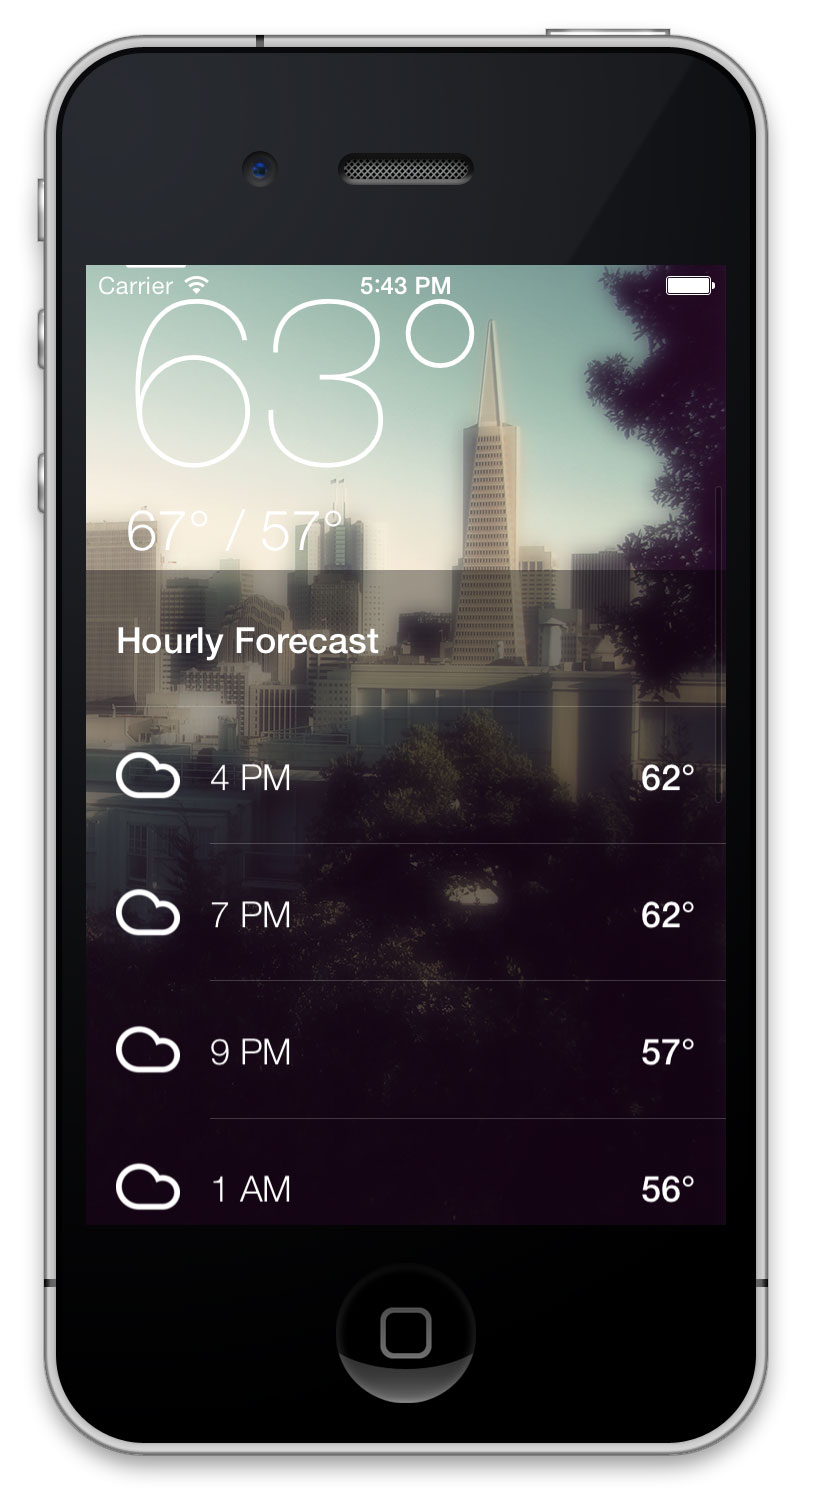
The last thing to do is incorporate the blur I mentioned at the beginning of Part 1 of this tutorial. The blur should fill in dynamically as you scroll past the first page of forecast.
Add the following scroll delegate near the bottom of WXController.m:
#pragma mark - UIScrollViewDelegate

- (void)scrollViewDidScroll:(UIScrollView *)scrollView {
    // 1
    CGFloat height = scrollView.bounds.size.height;
    CGFloat position = MAX(scrollView.contentOffset.y, 0.0);
    // 2
    CGFloat percent = MIN(position / height, 1.0);
    // 3
    self.blurredImageView.alpha = percent;
}
This method is pretty straightforward:
- Get the height of the scroll view and the content offset. Cap the offset at 0 so attempting to scroll past the start of the table won’t affect blurring.
- Divide the offset by the height with a maximum of 1 so that your offset is capped at 100%.
- Assign the resulting value to the blur image’s alpha property to change how much of the blurred image you’ll see as you scroll.
Build and run your app; scroll your table view and check out the awesome blur effect:

Where To Go From Here?
You’ve accomplished a lot in this tutorial: you created a project using CocoaPods, built a view structure completely in code, created data models and managers, and wired it all together using Functional Programming!
You can download a finished copy of the project here.
There are lots of cool places you could take this app. A neat start would be to use the Flickr API to find background images based on the device’s location.
As well, your app only deals with temperature and conditions; what other weather information could you integrate into your app?
Thanks for following along! If you’ve got any questions or comments, please share them below!

