Navigating to All Surveys
This is the last step you need to see the views in action.
Navigate to completedsurvey/SurveyCompletedFragment.kt and uncomment the code inside btnViewSurveys. Your final result will look like this:
override fun onViewCreated(view: View, savedInstanceState: Bundle?) {
  super.onViewCreated(view, savedInstanceState)
  btnViewSurveys.setOnClickListener {
    findNavController()
         .navigate(R.id.action_surveyCompletedFragment_to_allSurveysFragment)
  }
}
Here, you’re simply setting the click listener for the VIEW SURVEYS button and navigating to AllSurveysFragment.
Once you uncomment the code, the IDE will prompt you to import findNavController(). Simply import the required.
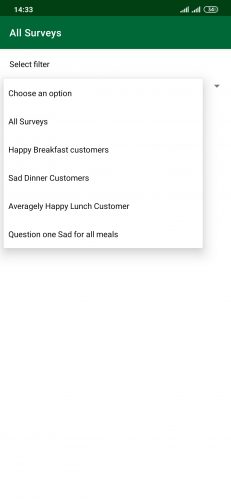
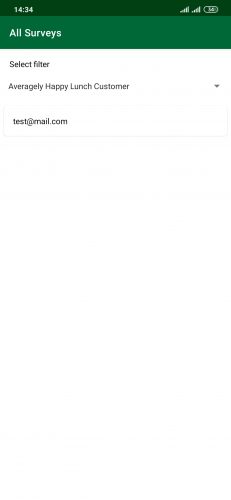
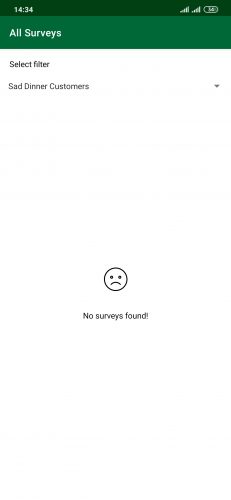
Build, run and start a survey, then answer the questions and submit them. Finally, view All Surveys, where you’ll be able to fetch all the data depending on the option you selected on the spinner.
Congratulations! You’ve finished your experience at The View Restaurant. Hopefully you have had a great meal, seen amazing views and had a chance to learn what DatabaseViews are.
Where to Go From Here?
Download the final project by using the Download Materials button at the top or bottom of the tutorial.
For more information about Room’s features, check out the official documentation from Android.
We hope you enjoyed this Room Database Views tutorial. If you have any questions, comments or awesome modifications to this project app, please join the forum discussion below.


